Creating Mobile Apps using Ionic and ABP Framework
Introduction
In this article, we will create an example application which will use the ABP Framework as backend for a mobile application which can run on an iOS or Andriod mobile device using Ionic Framework.
Source Code of the completed application is avalibale on Github https://github.com/learnabpframework/IonicApp.
Screenshots
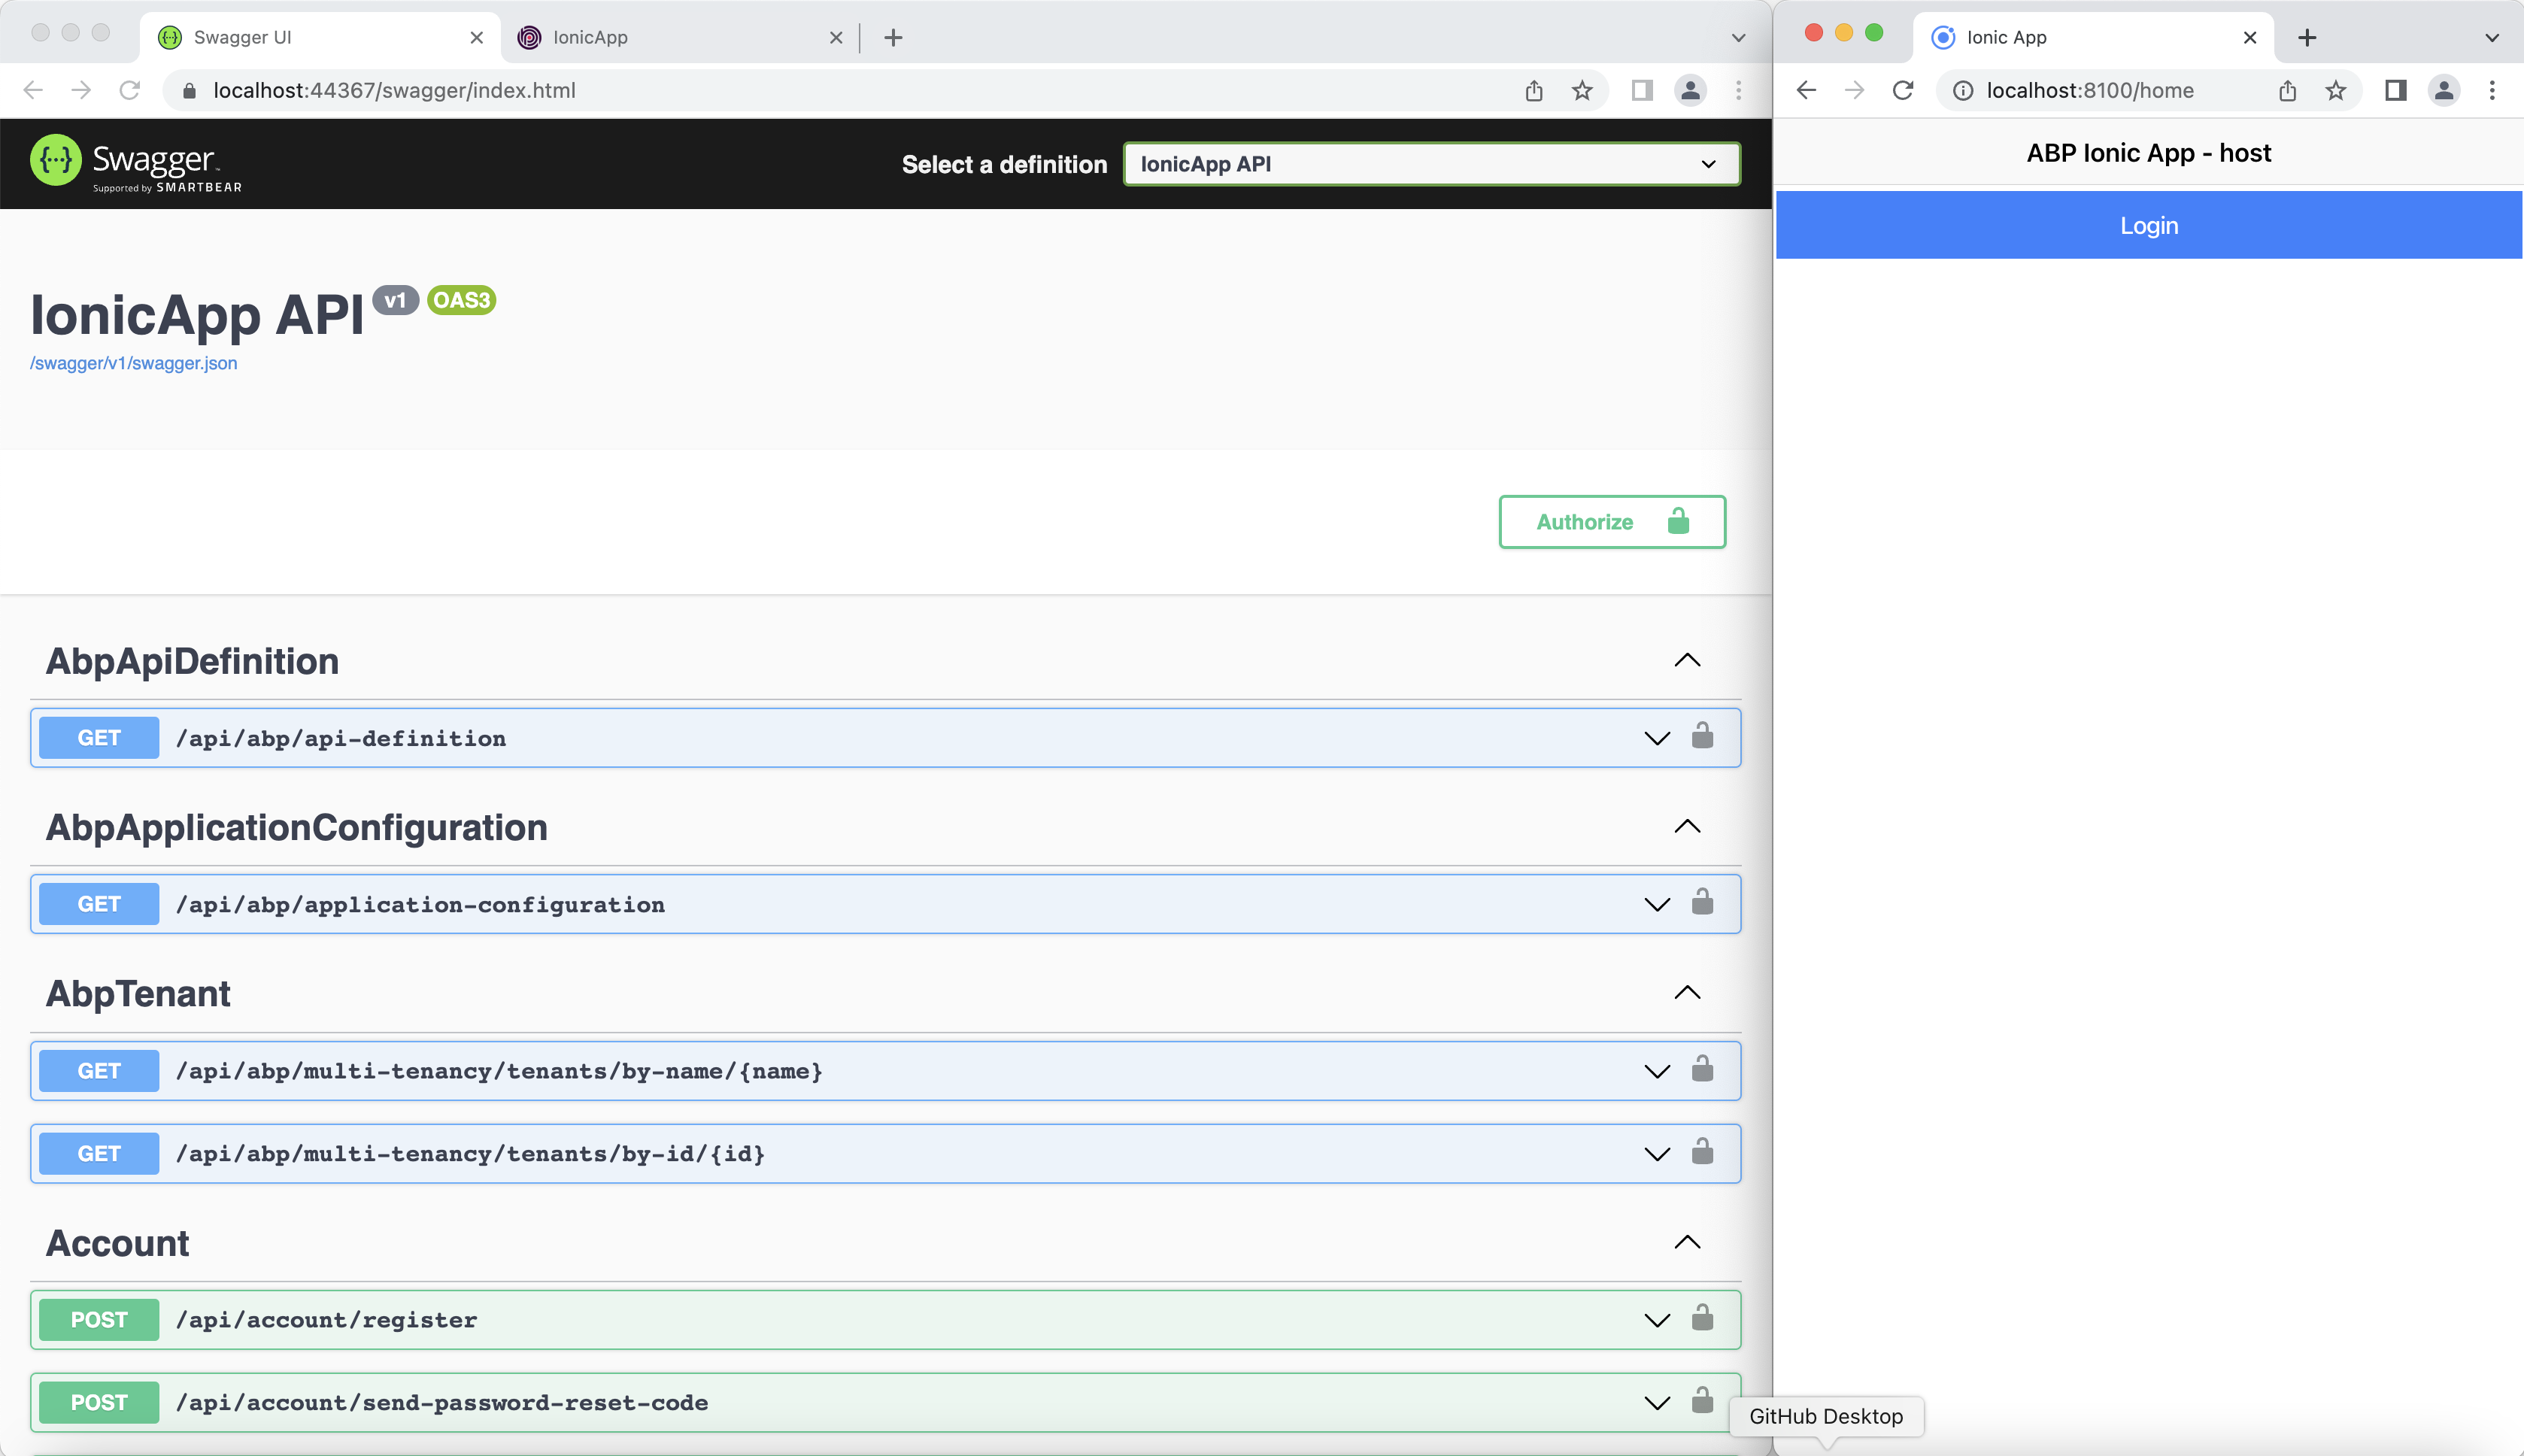
Here, is a preview of the Ionic App
Requirements
If you haven't used ABP or Ionic Framework before you need to install and setup a few things. So lets get strated.
Node.js
In order to install and run both ABP and Ionic Framework you first need to install the Node environment. You can either download and install it from here or if you are on Mac use Homebrew to install it like described here .
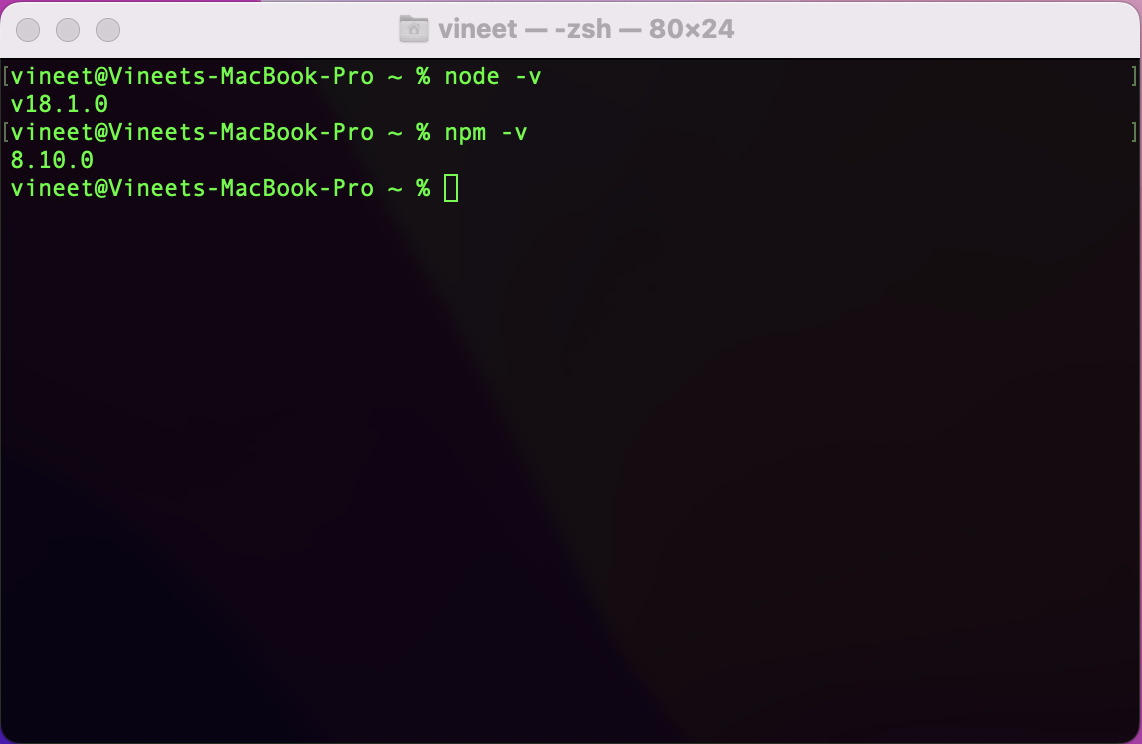
To test your setup, you can run the following two commands on the your CL:
node -v

npm -v
Make sure you can open your command line and get a result for both of the commands. Your versions might be different at the time of installing it but that should be ok if you are up to date!
Yarn
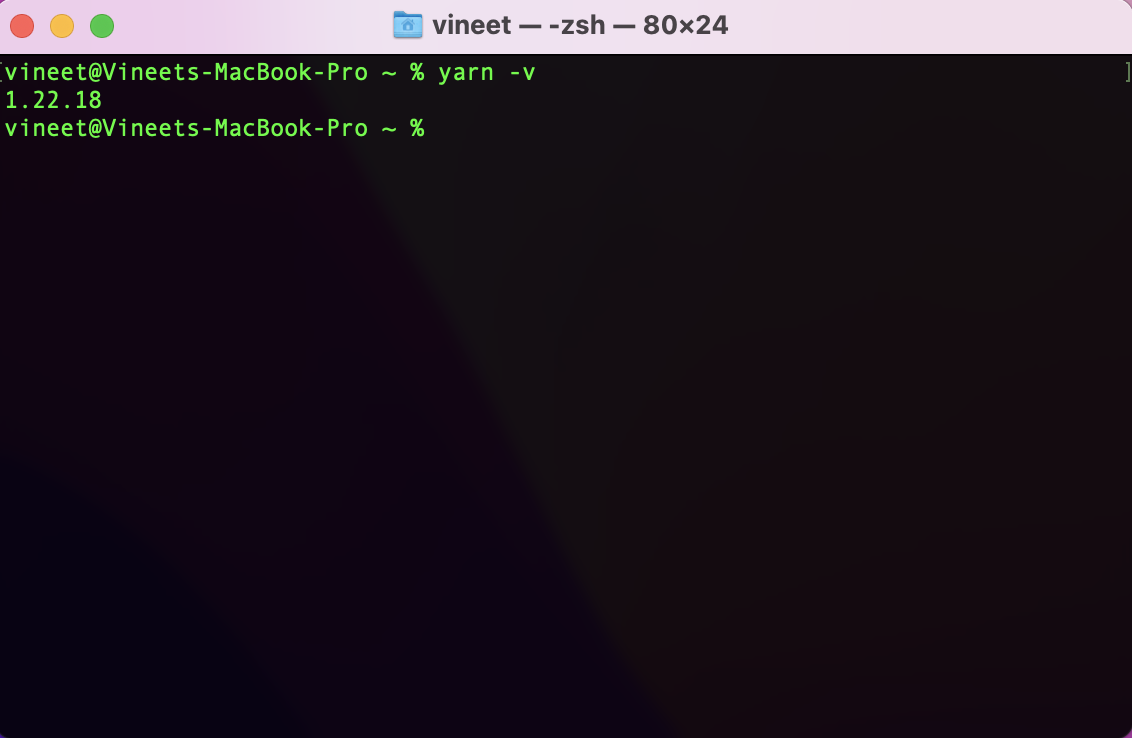
You will also need Yarn insalled for ABP Framework, you can install Yarn through the npm package manager which comes bundled with Node.js when you install it on your system. Ensure that it is Yarn v1.20+ not v2. ABP Framework doesn't support Yarn v2
npm install -g yarn
Run the folowing command to check the version of Yarn.
ABP CLI
You will also need to have the ABP CLI installed to create the startup template. ABP CLI is a command line insterface that is used to automate some common tasks for the ABP framework based solution.
In order to install the ABP CLI you will need an IDE such as Visual Studio that uspports .Net 6.0+ installed
You can install it by running the following command on your CL:
dotnet tool install -g Volo.Abp.CLI
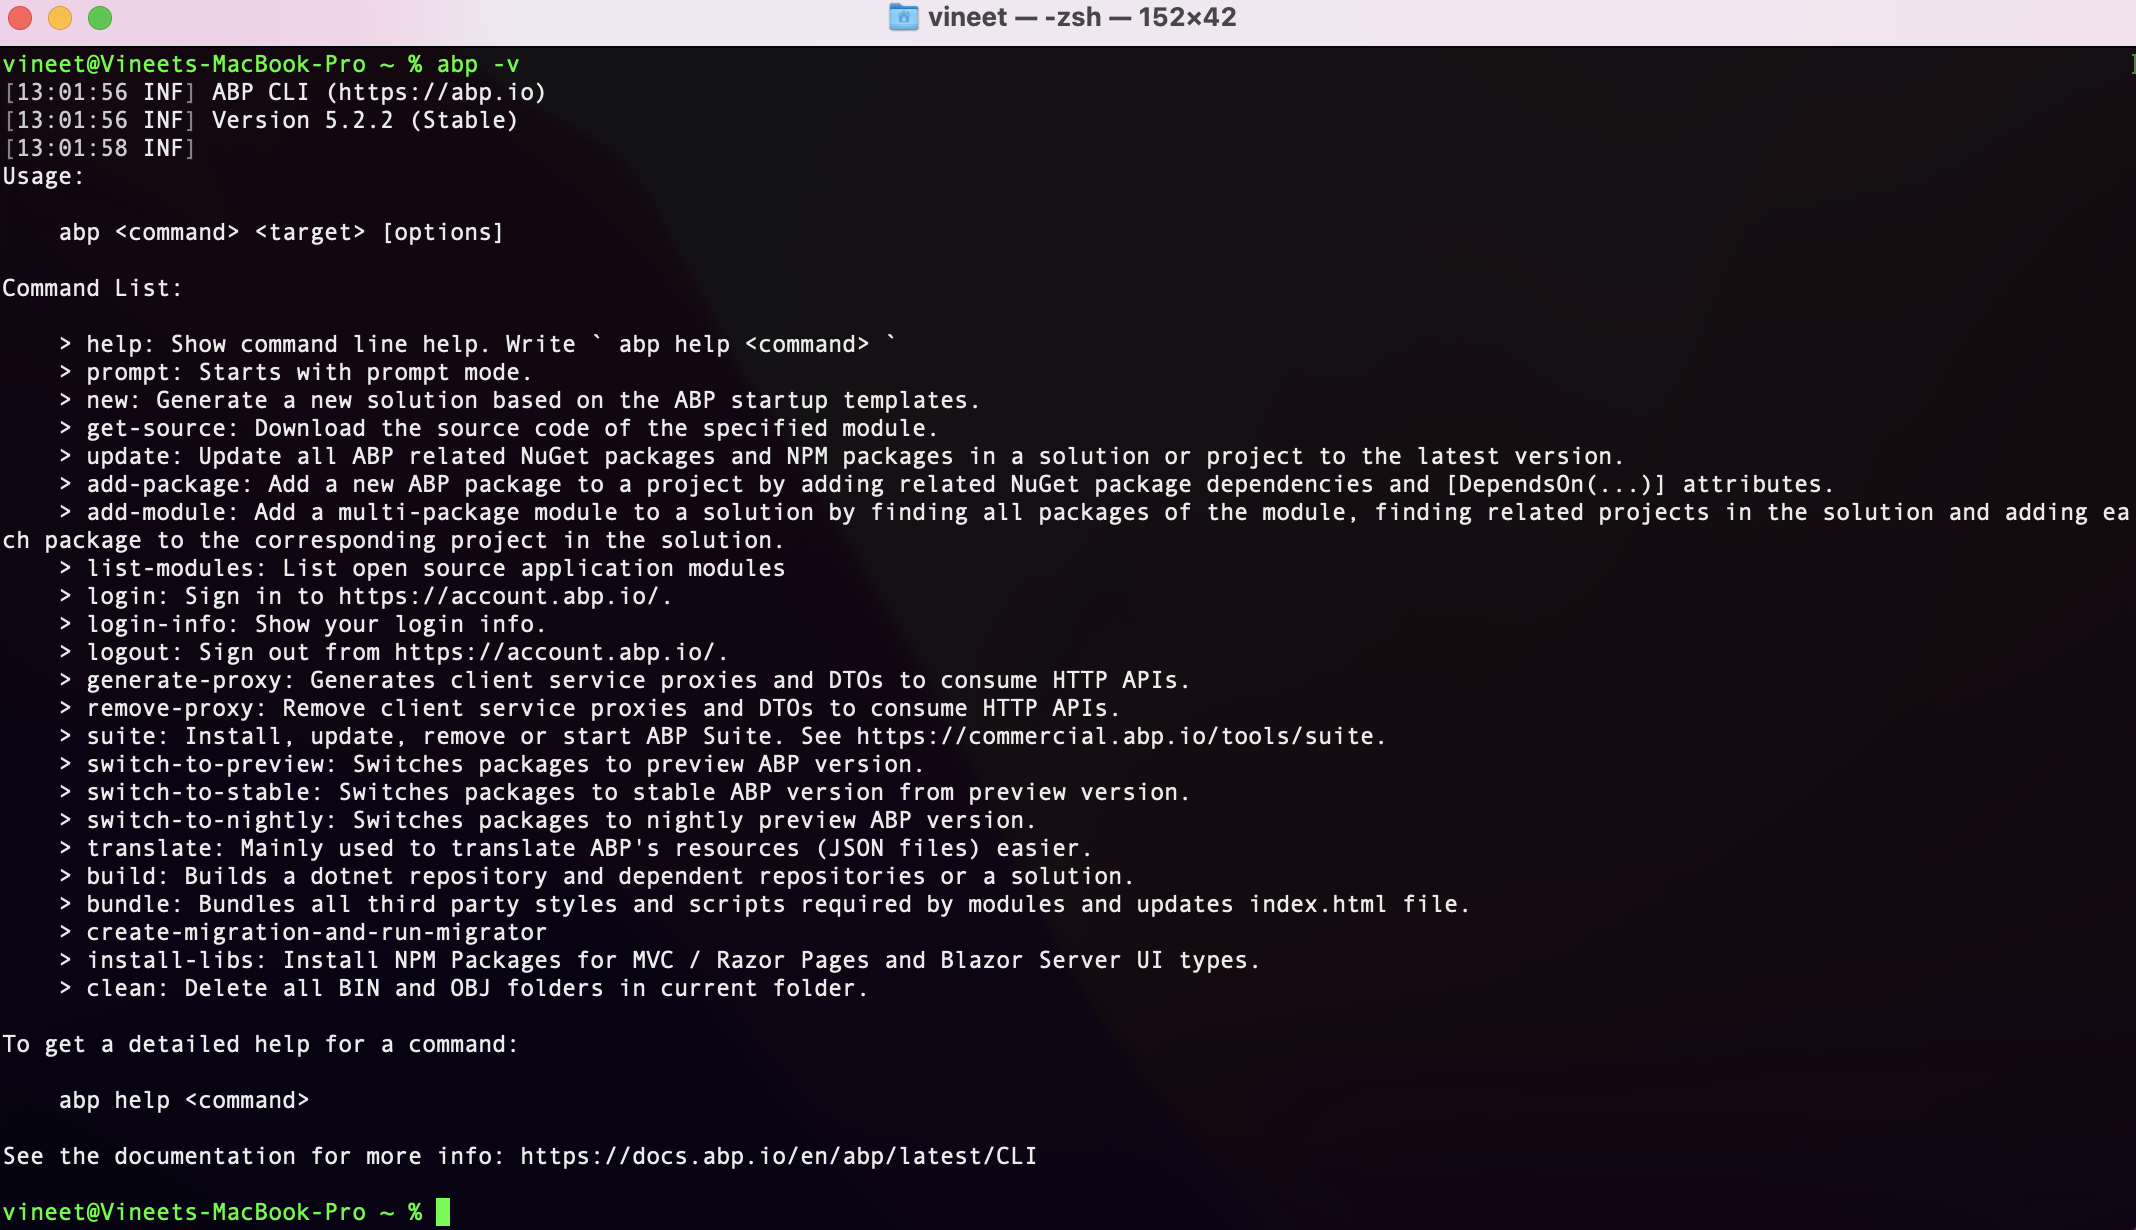
Once the ABP CLI is installed you can run the following command, at the time of writing this article, ABP Framework is at 5.2.2!
ABP Solution
We will be using ABP with Angular UI for our backend, so we will first create a new solution using the ABP CLI. Use the following command to create a ABP Angular Solution called IonicApp.
abp new IonicApp -u angular --mobile none --database-provider ef -csf
The
-csfwill create a IonicApp folder in side this folder you will have two folderangularwhich has the ABP Angular UI andaspnet-corewhich contains the layered ABP Solution
IonicApp.Db Migration Project
Now open the Ionic App Solution and navigate to the IonicApp.Db Migrator Project, then open the appsettings.json and add the following code
{
  "ConnectionStrings": {
    "Default": "Server=(LocalDb)\\MSSQLLocalDB;Database=IonicApp;Trusted_Connection=True"
  },
  "IdentityServer": {
    "Clients": {
    //...
      "IonicApp_MobileApp": {
        "ClientId": "IonicApp_MobileApp",
        "ClientSecret": "1q2w3e*",
        "RootUrl": "http://localhost:8100"
      }
    }
  }
}
We need to now setup the IonicApp_MobileApp client in our Identity Server, navigate to IonicApp.Domain project in the IdentityServer folder open IdentityServerDataSeedContributor.cs add the following code in the CreateClientsAsync() method. You will also need to turn off the Enable Integrated Terminal under Preferences > Other > Terminal
    private async Task CreateClientsAsync()
    {
        var commonScopes = new[]
        {
                "email",
                "openid",
                "profile",
                "role",
                "phone",
                "address",
                "IonicApp"
            };

        var configurationSection = _configuration.GetSection("IdentityServer:Clients");


        //Other Clients ...

        //IonicApp_MobileApp Client
        var ionicMobileAppClientId = configurationSection["IonicApp_MobileApp:ClientId"];
        if (!ionicMobileAppClientId.IsNullOrWhiteSpace())
        {
            var ionicClientRootUrl = configurationSection["IonicApp_MobileApp:RootUrl"]?.TrimEnd('/');

            await CreateClientAsync(
                name: ionicMobileAppClientId,
                scopes: commonScopes,
                grantTypes: new[] { "password", "client_credentials", "authorization_code" },
                secret: (configurationSection["IonicApp_MobileApp:ClientSecret"] ?? "1q2w3e*").Sha256(),
                requireClientSecret: false,
                redirectUri: ionicClientRootUrl,
                postLogoutRedirectUri: ionicClientRootUrl,
                corsOrigins: new[] { ionicClientRootUrl.RemovePostFix("/") }
            );
        }
    }
If you are on a mac you may need to change your shell to
/bin/zshdepending on the version of Mac you are running, you can do this in theAddInitalMigration()method which is located in fileIonicAppDbMigrationService.csin the theDatafolder of theIonicApp.Domainproject
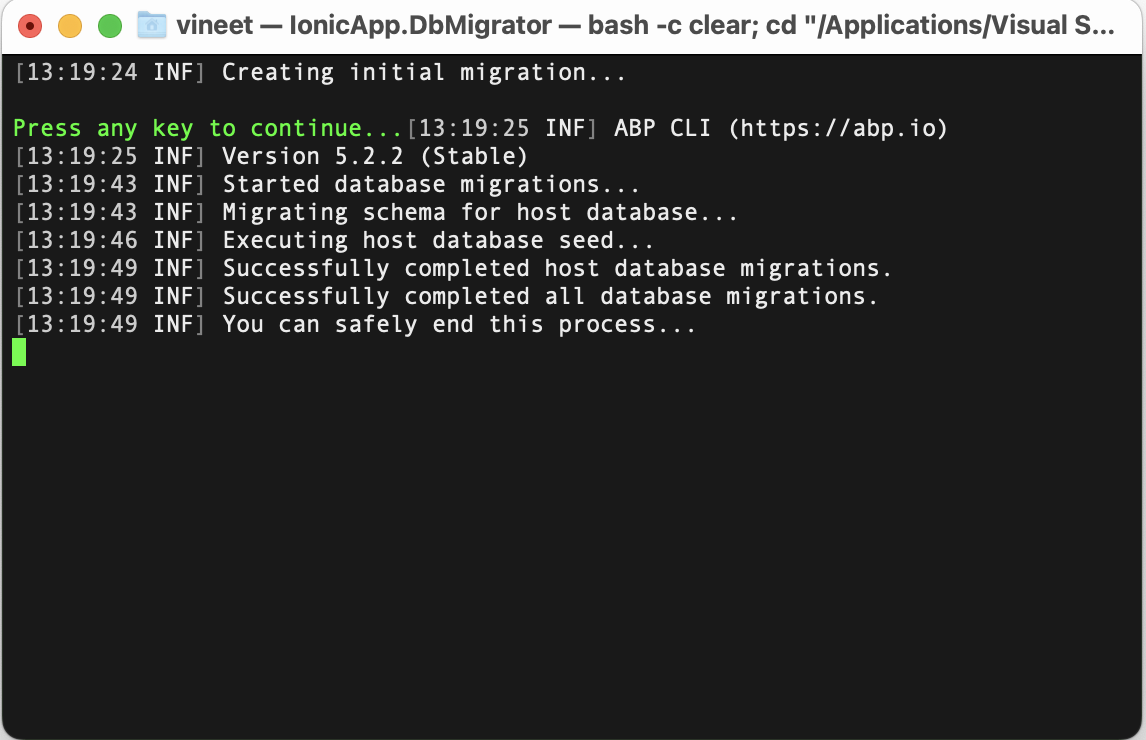
Run the DB Migrator Project, you should see the below
IonicApp.HttpApi.Host
Open the appsettings.json in the IonicApp.HttpApi.Host project and add http://localhost:8100 to CorsOrigins and RedirectAllowedUrls like below
{
  "App": {
    "SelfUrl": "https://localhost:44367",
    "ClientUrl": "http://localhost:4200",
    "CorsOrigins": "https://*.IonicApp.com,http://localhost:4200,http://localhost:8100",
    "RedirectAllowedUrls": "http://localhost:4200,https://localhost:44307:http://localhost:8100"
  },
  "ConnectionStrings": {
    "Default": "Server=(LocalDb)\\MSSQLLocalDB;Database=IonicApp;Trusted_Connection=True"
  },
  "AuthServer": {
    "Authority": "https://localhost:44367",
    "RequireHttpsMetadata": "false",
    "SwaggerClientId": "IonicApp_Swagger",
    "SwaggerClientSecret": "1q2w3e*"
  },
  "StringEncryption": {
    "DefaultPassPhrase": "aBVYjSdEFT5E6GKf"
  }
}
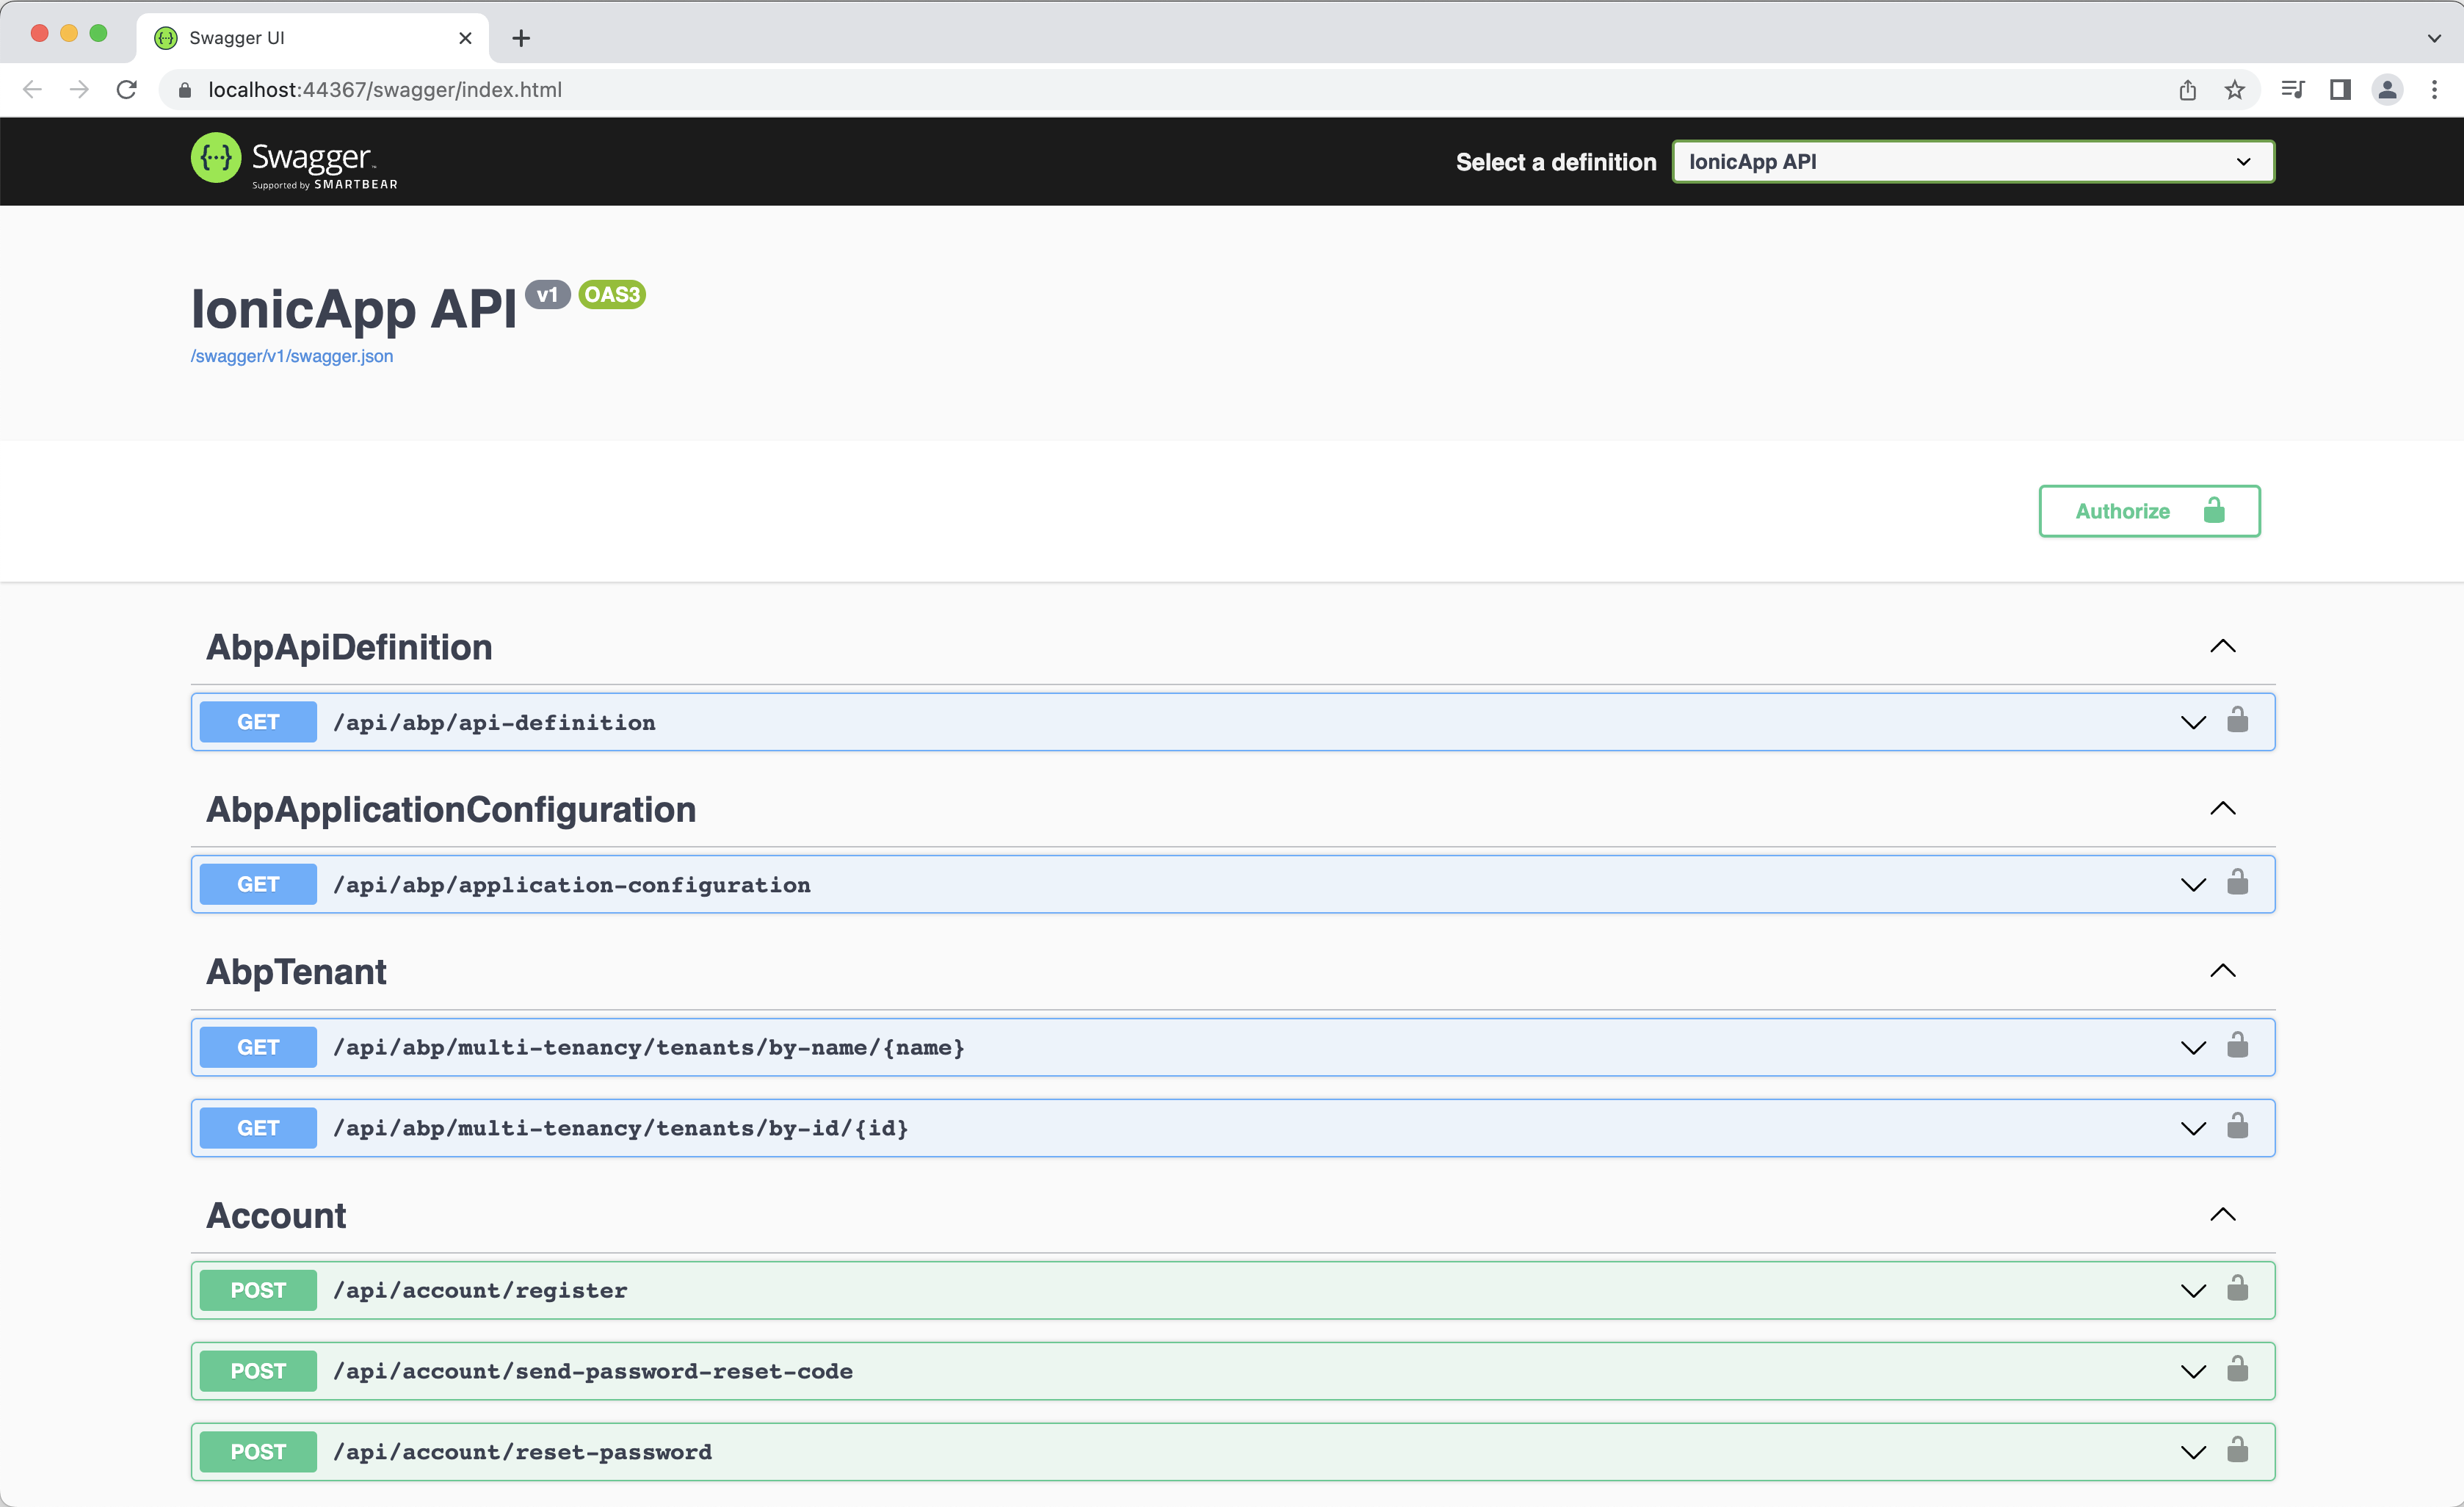
Set the IonicApp.HttpApi.Host to be the startup project and run it you should see the below
ABP Angular UI
Open the angular folder inside your IonicApp folder in Visual Studio Code and open the tearmial and run the following command
Yarn
Yarn Start
You should see the below in your browsed

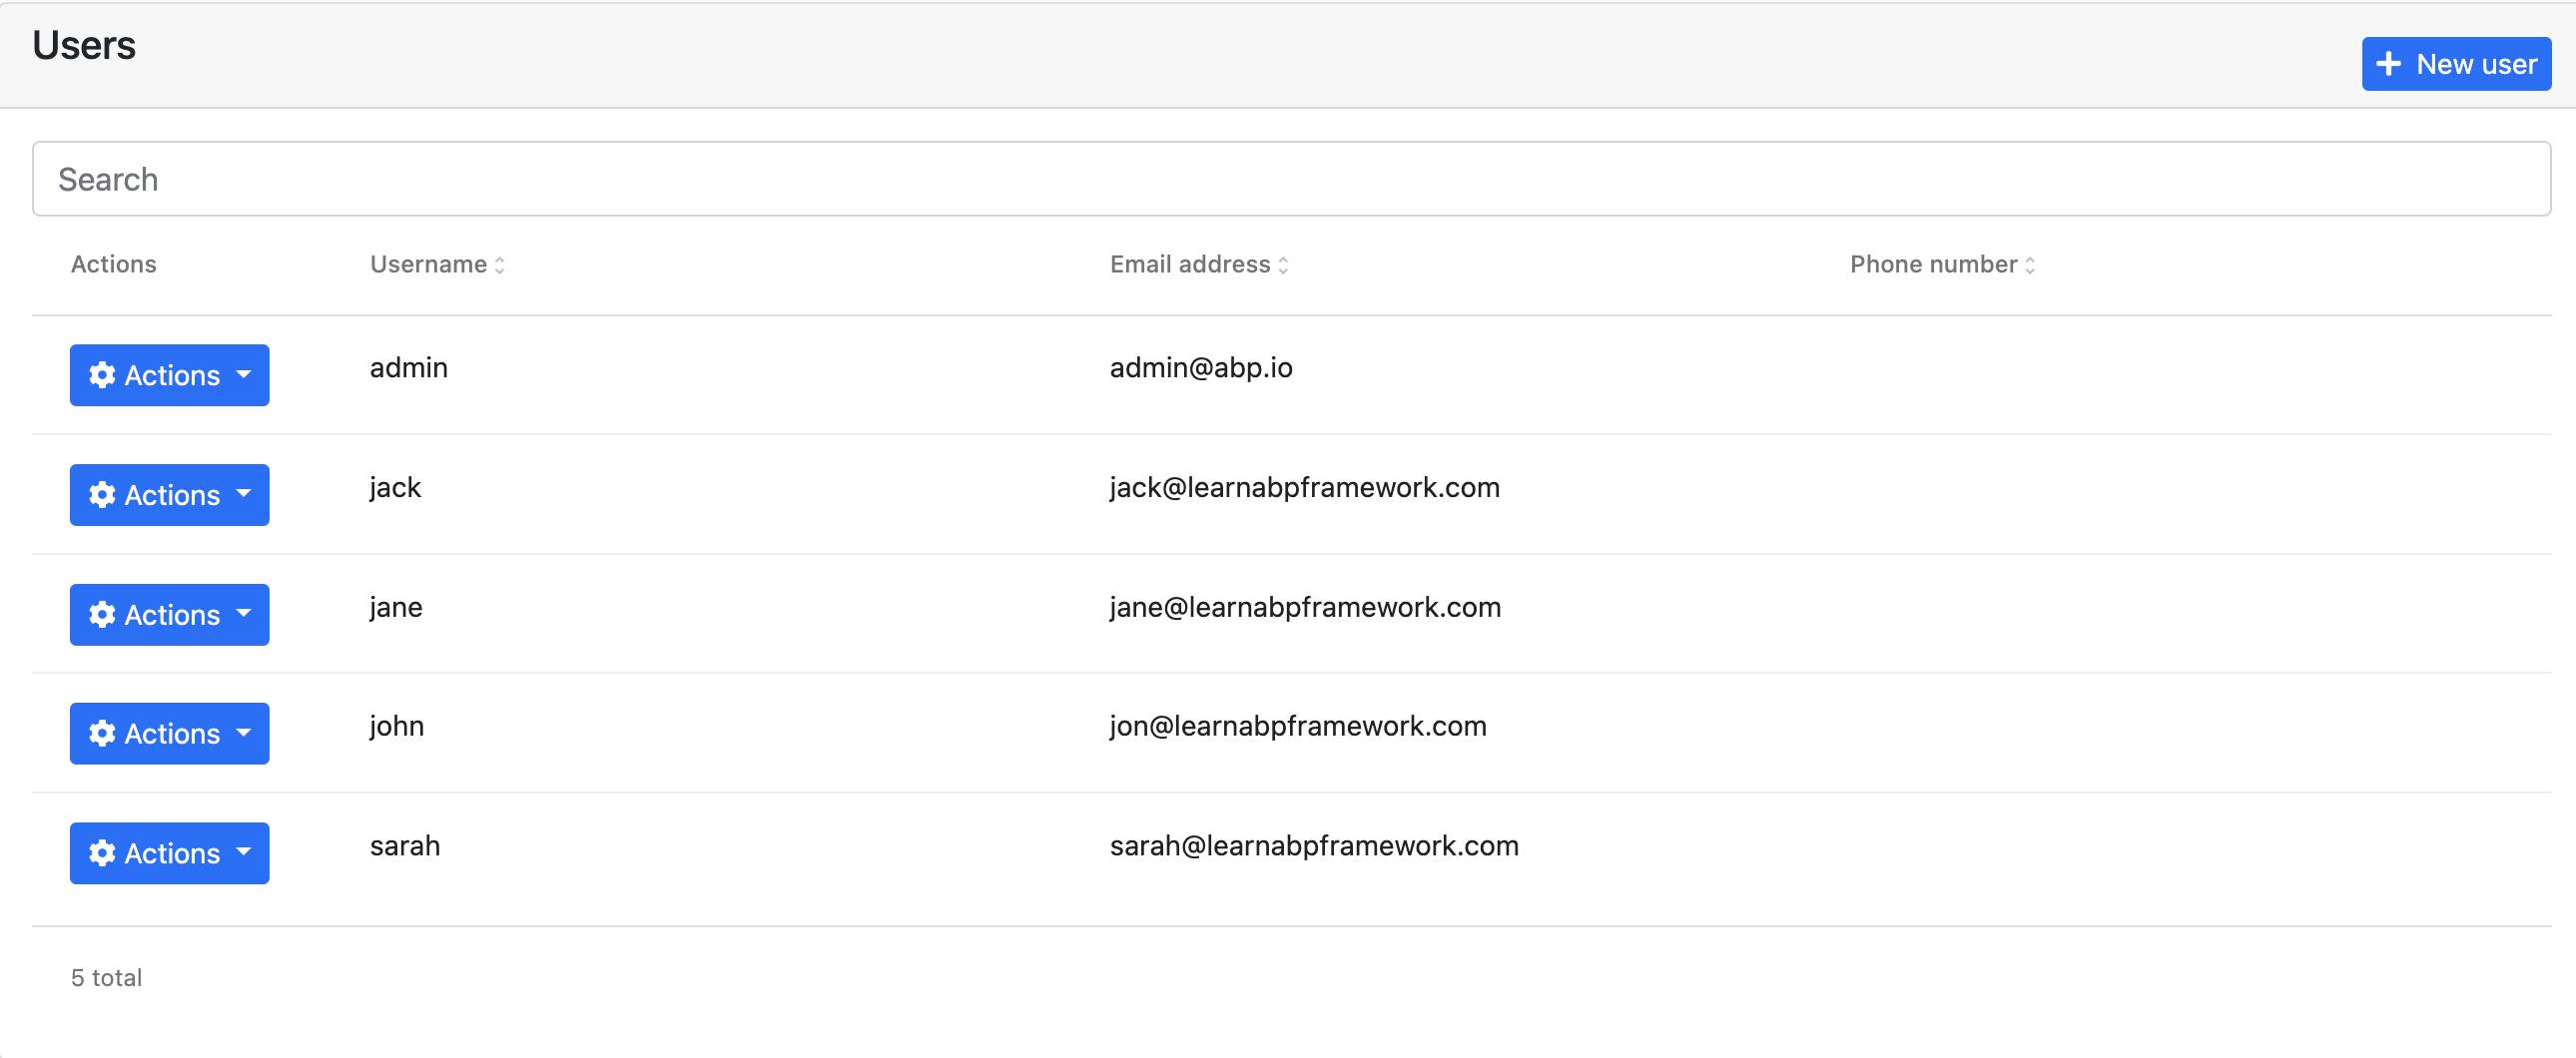
Login using the default username admin and password 1q2w3E* and navigate to Administration > Identity Management > Users and create some users like below
Ionic Framework
Now for the fun part, in order to create a Ionic Mobile App we need to install Ionic CLI by running the following command
npm install -g @ionic/cli
Navigate to the IonicApp folder and now run the following command,
ionic start ionic-app blank --type=angular --capacitor
The
startargument creates a new Ionic Solution, thetypeof solution is Angular and--capacitorCapacitor is a cross-platform native runtime that makes it easy to build modern web apps that run natively on IOS, Android, and the Web.
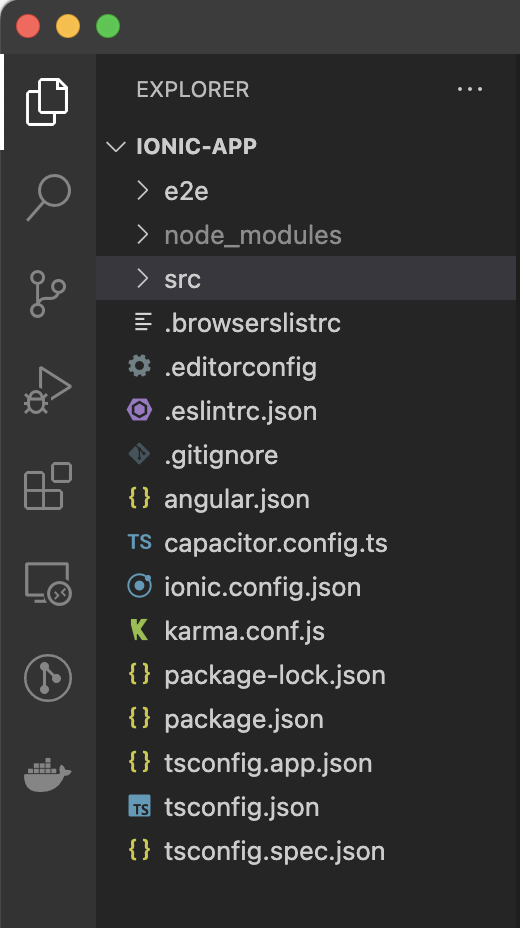
Using Visual Studio open the folder Ionic-App you should see the below
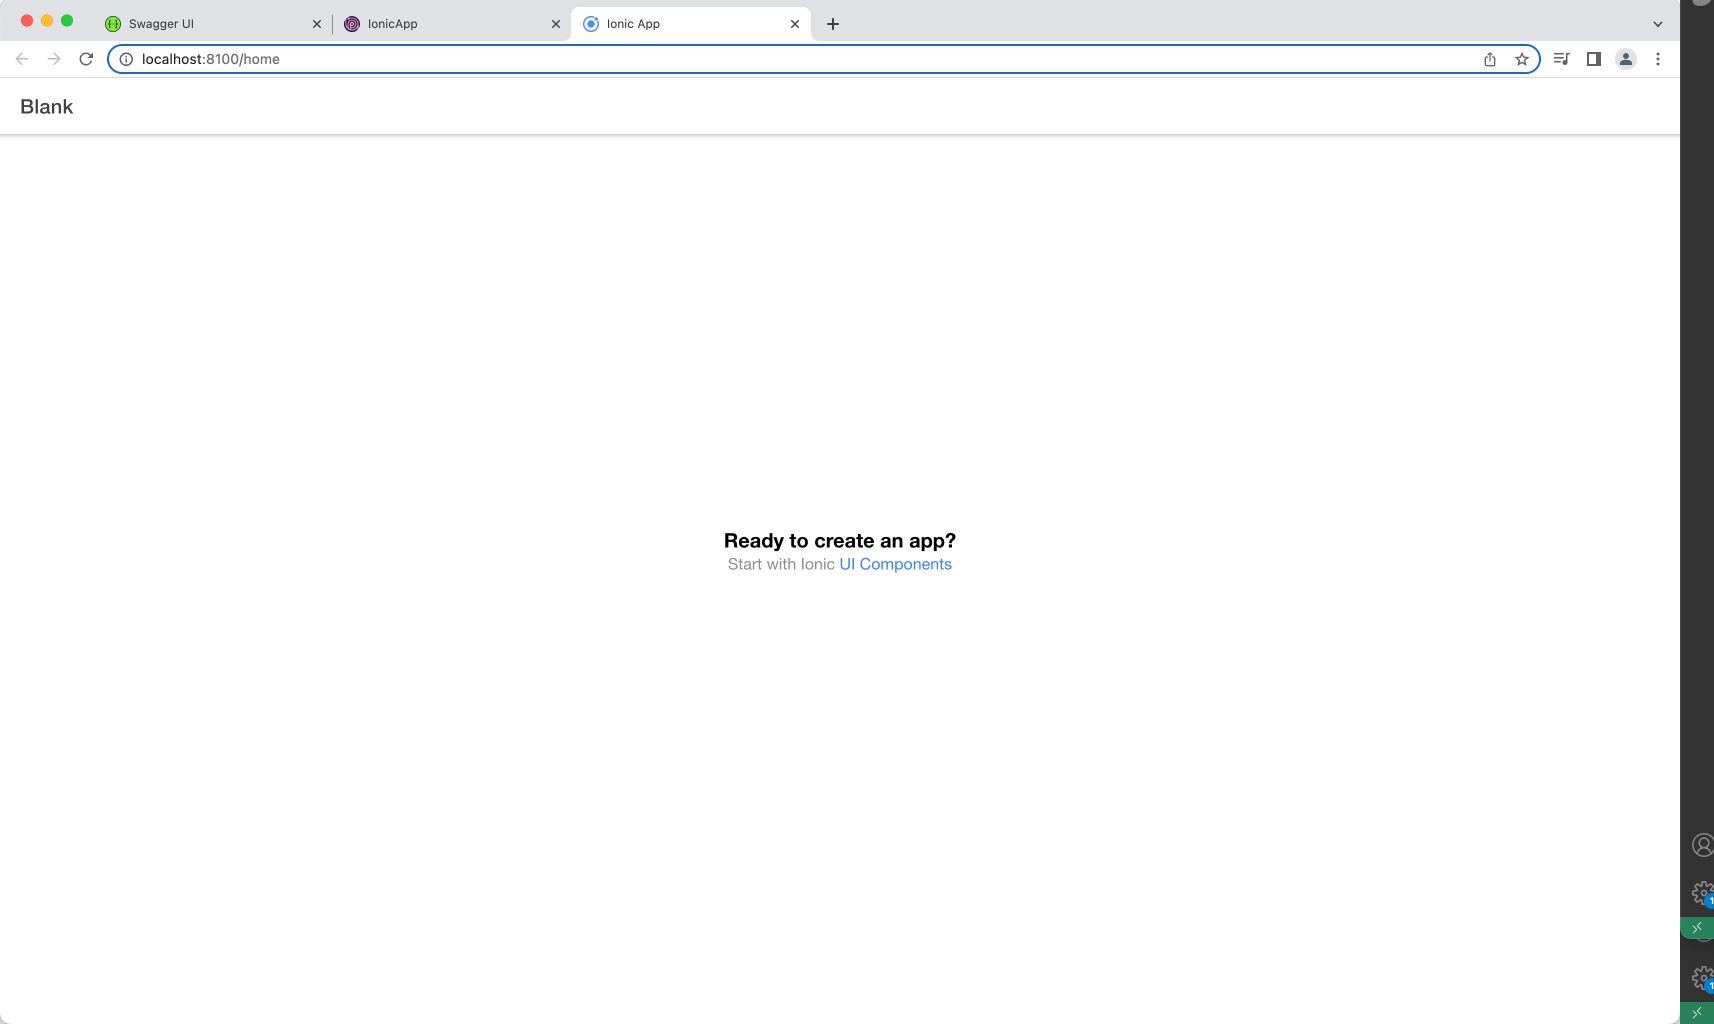
Run the Ionic Solution with the following command, and you should see the below in the browser
ionic serve
We will now install the ABP Packages so we can take advantage of the power of ABP, run the following commands in the Terminal in the ionic-app folder
npm install @abp/ng.core
The
@abp/ng.corepackage give you access to core functionality of ABP like ability to use theRestService,Localization,AuthorizationandPermissionsect etc...
npm install @abp/ng.schematics --save-dev
The @abp/ng.schematics is added as a development dependency to the project so we can generate the static proxy to access the ABP API
environement.ts
Open environment.ts under the src > environments folder and change it with the following code
import { Environment } from '@abp/ng.core';

const baseUrl = 'http://localhost:8100';

export const environment = {
  production: false,
  application: {
    baseUrl,
    name: 'IonicApp',
    logoUrl: '',
  },
  oAuthConfig: {
    issuer: 'https://localhost:44367',
    redirectUri: baseUrl,
    clientId: 'IonicApp_MobileApp',
    responseType: 'code',
    scope: 'offline_access IonicApp',
    requireHttps: true,
  },
  apis: {
    default: {
      url: 'https://localhost:44367',
      rootNamespace: 'IonicApp',
    },
  },
} as Environment;
Note that we are defining a environment constant which has the
application,oAuthConfigandapisinformation which i have copied from the angular project which was created as part of the ABP solution. I have just changed theclientIdin theoAuthConfigobject toIonicAoo_MobileAppand the base url tohttp://localhost:8100
app.module.ts
Open app.module.ts under the src > app folder and change it with the following code
import { NgModule } from '@angular/core';
import { BrowserModule } from '@angular/platform-browser';
import { RouteReuseStrategy } from '@angular/router';

import { IonicModule, IonicRouteStrategy } from '@ionic/angular';

import { AppComponent } from './app.component';
import { AppRoutingModule } from './app-routing.module';

import { registerLocale } from '@abp/ng.core/locale';
import { CoreModule } from '@abp/ng.core';
import { environment } from 'src/environments/environment';

@NgModule({
  declarations: [AppComponent],
  entryComponents: [],
  imports: [
    BrowserModule,
    IonicModule.forRoot(),
    AppRoutingModule,
    CoreModule.forRoot({
      environment,
      registerLocaleFn: registerLocale()
    })
  ],
  providers: [{ provide: RouteReuseStrategy, useClass: IonicRouteStrategy }],
  bootstrap: [AppComponent],
})
export class AppModule {}
Note that we have are importing
registerLocaleandCoreModulefrom the @abp/ng.core package and we are have added theCoreModule.forRoot()which has theenvironmentandregisterLocaleas parameters.
Generate Static Proxy
Now that we have imported the ABP packages we will now generate static proxies using the following command
abp generate-proxy -t ng -m identity -u https://localhost:44367
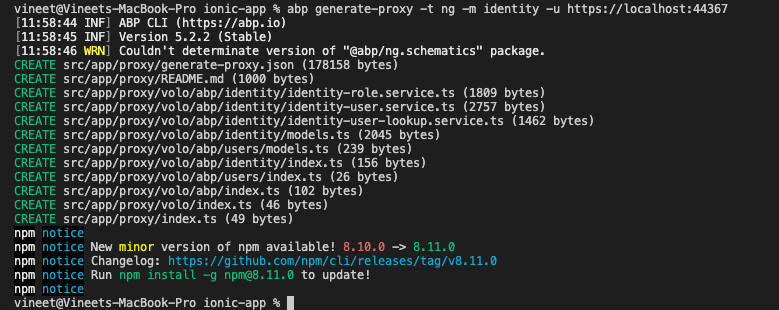
Note the port need to nbe the port
44367on which yourIonic.HttpApi.Hostis running on, running thegenerate-proxycommand will create a proxy folder under thesrc > appcalledproxy.

home.page.ts
Navigate to home.page.ts under the app > home folder and change its code to the following
import { Component } from '@angular/core';
import { AuthService, ConfigStateService, RestService } from '@abp/ng.core';
import { OAuthService } from 'angular-oauth2-oidc';
import { IdentityUserService } from '../proxy/volo/abp/identity';

@Component({
  selector: 'app-home',
  templateUrl: 'home.page.html',
  styleUrls: ['home.page.scss'],
})
export class HomePage  {
  title = 'custom-angular';

  users = [];

  tenantName = 'host';

  get hasLoggedIn(): boolean {
    return this.oAuthService.hasValidAccessToken();
  }

  // eslint-disable-next-line @typescript-eslint/member-ordering
  constructor(
    private oAuthService: OAuthService,
    private authService: AuthService,
    private identityService: IdentityUserService,
    private config: ConfigStateService
  ) {

    this.tenantName = this.config.getDeep('currentTenant.name');

    if (this.tenantName === null) {
      this.tenantName = 'host';
    }

  }

  login() {
    this.authService.navigateToLogin();
  }

  retrieveUsers() {
    this.identityService.getList({ maxResultCount: 10 }).subscribe((result) => {
      this.users = result.items;
    });
  }

  logout() {
    this.authService.logout();
  }

}
home.page.html
Navigate to home.page.html under the app > home folder and change its code to the following
<ion-header [translucent]="true">
  <ion-toolbar>
    <ion-title>
      ABP Ionic App - {{ tenantName }}
    </ion-title>
  </ion-toolbar>
</ion-header>

<ion-content [fullscreen]="true">
  <ion-button expand="full" (click)="login()" *ngIf="!hasLoggedIn">Login</ion-button>
  <ion-button expand="full" (click)="retrieveUsers()" *ngIf="hasLoggedIn">Get Users</ion-button>
  <ion-list>
    <ion-item *ngFor="let user of users">
      {{ user.name }}
    </ion-item>
  </ion-list>
  <ion-button expand="full" (click)="logout()" *ngIf="hasLoggedIn">Logout</ion-button>
</ion-content>
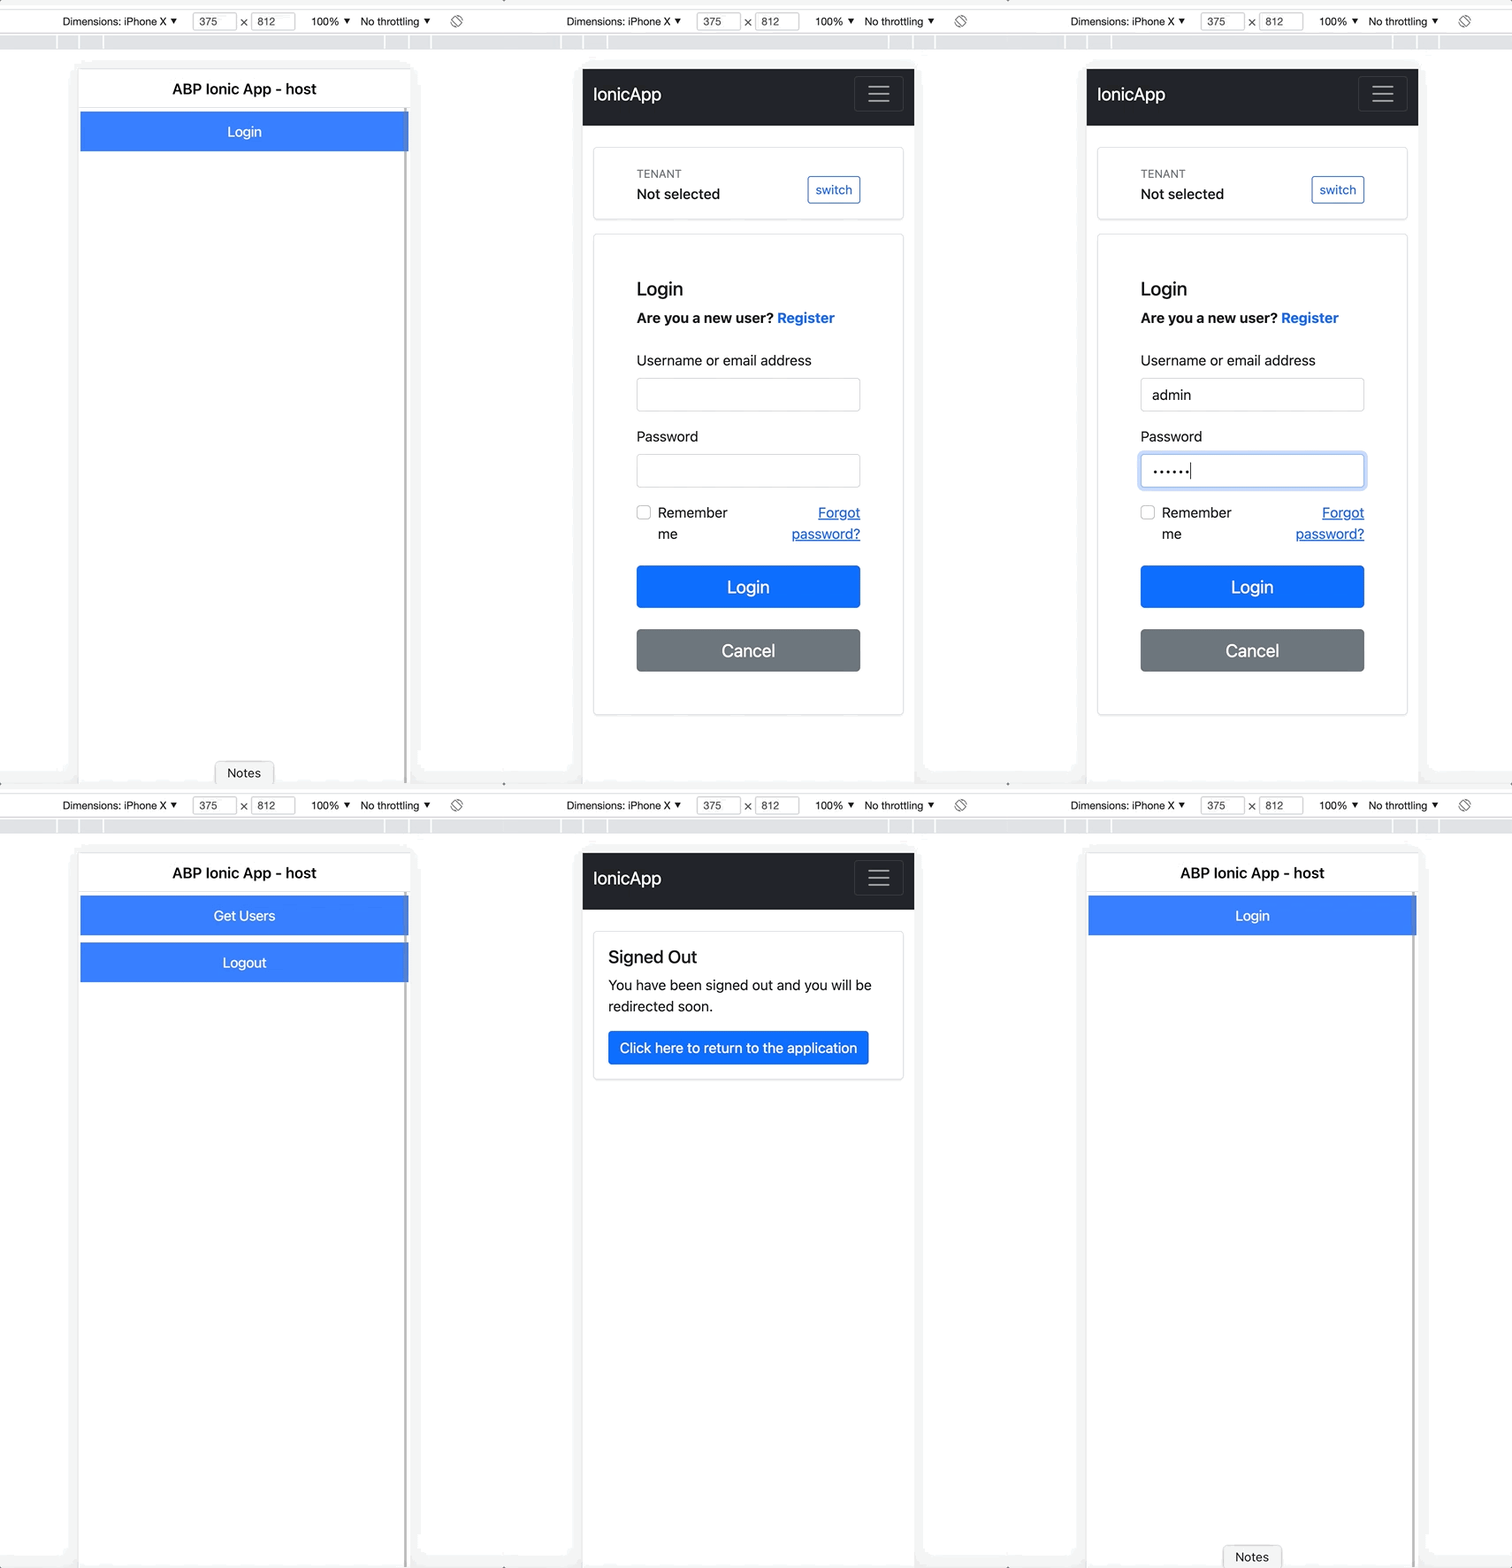
Finally you have got your self a Mobile App
Run the Ionic Mobile App using the following command
ionic serve


Comments
Ahmed Ezzat 175 weeks ago
Thanks for the demo, how do you handle the redirect url on real device? also, should we use in app browser?
herringburdensome@gmail.com 117 weeks ago
how do you handle the redirect geometry dash scratch
LeonS 42 weeks ago
Building mobile apps with Ionic and ABP sounds like a great combo for flexibility and performance. I've played around with similar setups, and honestly, keeping the UI clean while balancing performance is always a challenge. Kinda like fitness — I was watching a https://www.youtube.com/watch?v=-lhy38bET3Q the other day that reminded me how simplicity and consistency often beat overcomplication. Same lesson applies to dev work sometimes, in my experience.