How to replace SwaggerUI with RapiDoc
Introduction
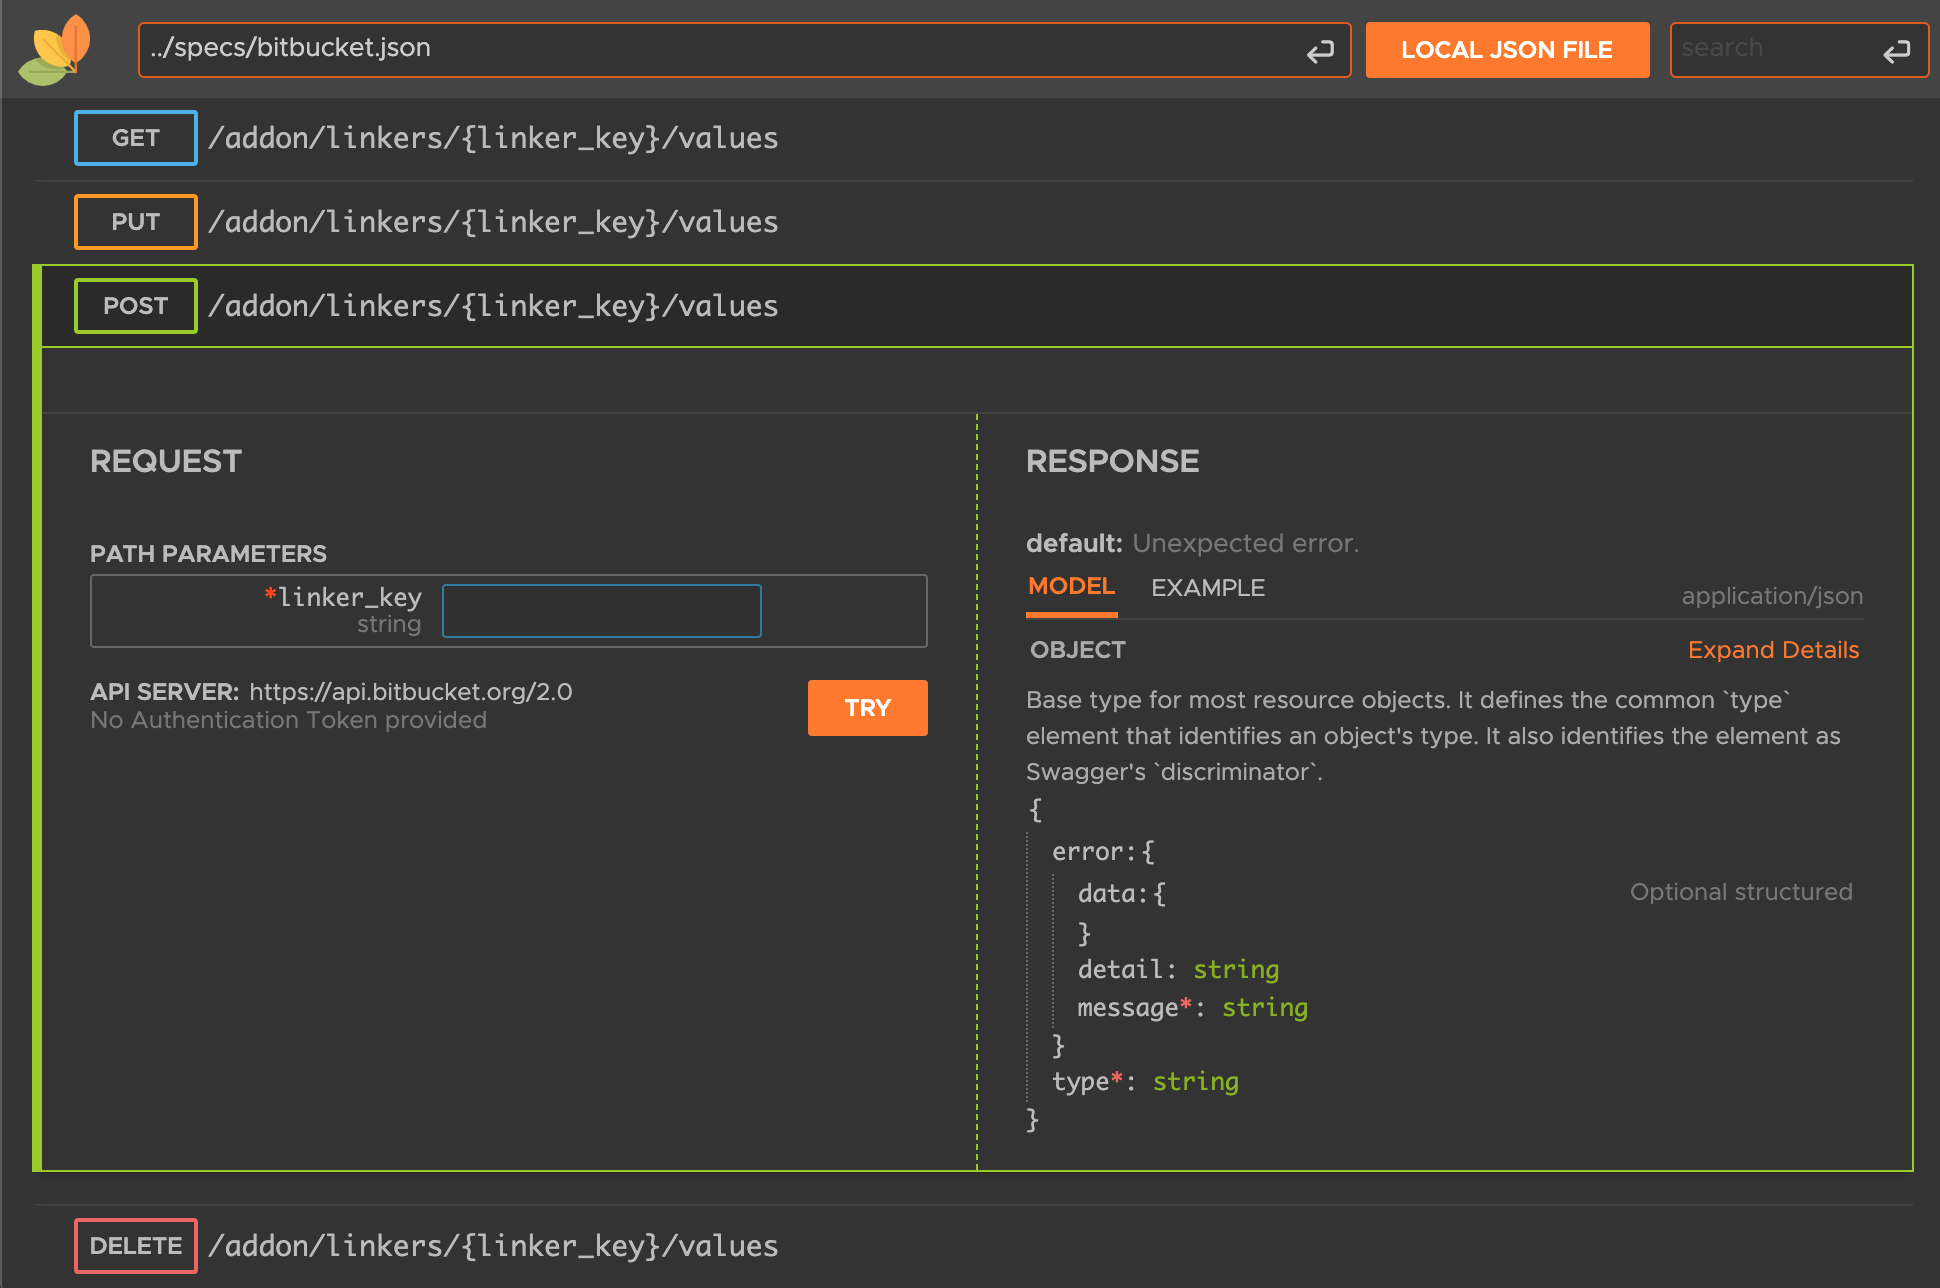
abp uses the very popular SwaggerUI as the default api documentation page. But if you get bored with its UI, you can try using RapiDoc instead of Swagger-UI.
RapiDoc offers almost the same capabilities as SwaggerUI, but with a much nicer and more customizable UI.

If you're interested, read on to learn how to use RapiDoc as a documentation page for your project.
Create a project
Here I use a nolayers template for the demonstration, and the same steps for the other templates. You can also do the next steps on an existing project.
abp new RapiDocDemo -t app-nolayers
Install RapiDoc
Thanks to luoyunchong for creating the IGeekFan.AspNetCore.RapiDoc project, which makes it just as easy to use RapiDoc.
Let's add RapiDoc to the web project.
dotnet add package IGeekFan.AspNetCore.RapiDoc
Create abp.rapi-doc.js file
Create the folder wwwroot/rapi-doc in the web project, and create the abp.rapi-doc.js file with the following content.
var abp = abp || {};

(function () {
    window.addEventListener('DOMContentLoaded', (event) => {
        var excludeUrl = ["swagger.json", "connect/token"]
        var firstRequest = true;

        /*
          Ensure that the DOM is loaded, then add the event listener.
          here we are listenig to 'before-try' event which fires when the user clicks
          on TRY, it then modifies the POST requests by adding a custom header
        */
        const rapidocEl = document.getElementById('thedoc');
        rapidocEl.addEventListener('before-try', async (e) => {
            var request = e.detail.request;
            if (request.url.includes(excludeUrl[1])) {
                firstRequest = true;
            }

            if (firstRequest && !excludeUrl.some(url => request.url.includes(url))) {
                await fetch(`${abp.appPath}abp/Swashbuckle/SetCsrfCookie`, {
                    headers: request.headers
                });
                firstRequest = false;
            }

            var antiForgeryToken = abp.security.antiForgery.getToken();
            if (antiForgeryToken) {
                request.headers.append(abp.security.antiForgery.tokenHeaderName, antiForgeryToken);
            }
        });
    });
})();
Configure RapiDoc
Configure RapiDocDemoModule.
Step 1. Add using.
using IGeekFan.AspNetCore.RapiDoc;
Step 2. Configure RapiDoc.
Configure RapiDocOptions by modify ConfigureSwaggerServices as follows.
private void ConfigureSwaggerServices(IServiceCollection services, IConfiguration configuration)
{
+   Configure<RapiDocOptions>(options =>
+   {
+       options.RoutePrefix = "rapi-doc";//access url

+       // optional
+       options.GenericRapiConfig.RenderStyle = "focused";// view | read | focused
+       options.GenericRapiConfig.Theme = "dark"; // light | dark
+       options.GenericRapiConfig.SchemaStyle = "tree"; // table | tree
+       options.GenericRapiConfig.ShowMethodInNavBar = "as-colored-text"; // false | as-plain-text | as-colored-text | as-colored-block
+       options.GenericRapiConfig.UsePathInNavBar = true;
+
+       // required
+       options.SwaggerEndpoint("/swagger/v1/swagger.json", "RapiDocDemo API");
+       options.InjectJavascript("/swagger/ui/abp.js");
+       options.InjectJavascript("/rapi-doc/abp.rapi-doc.js");
+   });
    services.AddAbpSwaggerGen(
        options =>
        {
            options.SwaggerDoc("v1", new OpenApiInfo { Title = "Blogs API", Version = "v1" });
            options.DocInclusionPredicate((docName, description) => true);
            options.CustomSchemaIds(type => type.FullName);
        }
    );
}
For more configurations, please refer to https://rapidocweb.com/api.html.
For Web projects, see step 3 directly.
HttpApi.Host project
Configure RapiDocOptions as follows.
private void ConfigureSwaggerServices(IServiceCollection services, IConfiguration configuration)
{
+   Configure<RapiDocOptions>(options =>
+   {
+       options.RoutePrefix = "rapi-doc";//access url

+       // optional
+       options.GenericRapiConfig.RenderStyle = "focused";// view | read | focused
+       options.GenericRapiConfig.Theme = "dark"; // light | dark
+       options.GenericRapiConfig.SchemaStyle = "tree"; // table | tree
+       options.GenericRapiConfig.ShowMethodInNavBar = "as-colored-text"; // false | as-plain-text | as-colored-text | as-colored-block
+       options.GenericRapiConfig.UsePathInNavBar = true;
+
+       // required
+       options.SwaggerEndpoint("/swagger/v1/swagger.json", "RapiDocDemo API");
+       options.InjectJavascript("/swagger/ui/abp.js");
+       options.InjectJavascript("/rapi-doc/abp.rapi-doc.js");
+   });
    services.AddAbpSwaggerGenWithOAuth(
            authority: configuration["App:SelfUrl"],
            scopes: new Dictionary<string, string>()
            {
                { "RapiDocDemo", "RapiDocDemo API" }
            },
            options =>
            {
                options.SwaggerDoc("v1", new OpenApiInfo { Title = "RapiDocDemo API", Version = "v1" });
                options.DocInclusionPredicate((docName, description) => true);
                options.CustomSchemaIds(type => type.FullName);

+               // See https://rapidocweb.com/api.html#vendor-extensions
+               var oauth2SecurityScheme = options.SwaggerGeneratorOptions.SecuritySchemes.GetOrDefault+"oauth2");
+               if (oauth2SecurityScheme != null)
+               {
+                   oauth2SecurityScheme.Extensions = new +ictionary<string, Microsoft.OpenApi.Interfaces.IOpenApiExtension>()
+                   {
+                       {"x-client-id", new Microsoft.OpenApi.Any.OpenApiString("RapiDocDemo_RapiDoc")},
+                       {"x-default-scopes", new Microsoft.OpenApi.Any.OpenApiString("RapiDocDemo")},
+                   };
+               }
            }
        );
}
Modify the appsettings.json of the DbMigrator project as follows.
{
  ...
  "OpenIddict": {
      ...
+     "RapiDocDemo_RapiDoc": {
+       "ClientId": "RapiDocDemo_RapiDoc",
+       "RootUrl": "https://localhost:44394" // your host
      }
    }
  }
}
Configure the CreateApplicationsAsync method of the OpenIddictDataSeedContributor as follows.
private async Task CreateApplicationsAsync()
{
    ...
+   var rapidocClientId = configurationSection["RapiDocDemo_RapiDoc:ClientId"];
+   if (!rapidocClientId.IsNullOrWhiteSpace())
+   {
+       var rapidocRootUrl = configurationSection["RapiDocDemo_RapiDoc:RootUrl"]?.TrimEnd('/');
+
+       await CreateApplicationAsync(
+           name: rapidocClientId!,
+           type: OpenIddictConstants.ClientTypes.Public,
+           consentType: OpenIddictConstants.ConsentTypes.Implicit,
+           displayName: "RapiDoc Application",
+           secret: null,
+           grantTypes: new List<string>
+           {
+               OpenIddictConstants.GrantTypes.AuthorizationCode,
+           },
+           scopes: commonScopes,
+           redirectUri: $"{rapidocRootUrl}/rapi-doc/oauth-receiver.html",
+           clientUri: rapidocRootUrl
+       );
+   }
}
Run DbMigrator project.
Step 3. Modify OnApplicationInitialization.
public override void OnApplicationInitialization(ApplicationInitializationContext context)
{
    ...
-   app.UseAbpSwaggerUI(options => { options.SwaggerEndpoint("/swagger/v1/swagger.json", "Blogs API"); });
+   //app.UseAbpSwaggerUI(options => { options.SwaggerEndpoint("/swagger/v1/swagger.json", "Blogs API"); });
+   app.UseRapiDocUI(options =>
+   {
+       options.SwaggerEndpoint("/swagger/v1/swagger.json", "Blogs API");
+       options.InjectJavascript("/swagger/ui/abp.js");
+       options.InjectJavascript("/swagger/ui/abp.rapi-doc.js");
+   });
    ...
}
If you want to use swagger-ui and RapiDoc at the same time, you can leave out the app.UseAbpSwaggerUI comment.
Once configured, run the project, visit https://your-host/rapi-doc and start using it.
Preview
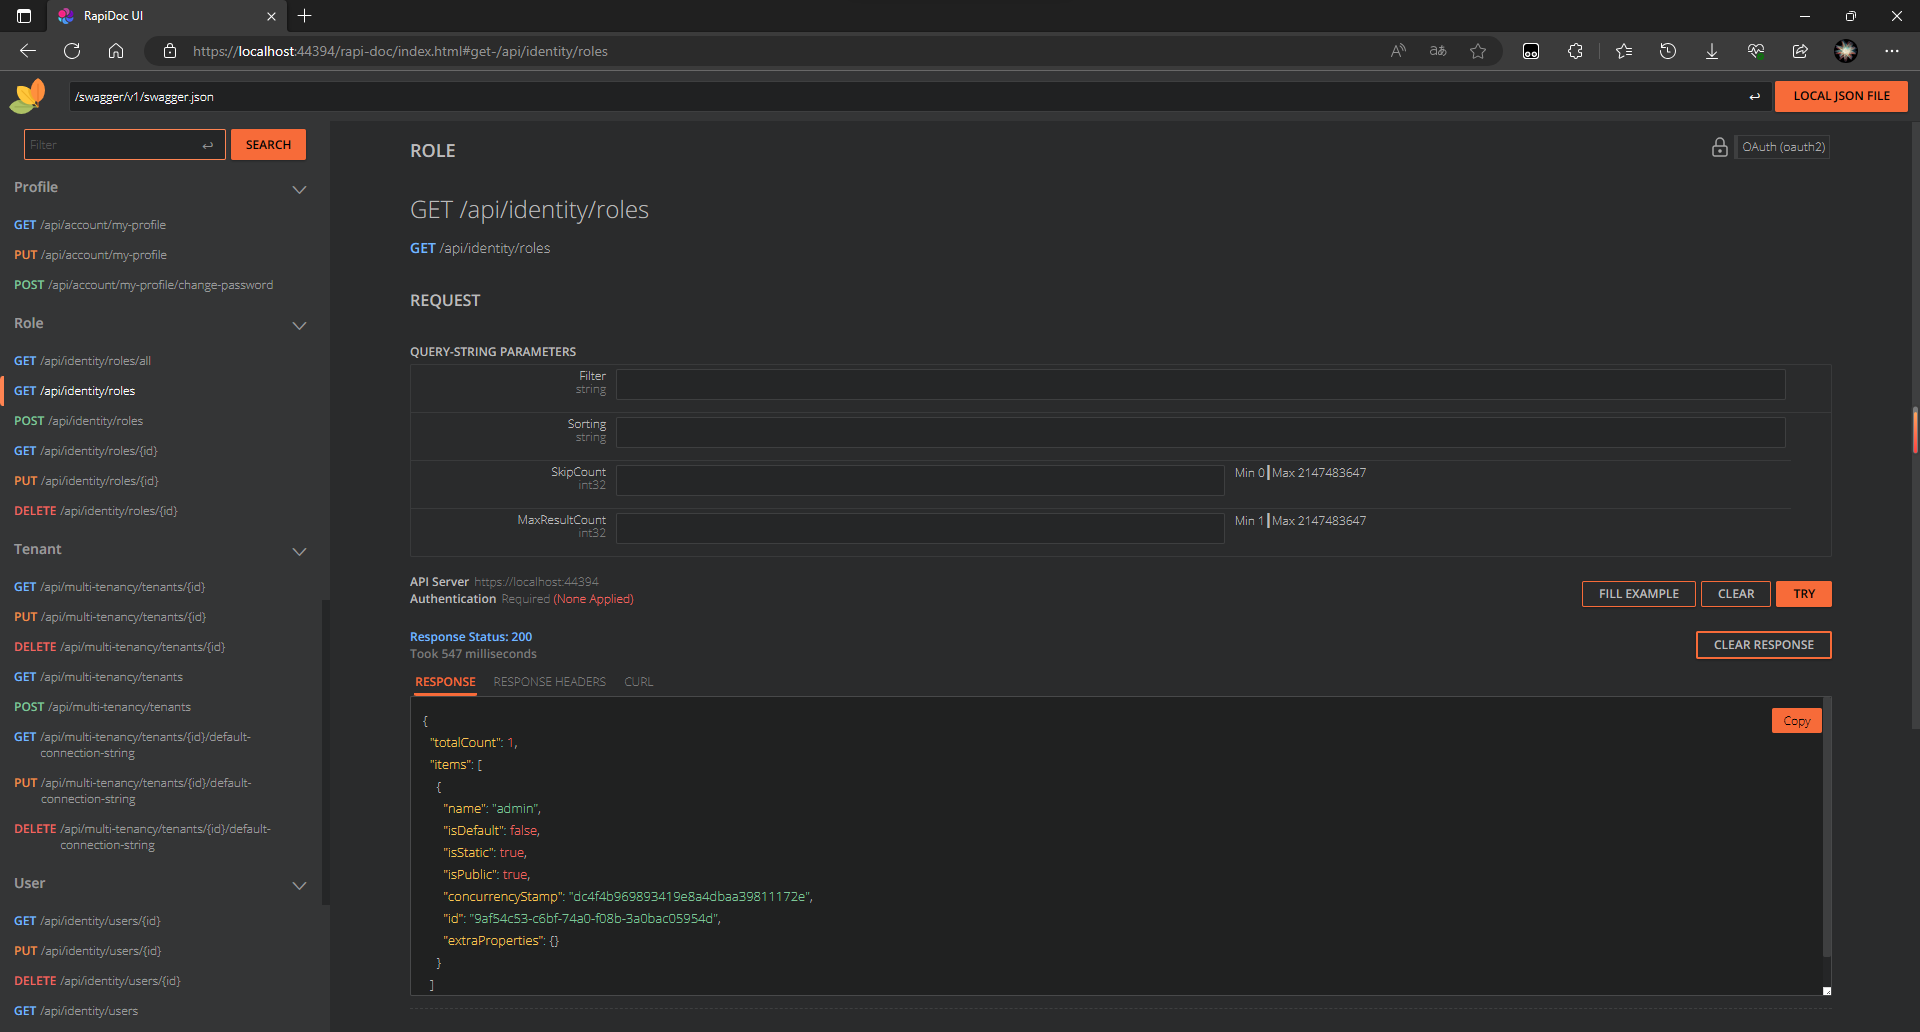
RenderStyle focused

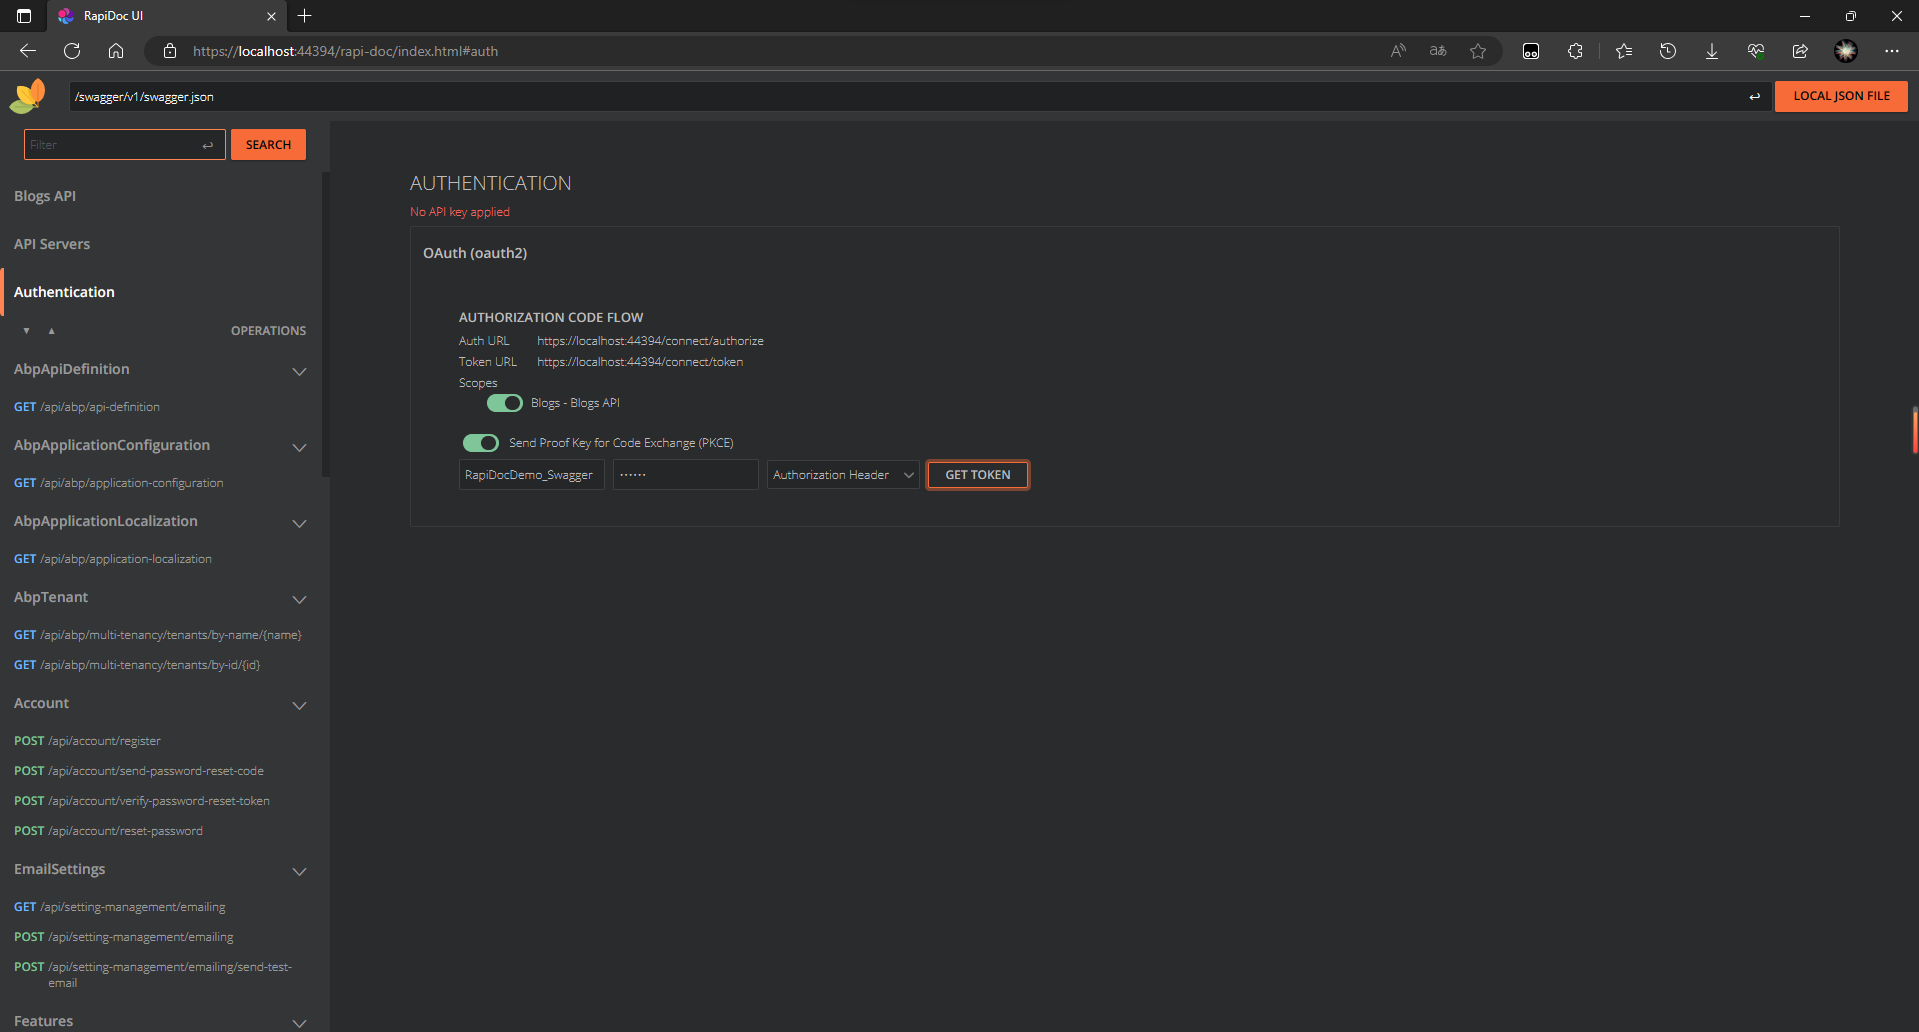
OAuth authorization

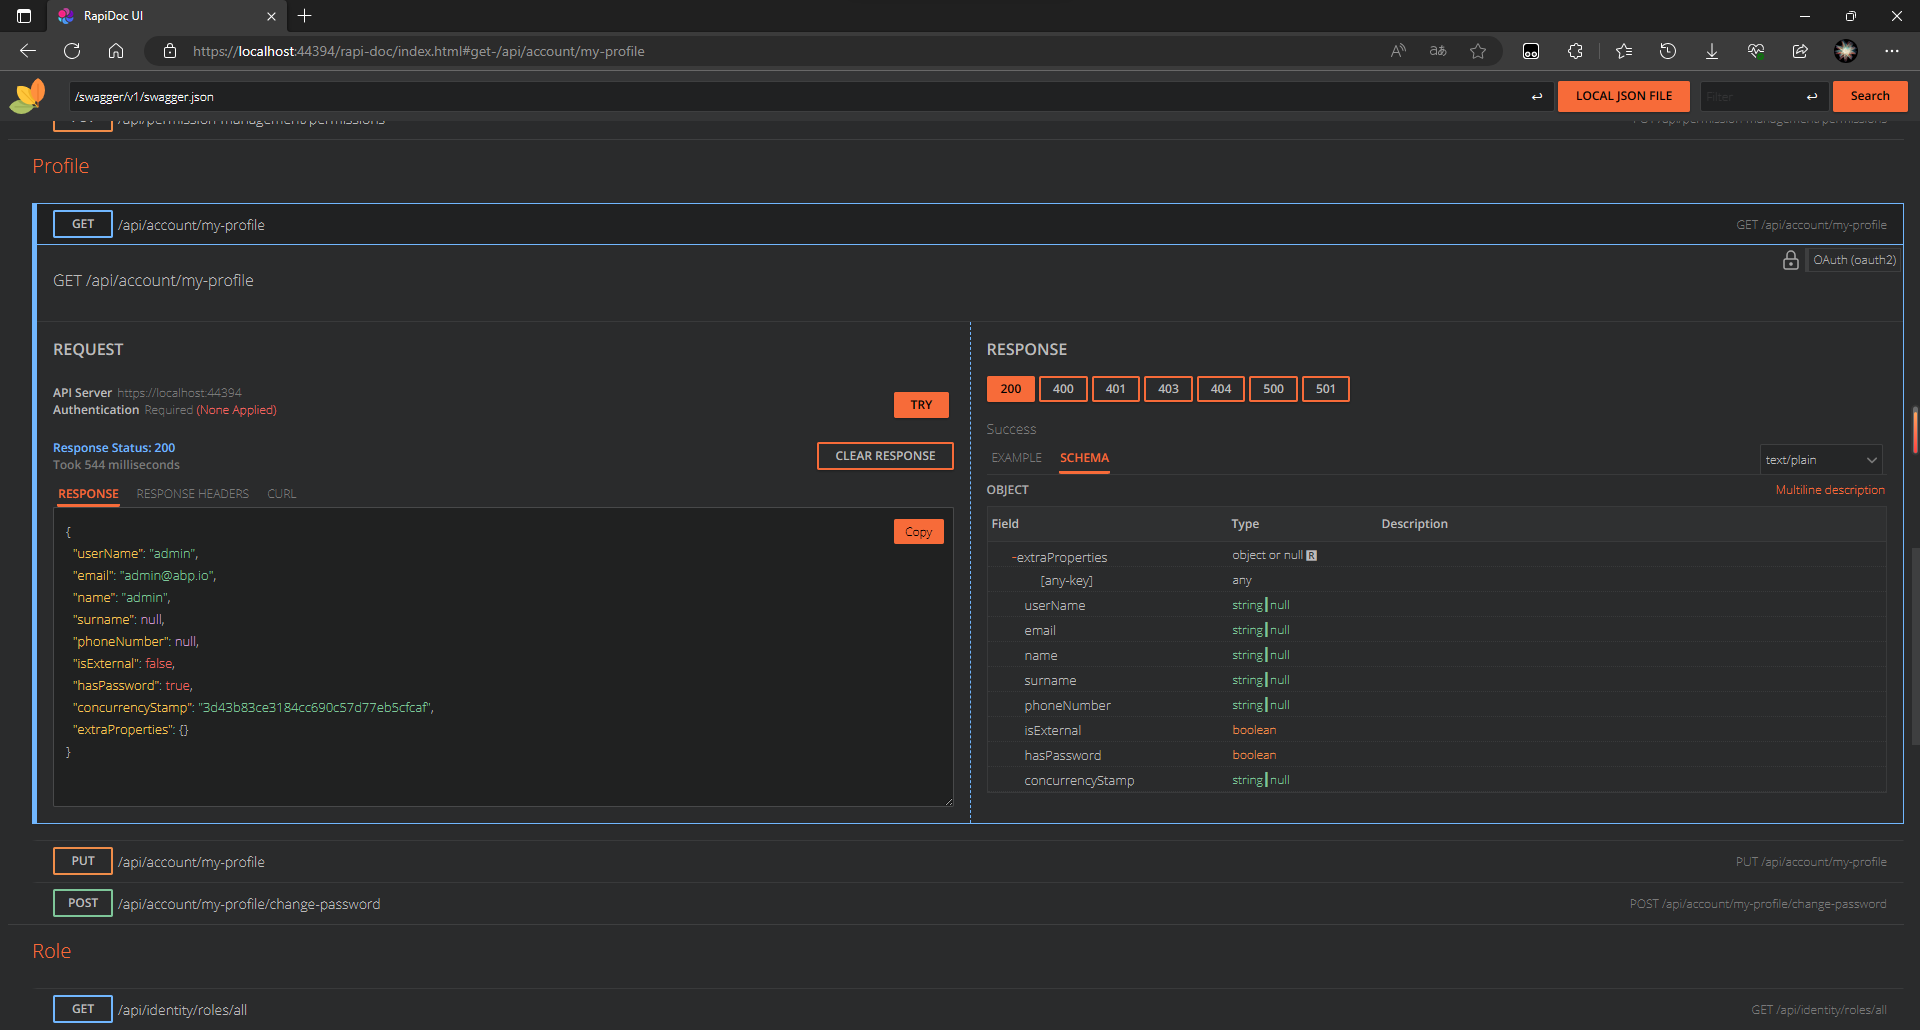
RenderStyle view


Comments
Alper Ebiçoğlu 138 weeks ago
great article
Kirti Kulkarni 138 weeks ago
Niice !!
Halil İbrahim Kalkan 137 weeks ago
Thank for your great article.
John Holliday 91 weeks ago
So...how to replace the RapiDoc logo?
Jadyn 90 weeks ago
Upgrade
IGeekFan.AspNetCore.RapiDocto 0.0.8https://github.com/luoyunchong/IGeekFan.AspNetCore.RapiDoc/blob/5f28731843114c3acda1d9182062f40d8e69ae16/src/IGeekFan.AspNetCore.RapiDoc/RapiDocOptions.cs#L59