Password required Redis with ABP Framework and Docker
Introduction
This article is designed to walk you through the steps of spinning up a Redis container via Docker Desktop, then modifying your ABP framework application to utilize that image. This will also work for any authenticated Redis instance you have.
In this article, we will walk through the step by step process to launch a Redis container in Docker Desktop, build a new ABP application, then configure the Redis caching service in the application to work with the docker image.
This code setup will also work for using an authenticated instance of Redis for the startup packages available in the commercial ABP Suite with an included public website.
Source Code
The source code of the basic application is available on Github.
Requirements
The following tools are needed to be able to run the solution.
- .NET 6.0 SDK
- Visual Studio 2022 (or another compatible IDE)
- MongoDB Server
- Docker Desktop is installed and ready
Development
Running the Redis image
Redis is a very popular docker image, so your docker desktop MIGHT have a link to run a new Redis instance right on the "Containers" tab like so:
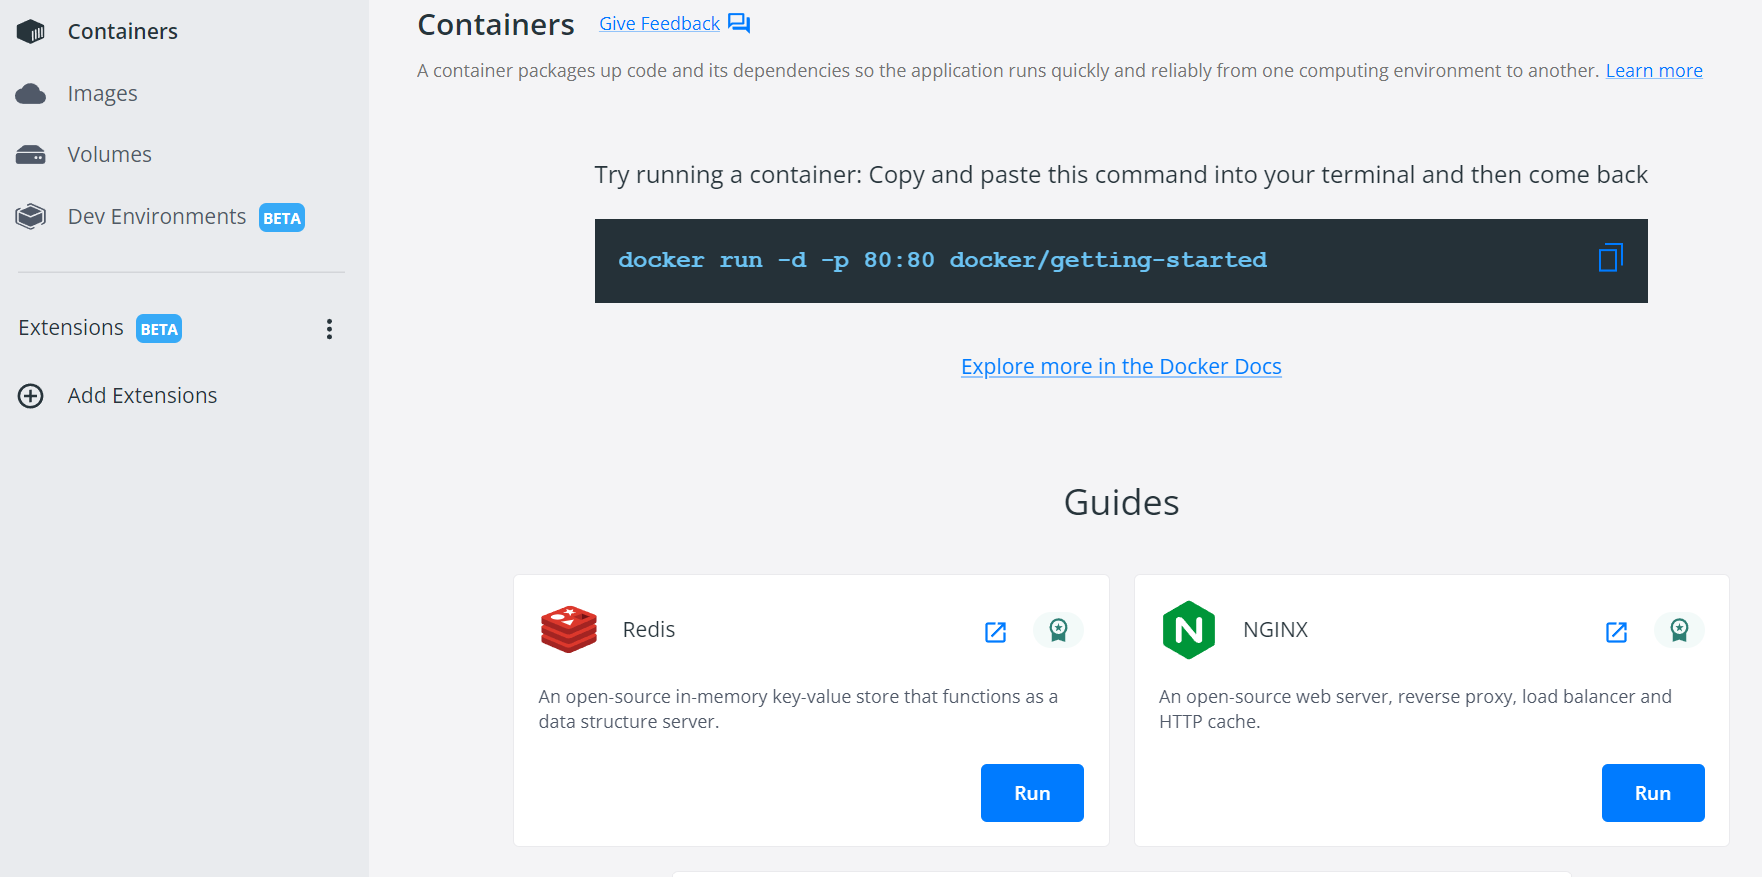
If that is the case, go ahead and hit the run button and note the connection string provided on the "Redis Overview" panel, then move onto the next step.
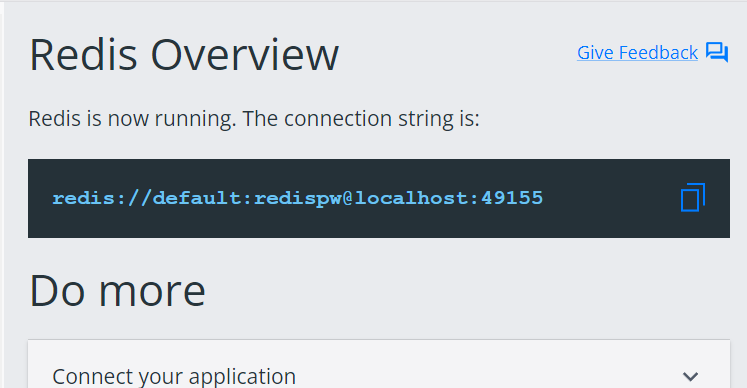
If you don't see the Redis card on the "Containers" tab, do the following:
- Open a command prompt
- Run the command
docker pull redis - Run the command
docker run --name redis -d -p 6379:6379 redis redis-server --requirepass "redispw"
If you are unable to use port 6379 on your host, change the -p parameter of the command to an available port on the host in the format -p :. I.e. -p 42789:6379. Either way, remember the port you used.
Testing / Monitoring Redis
Open Docker Desktop and navigate to the "Containers" tab. Locate your Redis container (my image has 2 because I ran a container using both of the methods described above, yours should only have one) and click on the "Open in Terminal" button show below:
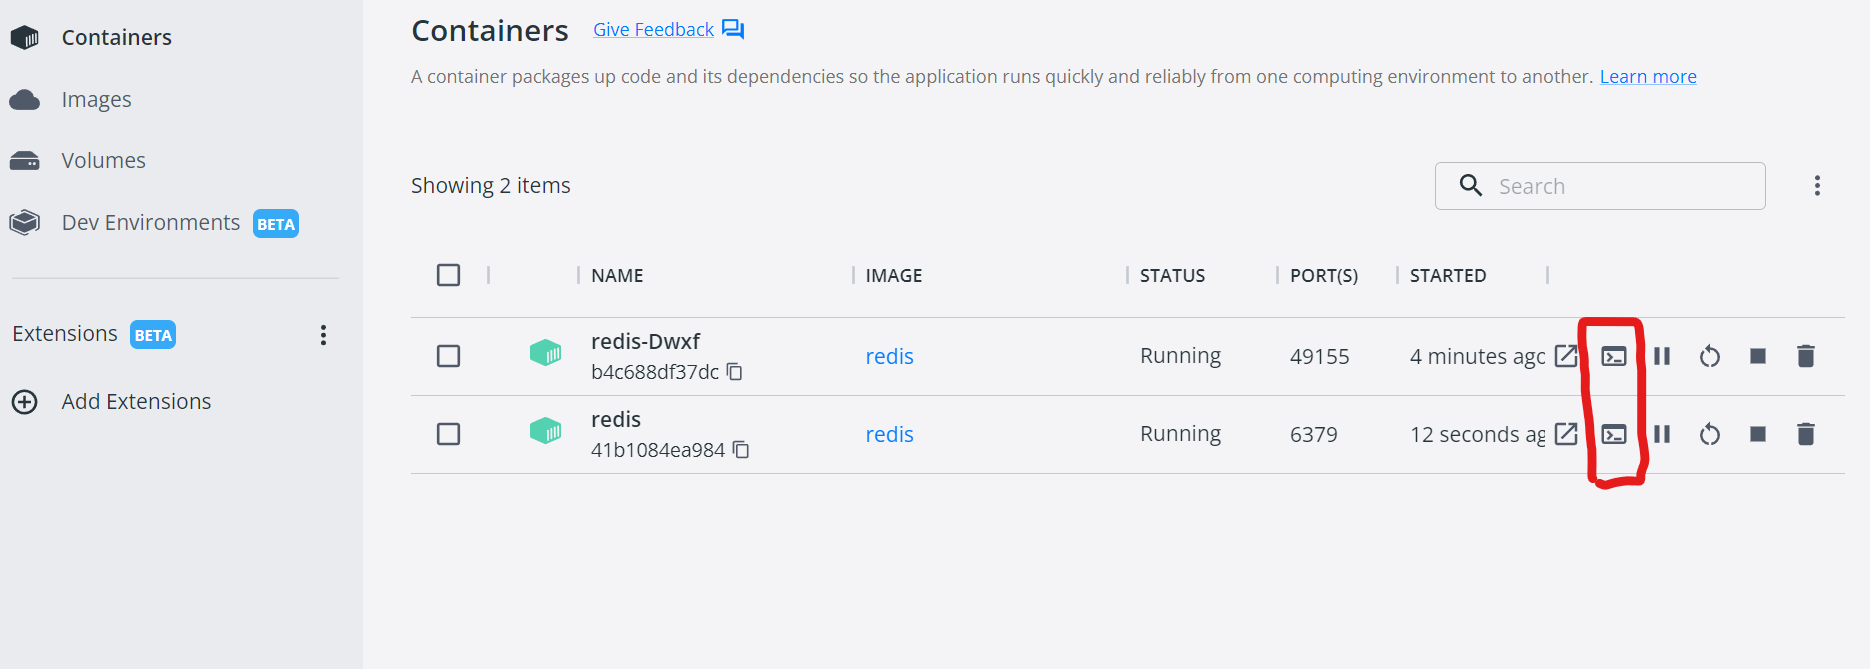
Once the terminal opens, run the following commands:
redis-cliauth default redispwmonitor
You should get an 'OK' response after the auth and monitor commands, as seen in the image below:
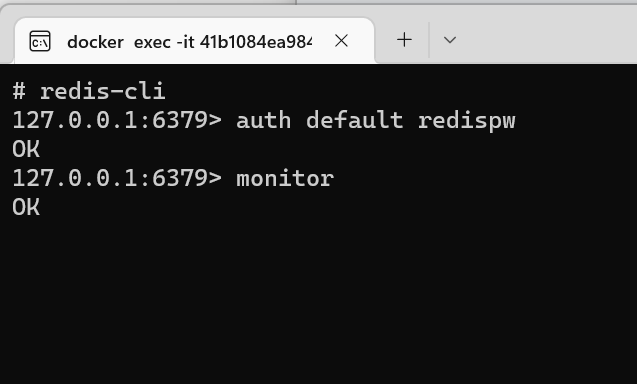
This means that the Redis server is running and you are able to successfully log into it. Keep the monitoring window open so you can see the cache working when you run your application later.
Creating a new Application
Use the following ABP CLI command to create the application
abp new RedisDemo -t app -u mvc --mobile none --database-provider mongodb -csf
Open the solution in your IDE of choice, validate the connection string in the appsettings.json files in both the dbmigrator and web projects, then run the dbmigrator console app to seed your database.
Install the Volo.Abp.Caching.StackExchangeRedis NuGet package
Using your favorite method for NuGet package installation, install the Volo.Abp.Caching.StackExchangeRedis package onto the RedisDemo.Web project.
Using the Package Manager Console, run this command:
Install-Package Volo.Abp.Caching.StackExchangeRedis
ABP Redis Caching Setup
In your Web project, open the appsettings.json file and add the following section to the end of the document:
"Redis": {
    "Host": "localhost:6379",
    "User": "default"
  }
Change the Host section to match your needs. For external services you can use a DNS or IP address. For example:
"test.byteology.co:42637" is a valid example. For our instances here, if you used a different host port when you spun up the Redis server, substitute that in the configuration file
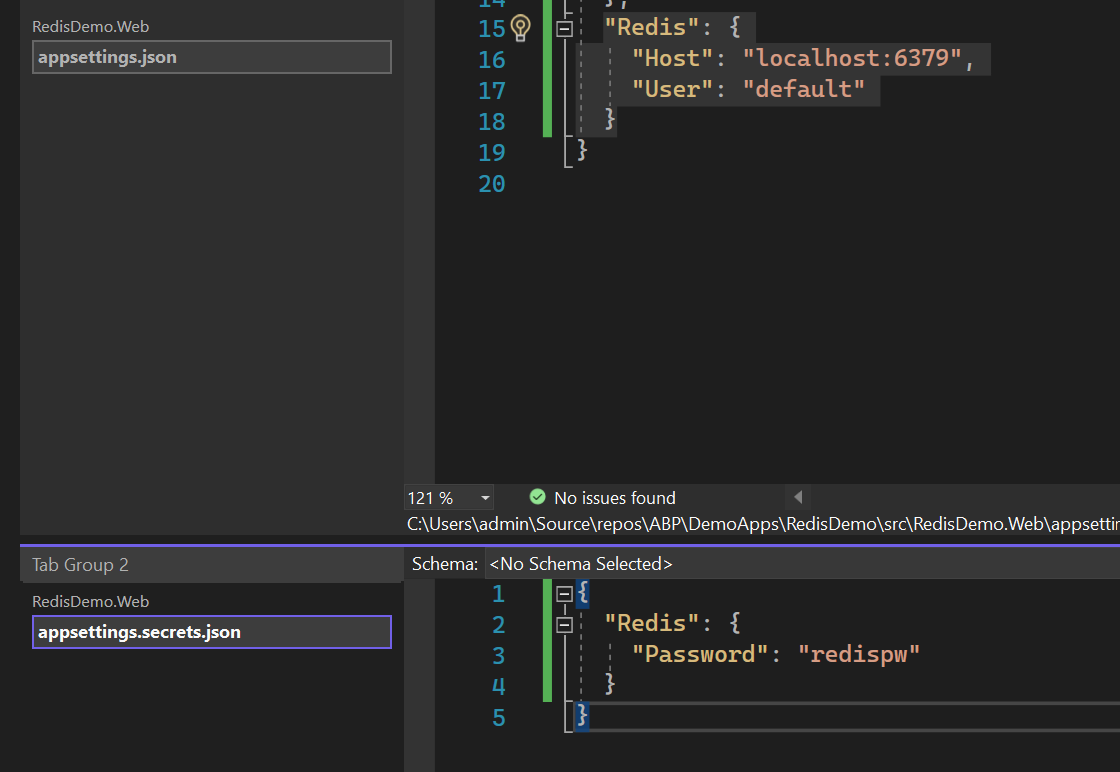
Then open the appsettings.secrets.json file and add the following section:
"Redis": {
    "Password": "redispw"
  }
The files should look something like this:
Open the RedisDemoWebModule.cs file and add the following USING statements:
using Microsoft.Extensions.Caching.StackExchangeRedis;
using StackExchange.Redis;
Add the following line just above your RedisDemoWebModule class declaration:
[DependsOn(typeof(AbpCachingStackExchangeRedisModule))]
Then add the following code in your ConfigureServices method:
Configure<RedisCacheOptions>(options =>
{
    var configurationOptions = ConfigurationOptions.Parse(configuration["Redis:Host"]);
    configurationOptions.User = configuration["Redis:User"];
    configurationOptions.Password = configuration["Redis:Password"];
    configurationOptions.ChannelPrefix = "RedisDemo:";
    options.ConfigurationOptions = configurationOptions;
});
That's all the configuration you need! This sets the hostname, port, user and password values pulled from your appsettings.json file.
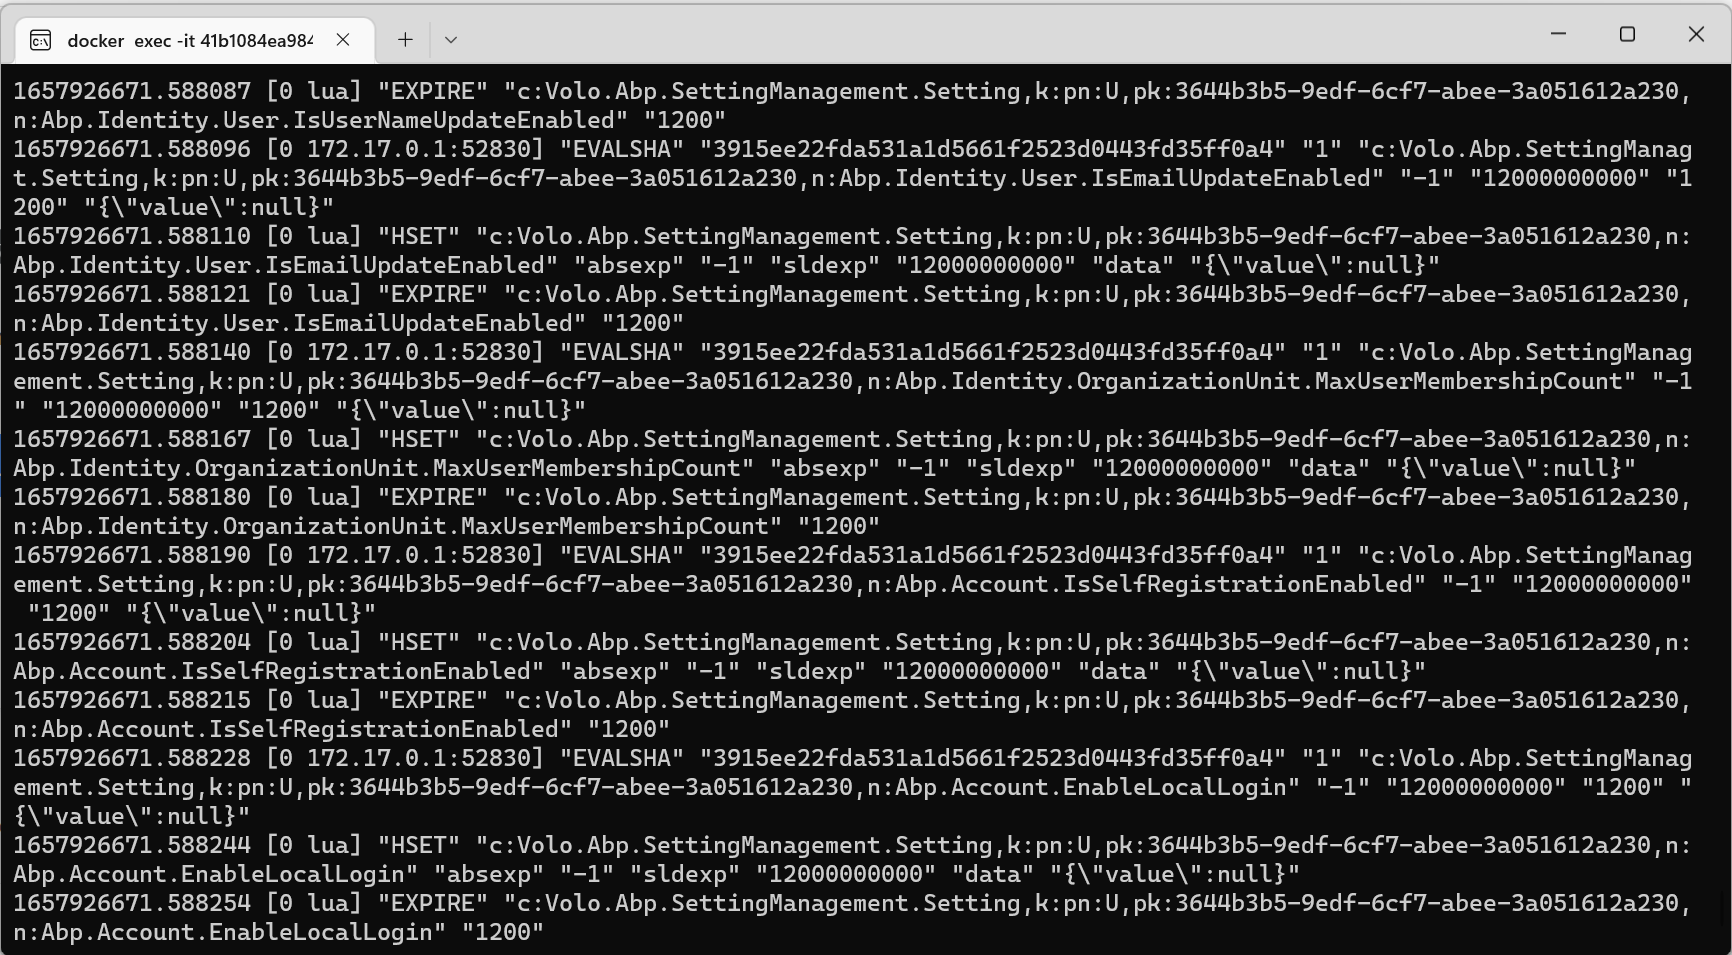
When you run the application, the terminal instance that you had running the "Monitor" command from earlier should show a lot of activity now, indicating that the system is working as expected!


Comments
No one has commented yet, be the first to comment!