Hello again,
Sure, this is possible. However, you will need to keep some files that are the part of the extension system.
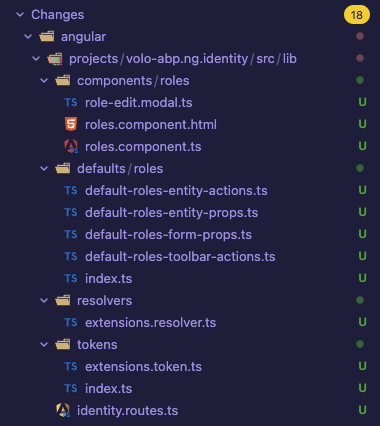
I suggest you to keep these files for this example:
You should update the imports in these files. You need to use the exact path for the component and the library paths for the ones that you are not overriding.
In addition, you need to update the routes file like this:
// app.routes.ts
export const APP_ROUTES: Routes = [
  {
    path: 'identity',
    loadChildren: () =>
      import('../../projects/volo-abp.ng.identity/src/lib/identity.routes').then(c =>
        c.createRoutes()
      ),
  },
];
If you need a sample for such approach, I can provide it via e-mail.
Thank you for your cooperation.
Hello,
I see that you have connected the source code to your project. You should also modify the paths in tsconfig.json file. Here is an example — You need to modify according to your path:
"paths": {
  "@volo/abp.ng.identity": [
		"projects/volo-abp.ng.identity/src/public-api.ts"
  ],
  "@volo/abp.ng.identity/proxy": [
		"projects/volo-abp.ng.identity/proxy/src/public-api.ts"
	],
	"@volo/abp.ng.identity/config": [
		"projects/volo-abp.ng.identity/config/src/public-api.ts"
	]
},
If you are using the latest application builder, you can resolve the possible injection context by running the symlink commands.
Update package directories in angular/scripts/symlink-config.ps1
# Symlink Configuration
# Shared configuration for symlink management scripts

# Define the package directories that need symlink management
# example: "../../modules/Volo.Abp.Identity.Pro/angular"
$script:PackageDirectories = @(
    "../projects/volo-abp.ng.identity"
)

...
Then, you can run this command under angular directory yarn symlinks:setup.
You can let me know if you need further assistance. Thank you for your cooperation.
The logs can be found in %UserProfile%\.abp\suite\logs for windows machines and ~/.abp/suite/logs for unix systems.
Hello,
Thank you for providing extra details about your problem. I have checked these replacements and the flow needs to be working fine. However, it depends on how you have replaced these components. Could you clarify whether you have connected the source code?
Could you also try the abp-old command to create a project with a specific version? You can check this documentation for details.
Hello,
Could you please specify the ABP version that you have been using? That would also be the best if you could share the suite logs regarding the error.
Thank you for your cooperation.
Hello,
Normally, you should be able to replace the components by following the documentation here: https://abp.io/docs/latest/framework/ui/angular/component-replacement
Could you please provide the steps to reproduce the issue, along with the ABP version you are using?
Thank you for your cooperation.
Hello,
We have done this migration in the latest 10.0 version in this issue. You can check this release post for the details.
Thank you for your cooperation.
This customization should not affect this part unless you see a warning or error in the console.
If you have enabled the 2FA through this modal for the user 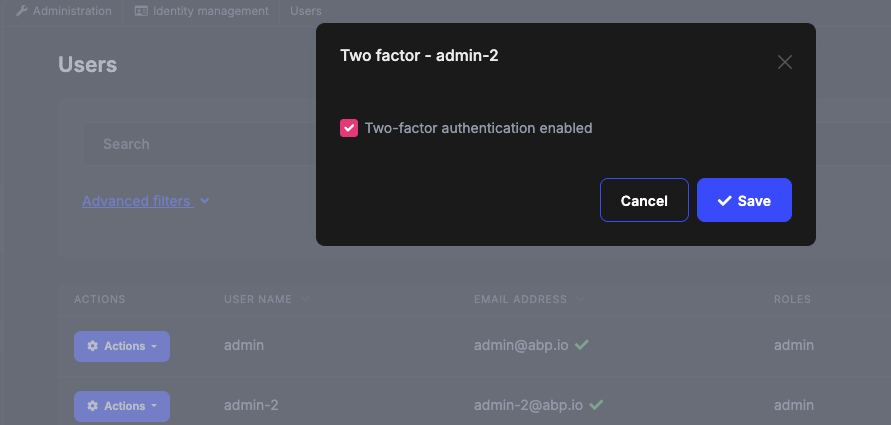 you should be able to see the authenticator app settings both for the tenant and the host user.
Thank you for specifying the version again. I had tried with this version particularly. However, I am unable to produce the problem. Have I followed your steps right? May I also ask whether you have made any customization that may affect this part?


