


Adopting the new .slnx format to organize applications and services
Introduction
This post is part of my Managing Communication and Restructring blazor UI in ABP Multi-App.
We are working with three primary applications:
Prabh.Stock– Manages stock-related functionalityPrabh.News– Handles market news and updatesPrabh.Finance– Aggregates financial data, integrating both stock and news insights
In this article, we’ll simplify running one or more applications simultaneously by introducing a new .slnx solution file at the root level. We’ll add all related projects into it using Visual Studio and organize them into solution folders for better maintainability.
These applications use Blazor for the UI layer and PostgreSQL as the database provider.
💻 Source Code
Source code of the this completed post is available on GitHub.
🖼️ Screenshots
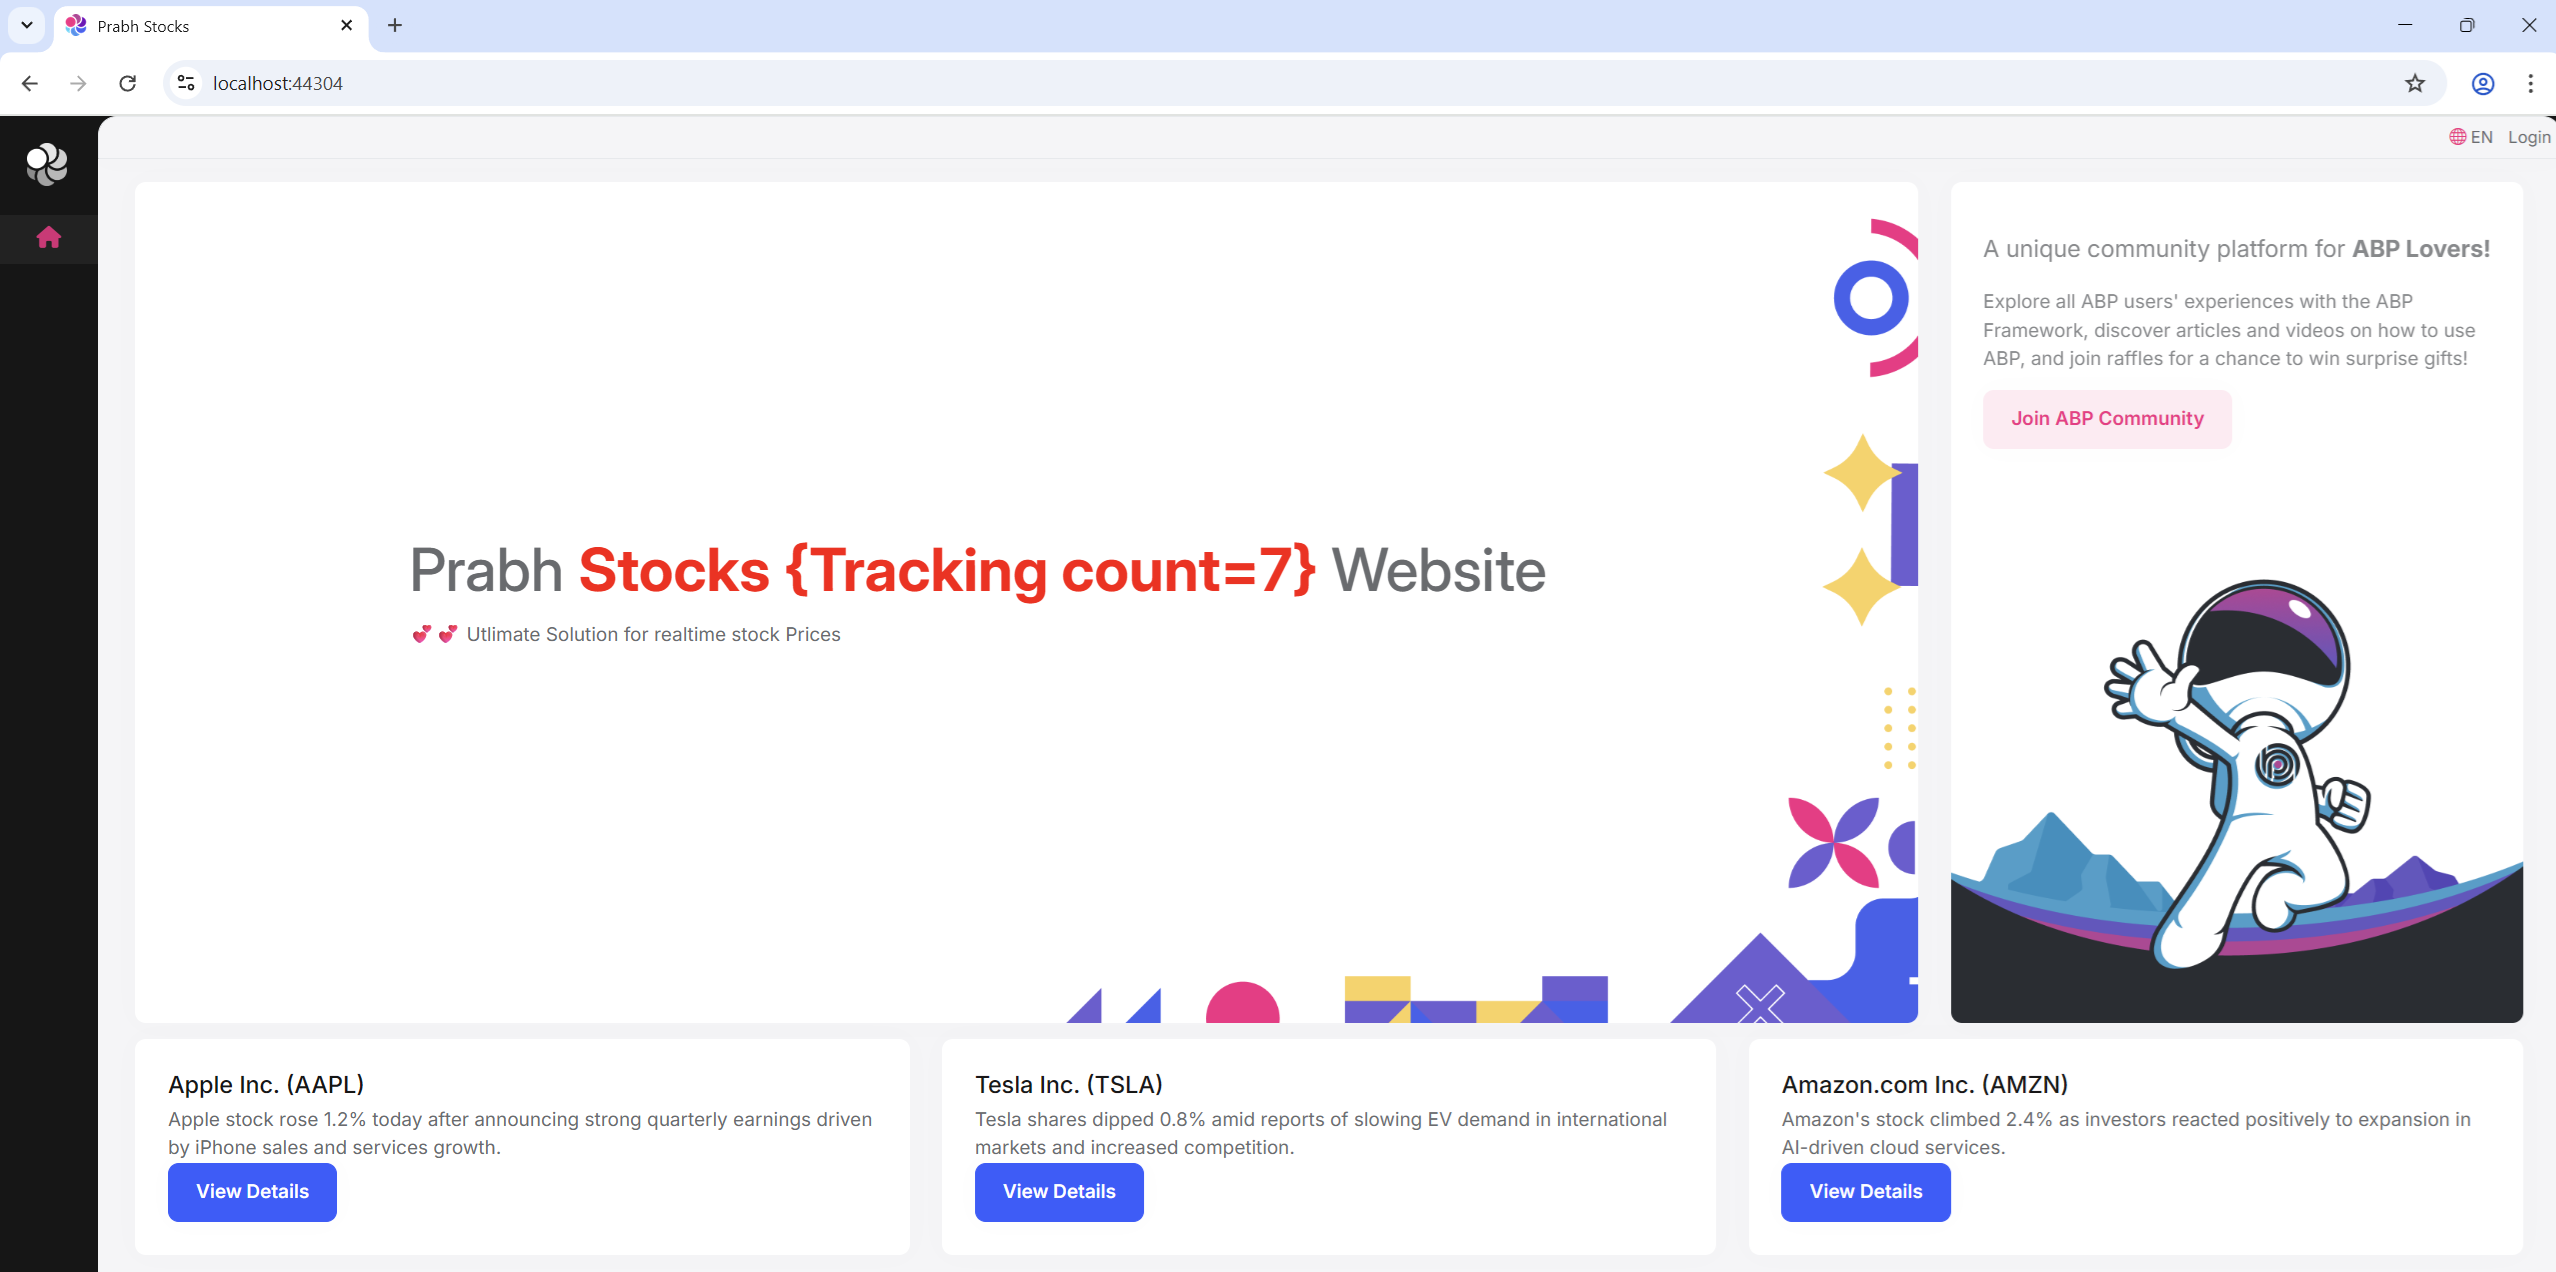
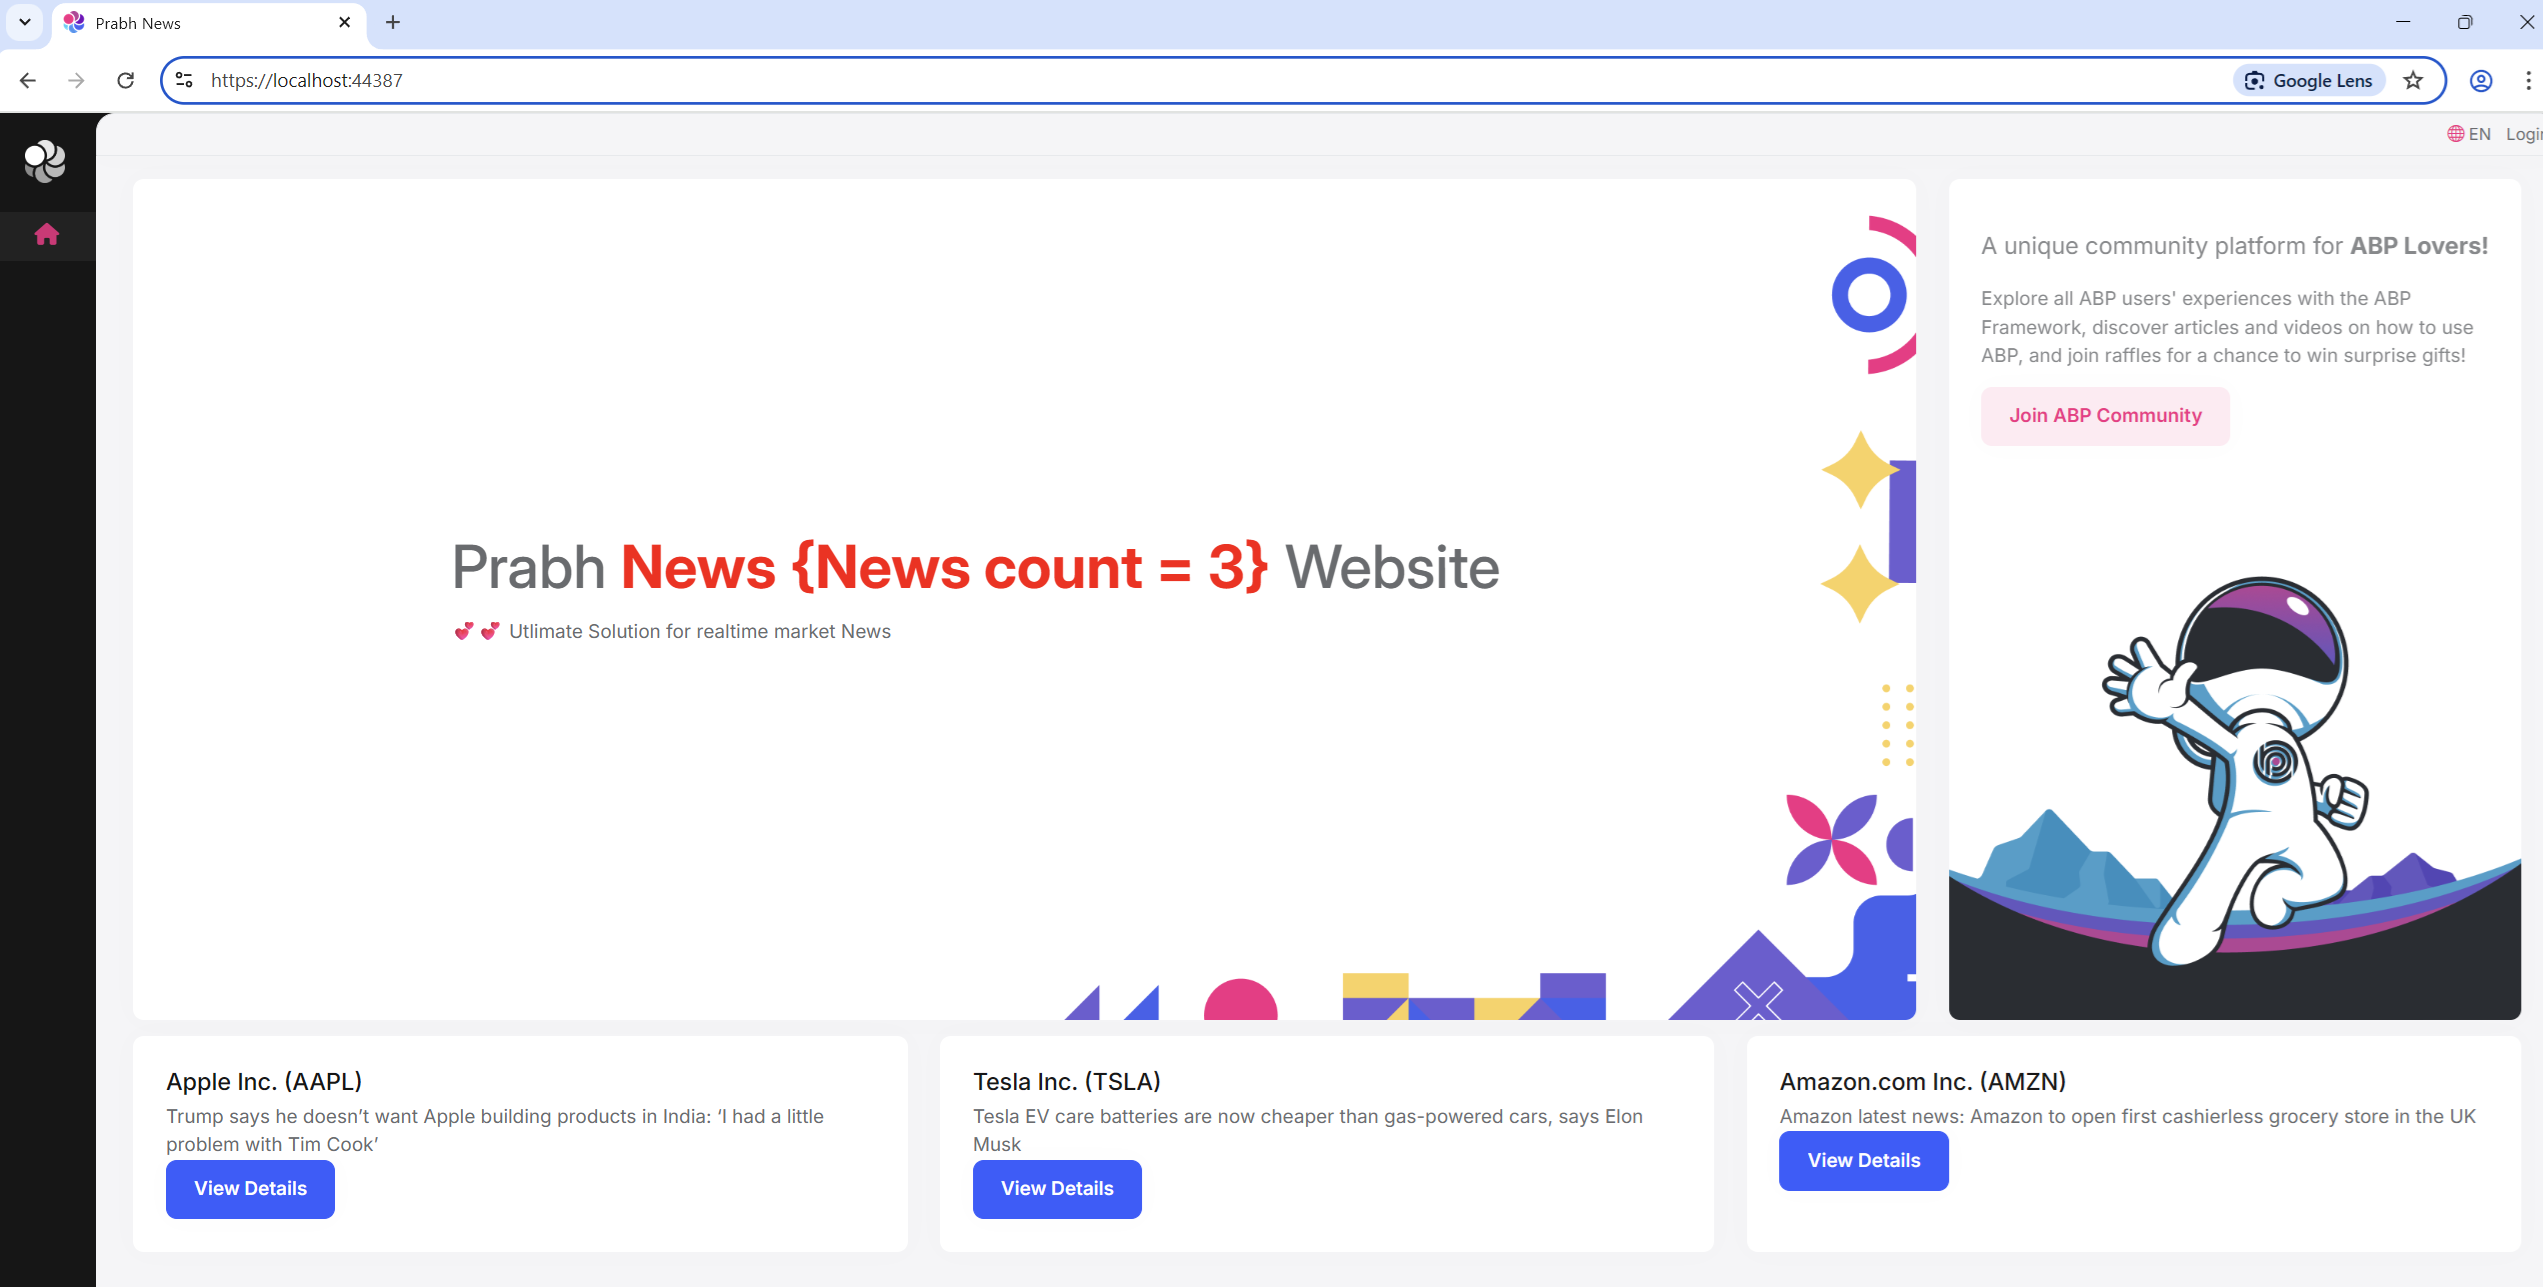
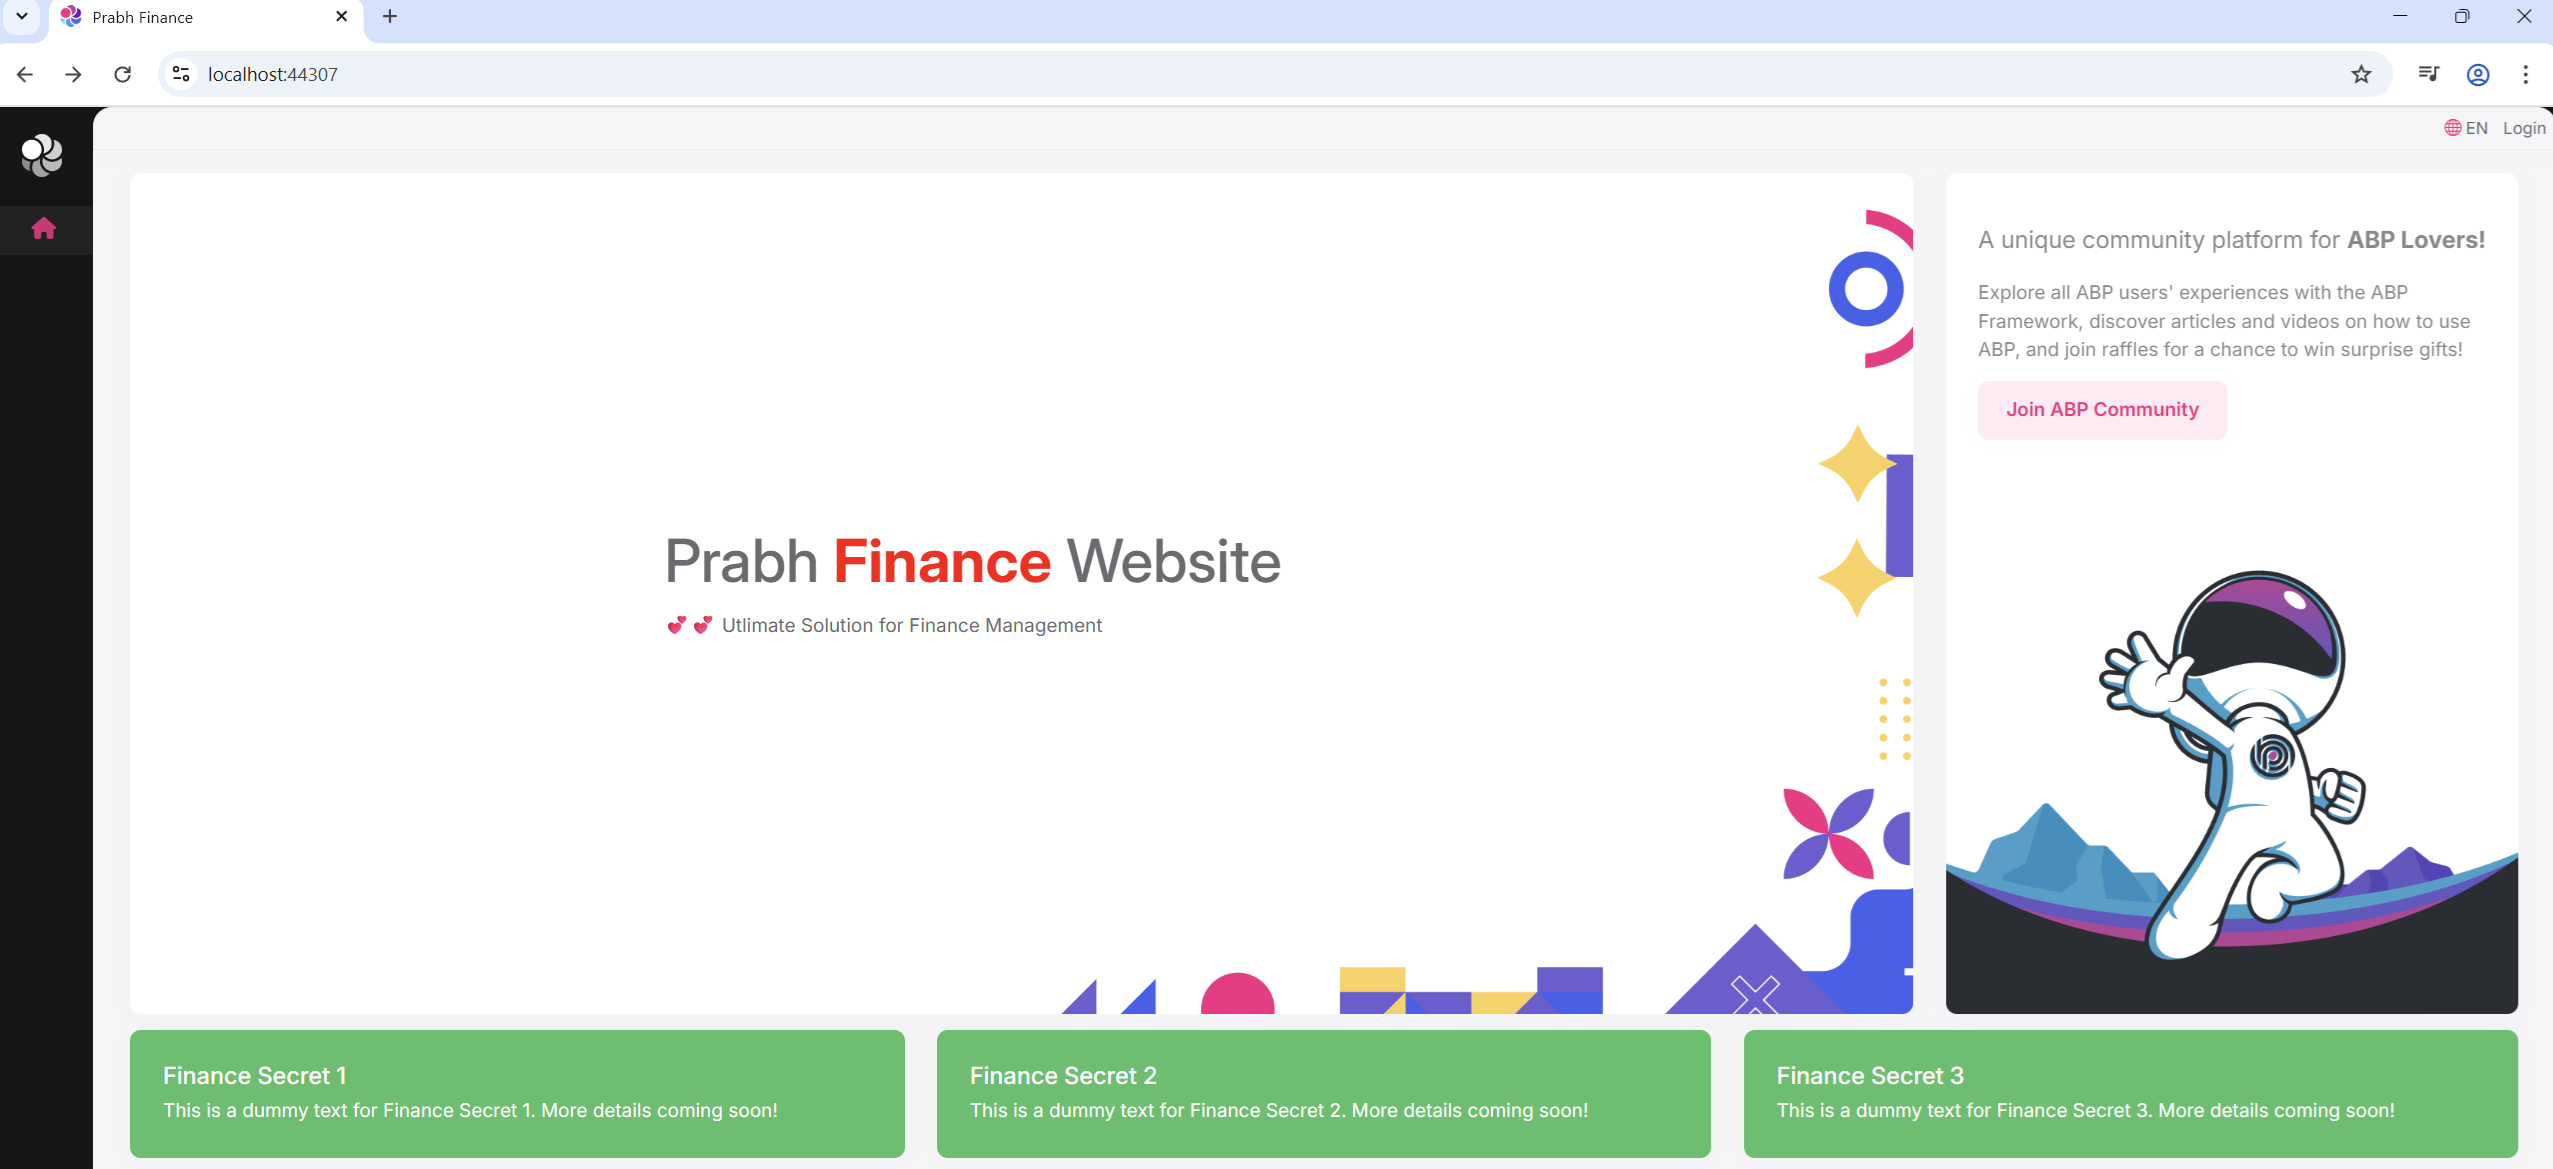
Here, the applications screenshot of all three applications.
Prabh.Stock
Prabh.News
Prabh.Finance
Requirements
The following tools are needed to be able to run the solution.
- .NET 9.0 SDK
- Visual Studio 2022 or another compatible IDE
- PostgreSQL
Troubleshooting tip
- If you try to run more than one ABP application's UI at the same time through visual studio, you might encounter issues while running. A simple workaround is to open the second application in a different browser.
⚙️ Setup
Open & Run the Application
- Open the Stock Application solution in Visual Studio (or your favorite IDE).
- Run the
Prabh.Stock.DbMigratorapplication to seed the initial data. - Run the
Prabh.Stock.HttpApi.Hostapplication that starts the server side. - Run the
Prabh.Stock.Blazorapplication to start the UI. - Repeat above steps for Prabh.News and Prabh.Finance
- Stop All Applications after checking they are working fine.
Development
🆕 Add a new Sln file by adding typing dotnet new sln -n Prabh.Apps in the root directory
Add a empty solution name 'Prabh.Apps' in the root directory

Ok Here is the Twist, dotnet has introduced a new compact & clean format slnx format. so lets migrate to it by typing
dotnet sln migrate.

Here is the format of new slnx
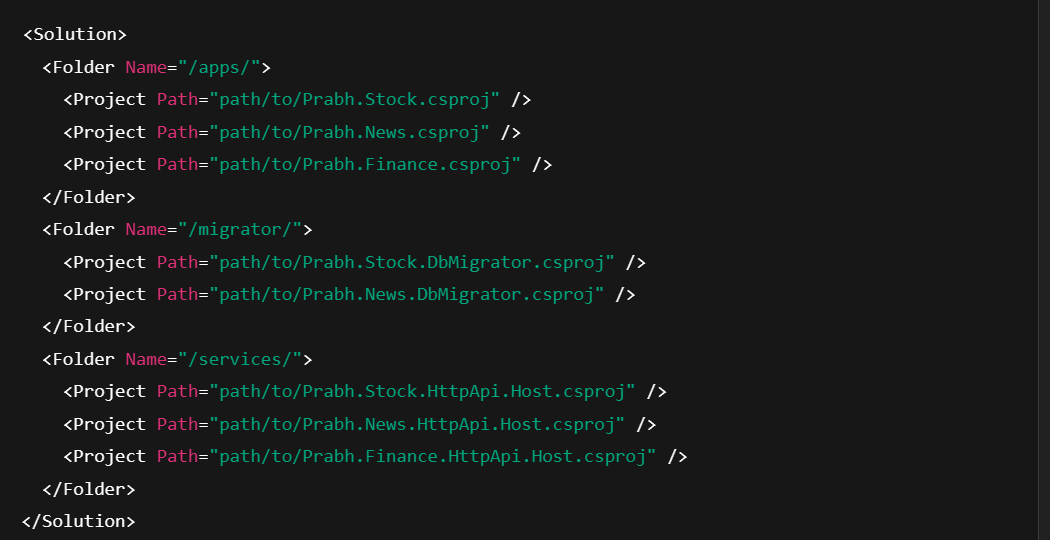
Now open the visual studio using this new
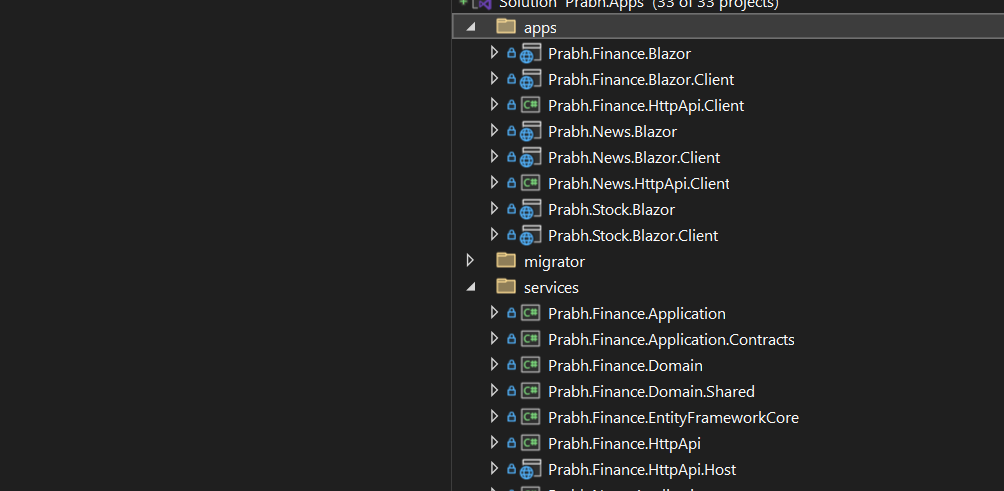
Prabh.Apps.slnxThen Right click and go to
Add->New Solution Folder
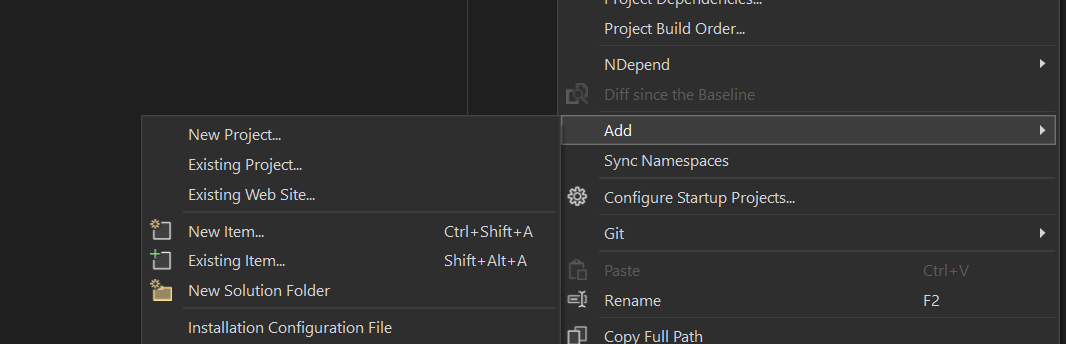
- Right click on solution folder and add existing project.
🔌 Run multiple apps
- To run everything together:
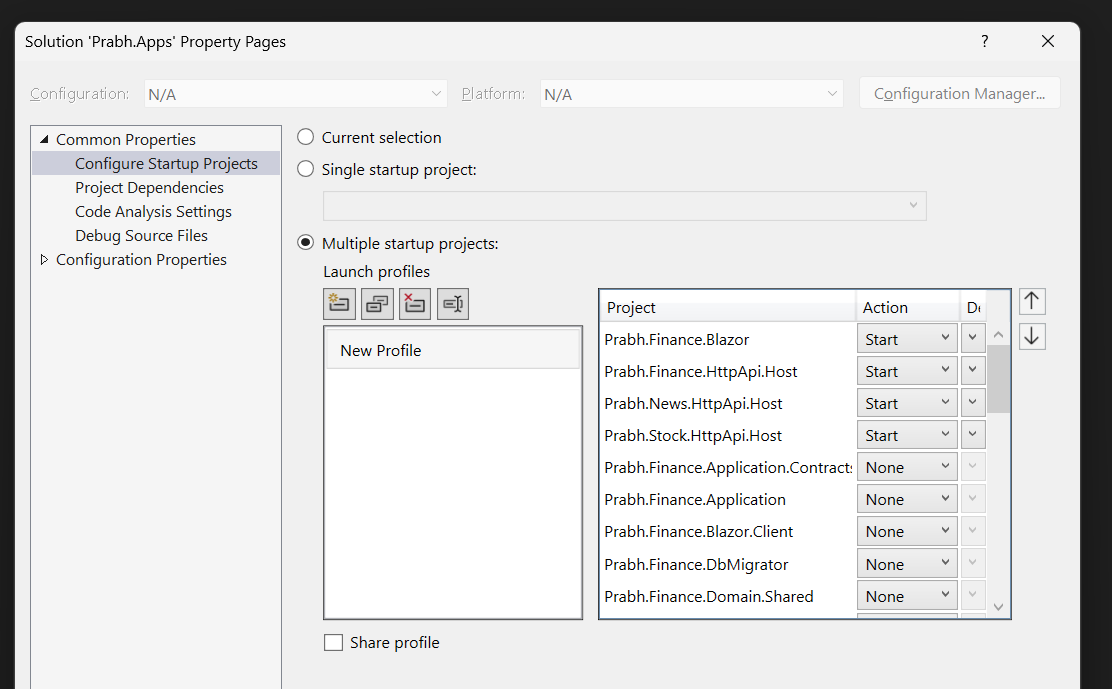
Right-click on the solution > Set Startup Projects
Choose Multiple startup projects
Select:
Prabh.Stock.HttpApi.HostPrabh.News.HttpApi.HostPrabh.Finance.HttpApi.HostPrabh.Finance.Blazor
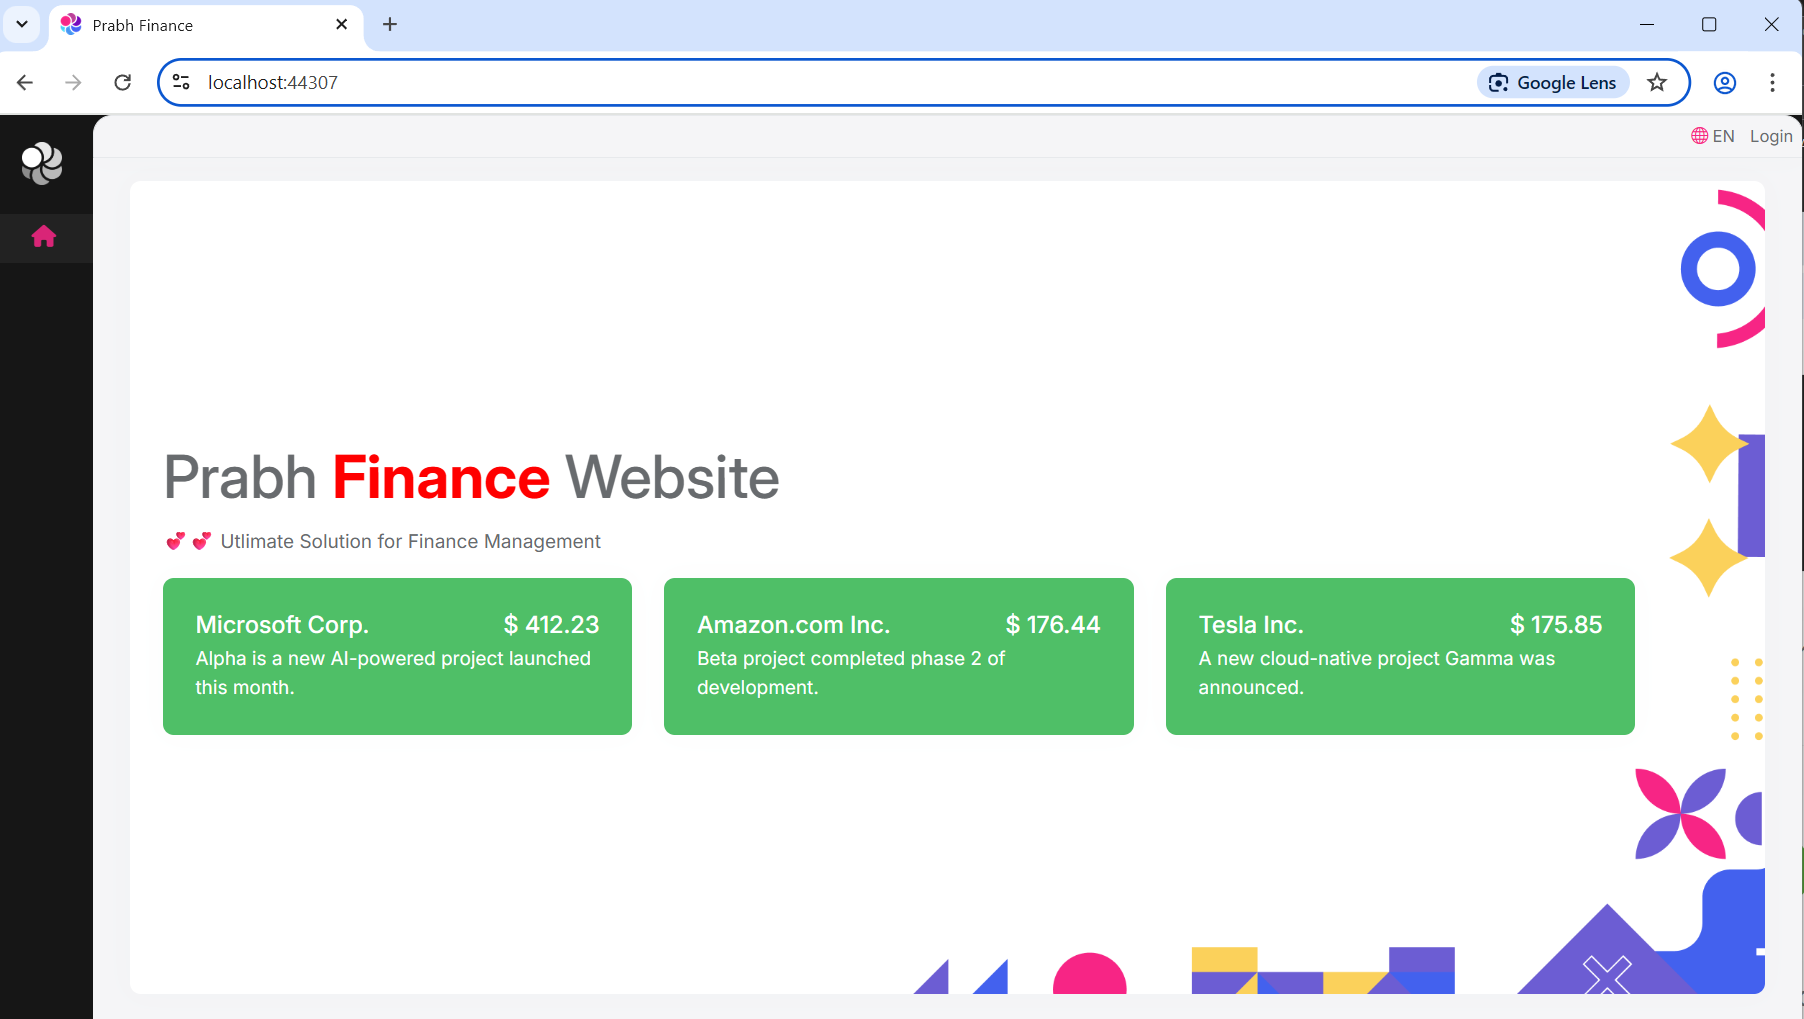
Once started, you’ll have running instances of :
Prabh.Finance UIand allFinance, Stock, and Newsbackends
Source Code
Source code of the this completed post is available on GitHub.
Next
While we are now able to access the Finance UI, along with the Finance, Stock, and News APIs, from a single unified solution, there’s still room for improvement.
In the upcoming blog posts, we’ll focus on decoupling these applications for better scalability and cleaner architecture. This will be done in two stages:
Replacing dynamic proxies with static proxies
Switching from project references to NuGet package references
Each step will be covered in a dedicated post to keep the process clear and focused.


Comments
No one has commented yet, be the first to comment!