Using Syncfusion Components With the ABP Framework
Hi, in this step by step article, I will show you how to integrate Syncfusion, a blazor UI components into ABP Framework-based applications.
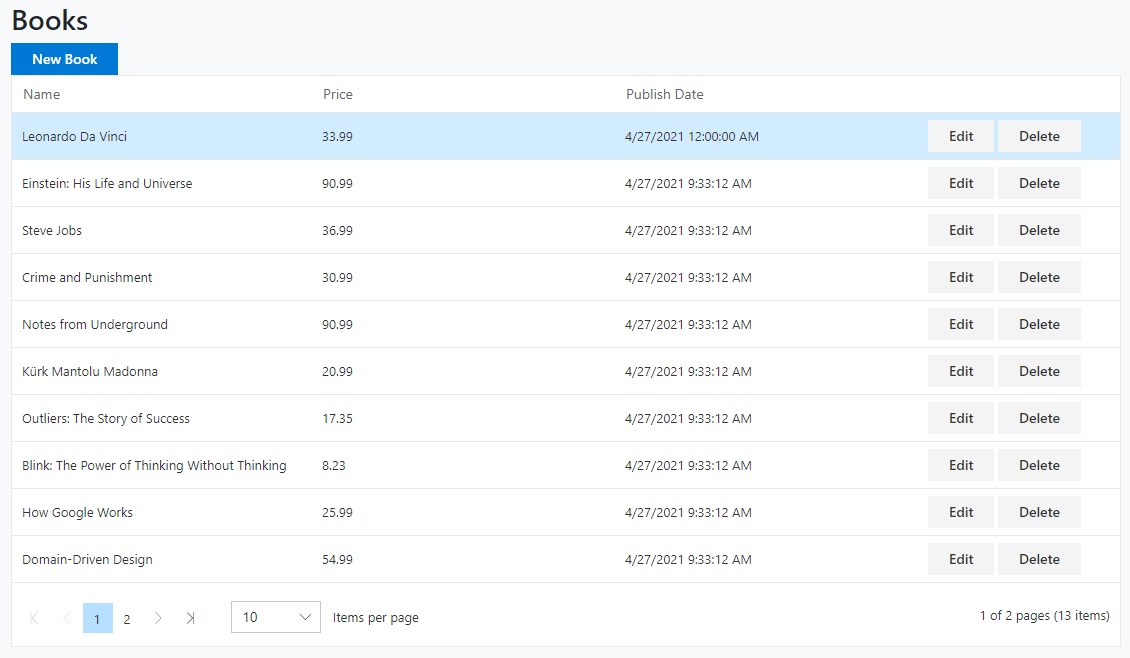
(A screenshot from the example application developed in this article)
Create the Project
First thing is to create the project. ABP Framework offers startup templates to get into business faster.
In this article, I will create a new startup template with EF Core as a database provider and Blazor for UI framework. But if you already have a project with Blazor UI, you don't need to create a new startup template, you can directly implement the following steps to your existing project.
If you already have a project with the Blazor UI, you can skip this section.
- Before starting the development, we will create a new solution named
SyncfusionSample(or whatever you want). We will create a new startup template with EF Core as a database provider and Blazor for UI framework by using ABP CLI:
md SyncfusionSample
cd SyncfusionSample
After we have navigated inside of SyncfusionSample directory, we can create a new project. Note that I am creating Blazor Server (blazor-server) project. If you want to create a regular Blazor WebAssembly project just use blazor keyword instead.
abp new SyncfusionSample -u blazor-server
and
dotnet restore
- Our project boilerplate will be ready after the download is finished. Then, we can open the solution in the Visual Studio (or any other IDE) and run the
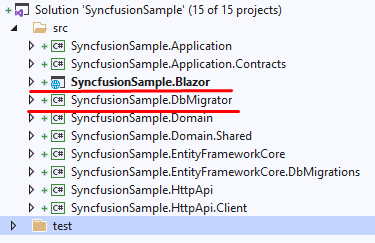
SyncfusionSample.DbMigratorto create the database and seed initial data (which creates the admin user, admin role, permissions etc.)
- After database and initial data created,
- Run the
SyncfusionSample.Blazorto see our UI working properly.
Default login credentials for admin: username is admin and password is 1q2w3E*
Install Syncfusion
You can follow this documentation to install Syncfusion packages into your computer.
Adding Syncfusion NuGet Packages
Select SyncfusionSample.Blazor as the default project and then install NuGet packages.
Install-Package Syncfusion.Blazor.Grid
Register Syncfusion Resources
Add the following line to the HEAD section of the
_Host.cshtmlfile within theSyncfusionSample.Blazorproject:<head> <!--...--> <link href="_content/Syncfusion.Blazor.Themes/fabric.css" rel="stylesheet" /> </head>In the
SyncfusionSampleBlazorModuleclass, call theAddSyncfusionBlazor()method from your project'sConfigureServices()method:public override void ConfigureServices(ServiceConfigurationContext context) { var hostingEnvironment = context.Services.GetHostingEnvironment(); var configuration = context.Services.GetConfiguration(); // ... context.Services.AddSyncfusionBlazor(); Syncfusion.Licensing.SyncfusionLicenseProvider.RegisterLicense("YOUR LICENSE KEY"); }To get the
LICENSE KEYyou can login into your Syncfusion account and request the key. Trial keys are also available.Register the SyncfusionSample.Blazor namespace(s) in the
_Imports.razorfile:@using Syncfusion.Blazor @using Syncfusion.Blazor.Buttons @using Syncfusion.Blazor.Inputs @using Syncfusion.Blazor.Calendars @using Syncfusion.Blazor.Popups @using Syncfusion.Blazor.Grids
The Sample Application
We have created a sample application with SfGrid example.
The Source Code
You can download the source code from here.
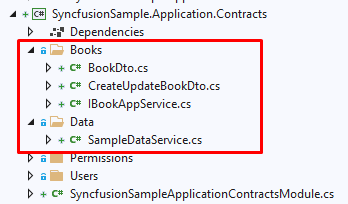
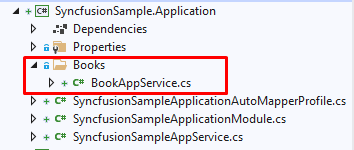
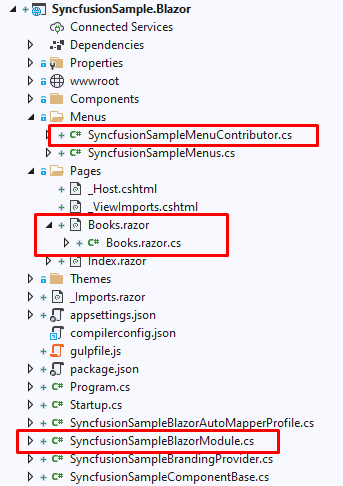
The related files for this example are marked in the following screenshots.
Conclusion
In this article, I've explained how to use Syncfusion components in your application. ABP Framework is designed so that it can work with any UI library/framework.


Comments
QiMing Tan 250 weeks ago
In blazor webassembly or angular project,How to implement server side filtering, paging and sorting in SfGird; Instead of returning all the data.
Mladen Macanovic 250 weeks ago
Hi, in this guide we only provided a startup solution to integrate Syncfusion into the ABP framework. For advanced scenarios, you should contact Syncfusion support or go through their documentation as that is the best way to learn.
Semih AYYILDIZ 221 weeks ago
Youtube, Kudvenkat.