


Creating the Initial Ordering Module
In this part, you will build a new module for placing orders and install it in the main CRM application.
Creating a Standard Module
In the first part of this tutorial, you created the ModularCrm solution with selecting the Setup as a modular solution option and adding a module named ModularCrm.Catalog using the Standard Module template.
Now, you will create a second module for the ModularCrm solution through ABP Studio's Solution Explorer. This new module, called ModularCrm.Ordering, will handle all order related functionality in the application.
To add a new module, right-click the modules folder on the Solution Explorer panel, and select the Add -> New Module -> Standard Module command:
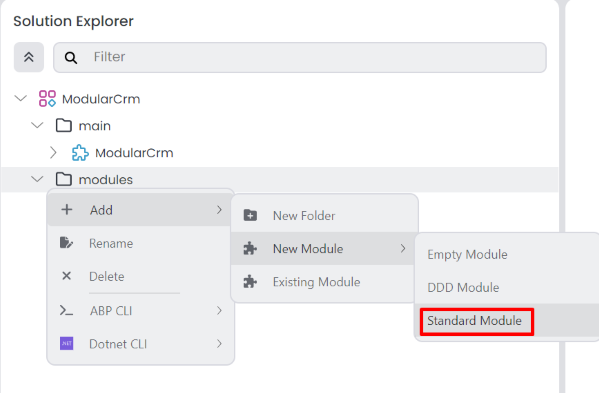
That command opens a dialog to define the properties of the new module:
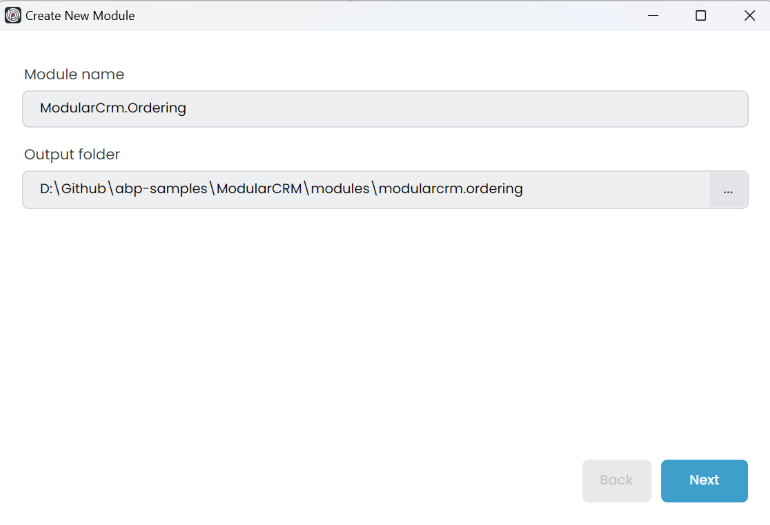
Set ModularCrm.Ordering as the Module name, leave the Output folder as is and click the Next button.
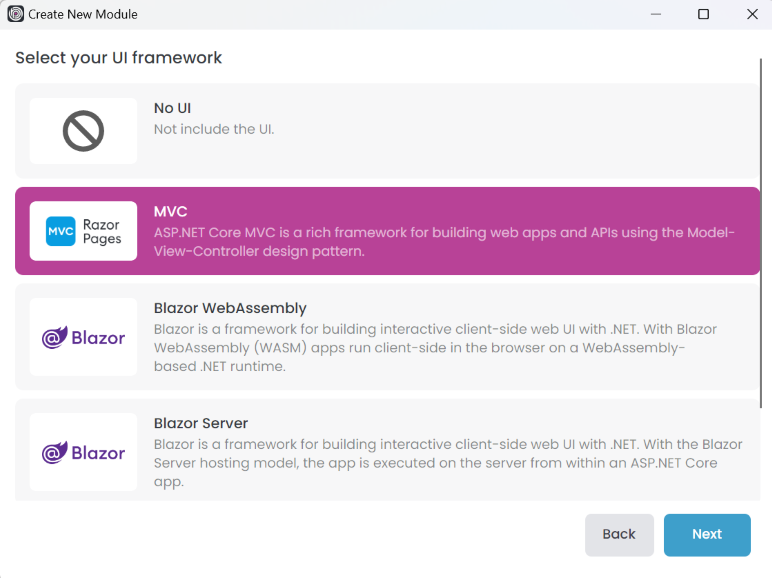
You can choose the type of UI you want to support in your module or select No UI if you don't need a user interface. In this example, we'll select the MVC option and click Next.
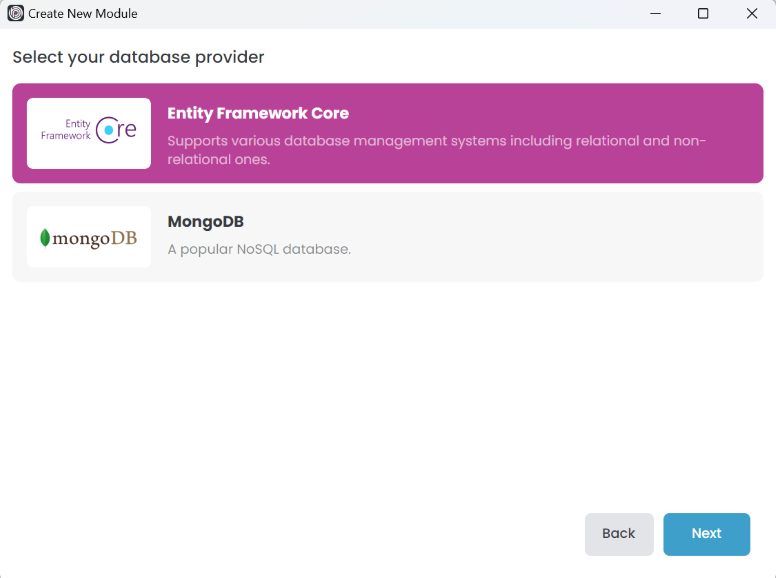
In this screen, select the Entity Framework Core option and click Next.
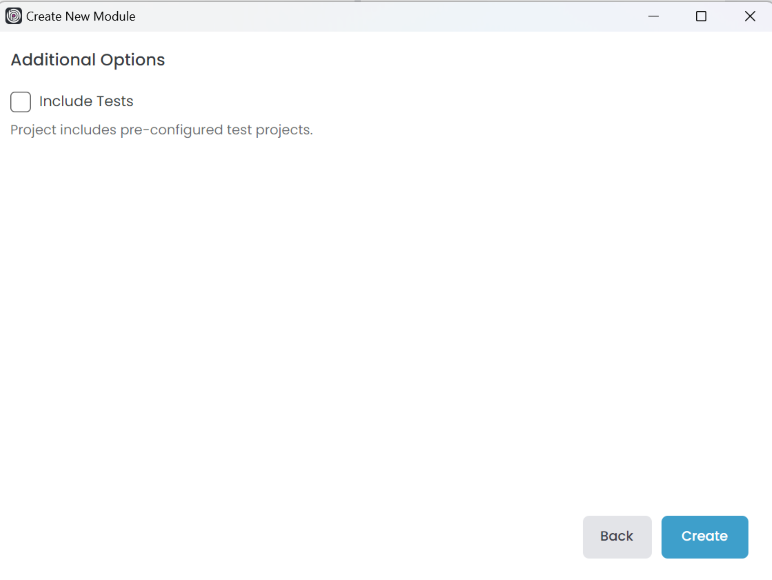
You can include or not include unit tests for the new module here. We are unchecking the Include Tests option this time to show a different structure for this example. Click the Create button to create the module.
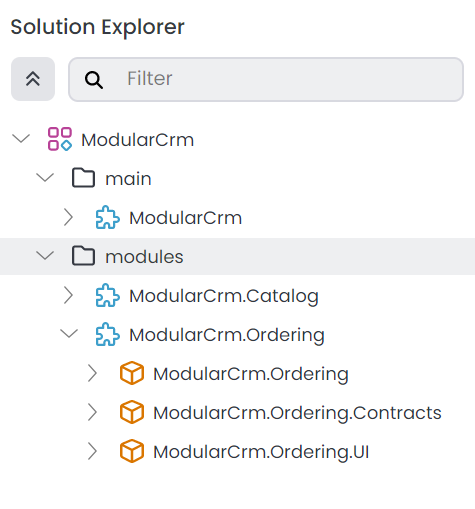
Here is the final solution structure after adding the ModularCrm.Ordering module:
Installing into the Main Application
In this section, you will install the ModularCrm.Ordering module in the main application so it can be part of the monolith application.
Before the installation, please ensure the web application is not running.
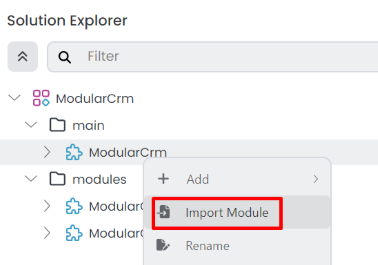
Right-click the ModularCrm module (under the main folder) and select the Import Module command:
That command opens the Import Module dialog:
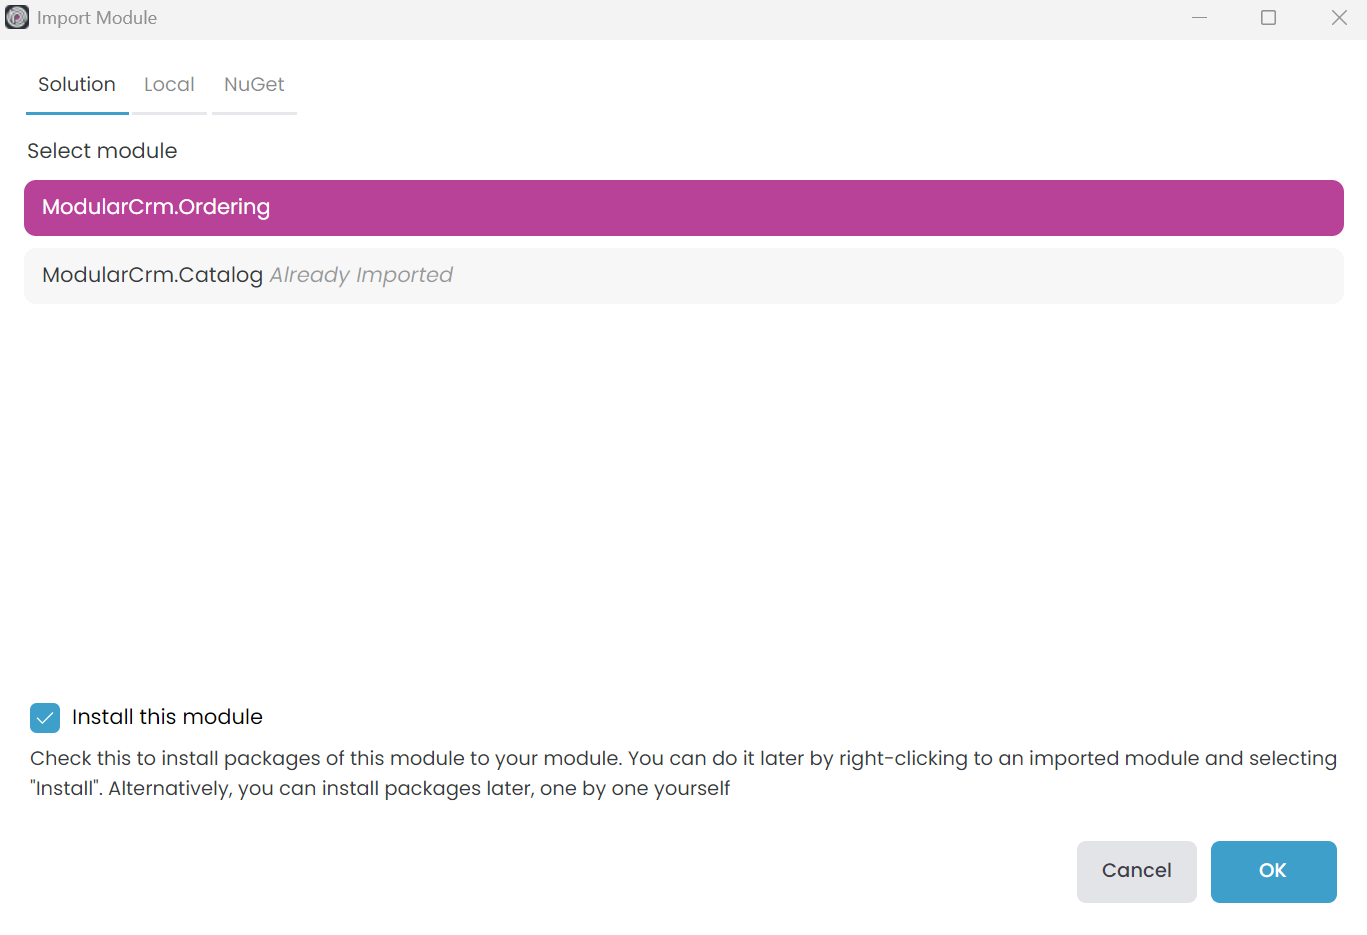
Select the ModularCrm.Ordering module and check the Install this module option as shown in the preceding figure. When you click the OK button, a new dialog is shown to select the packages to install:
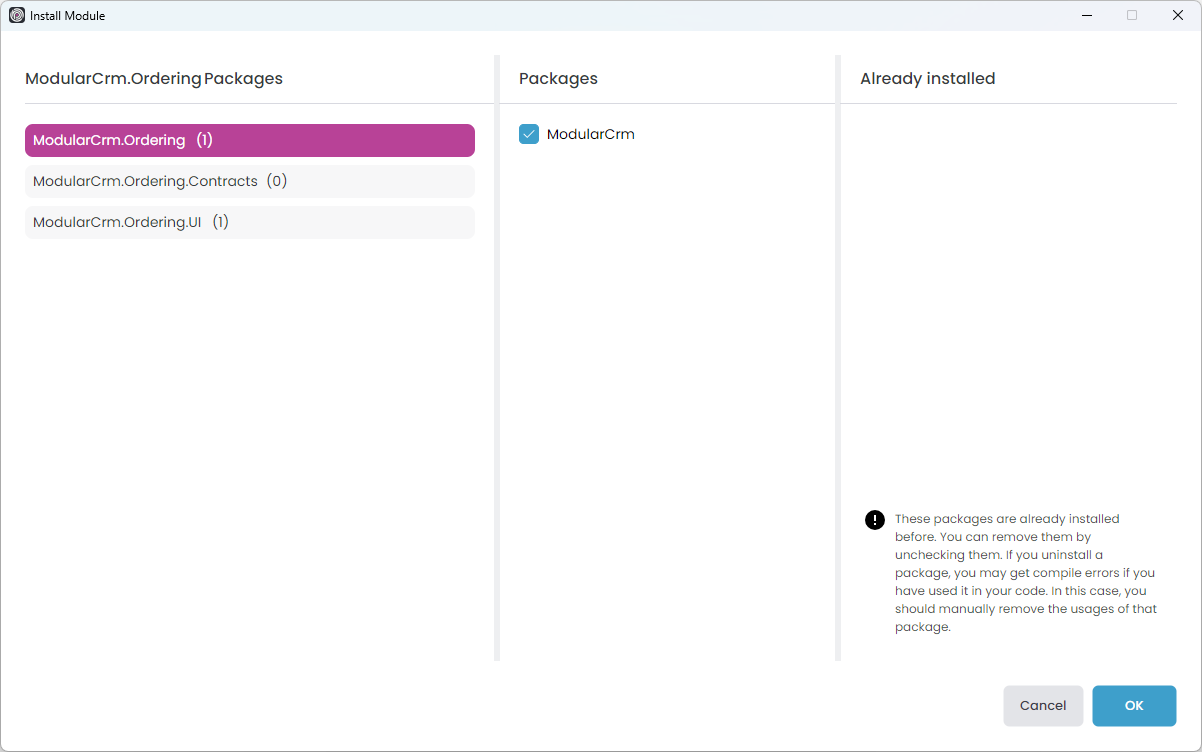
Select the ModularCrm.Ordering and ModularCrm.Ordering.UI packages from the left area and ensure the ModularCrm package from the middle area was checked as shown in the preceding figure. Finally, click OK.
Summary
In this part of the tutorial, you've created a new module and installed it into the main solution. In the next part, you will add functionality to the new Ordering module.


