Hi,
It got succeded after adding the web project in AdministrationSrvice and DownstreamPathTemplate/UpstreamPathTemplate in gateways appsettings.json
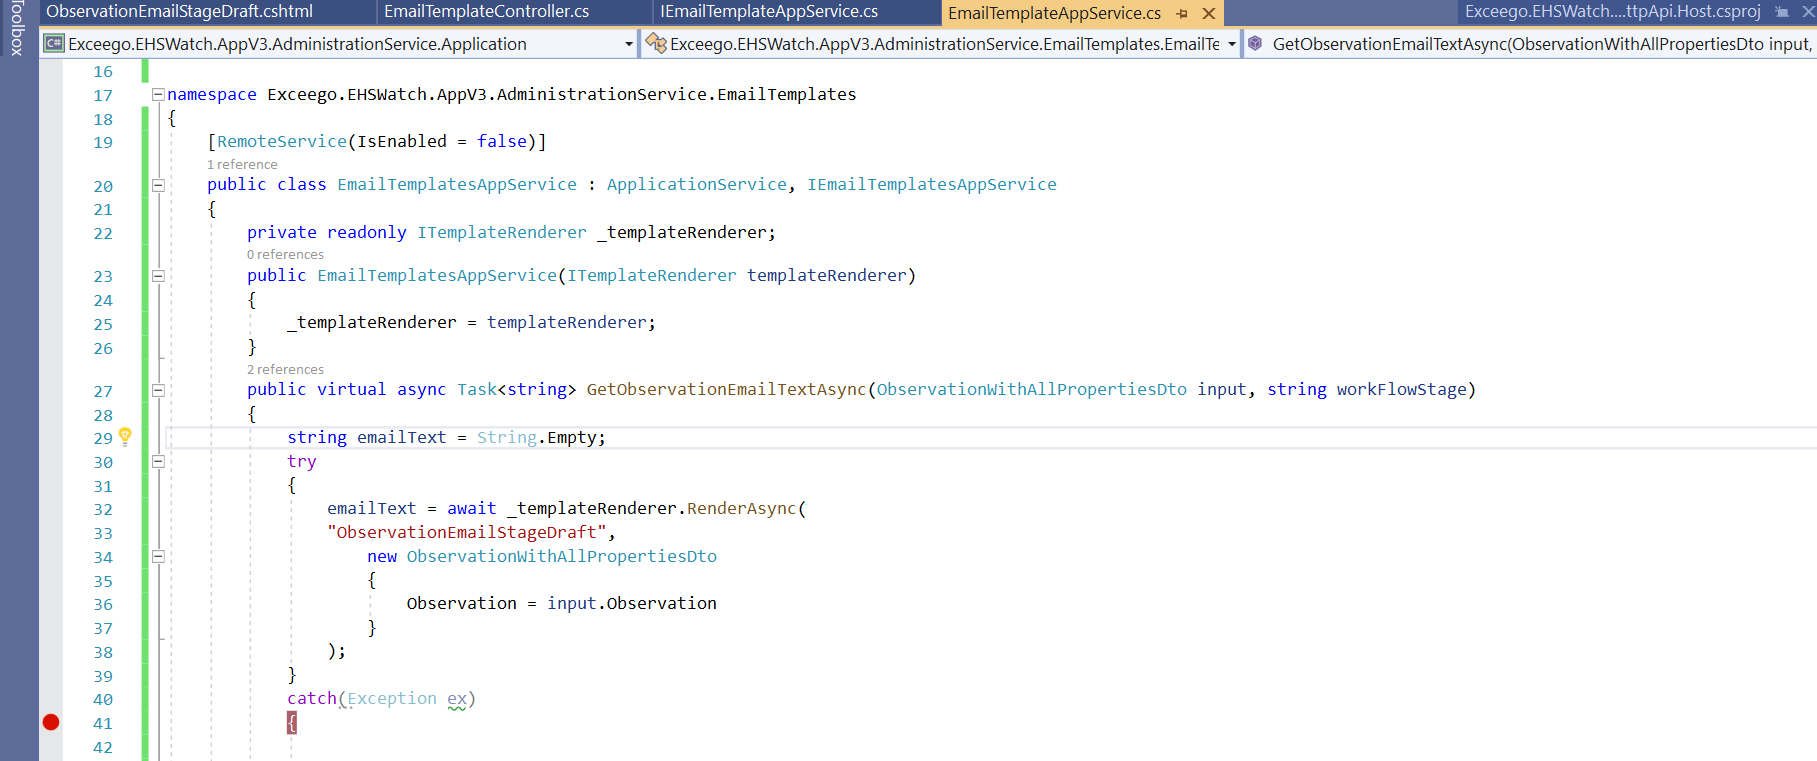
We are facing the iisue when we consuming the text template.
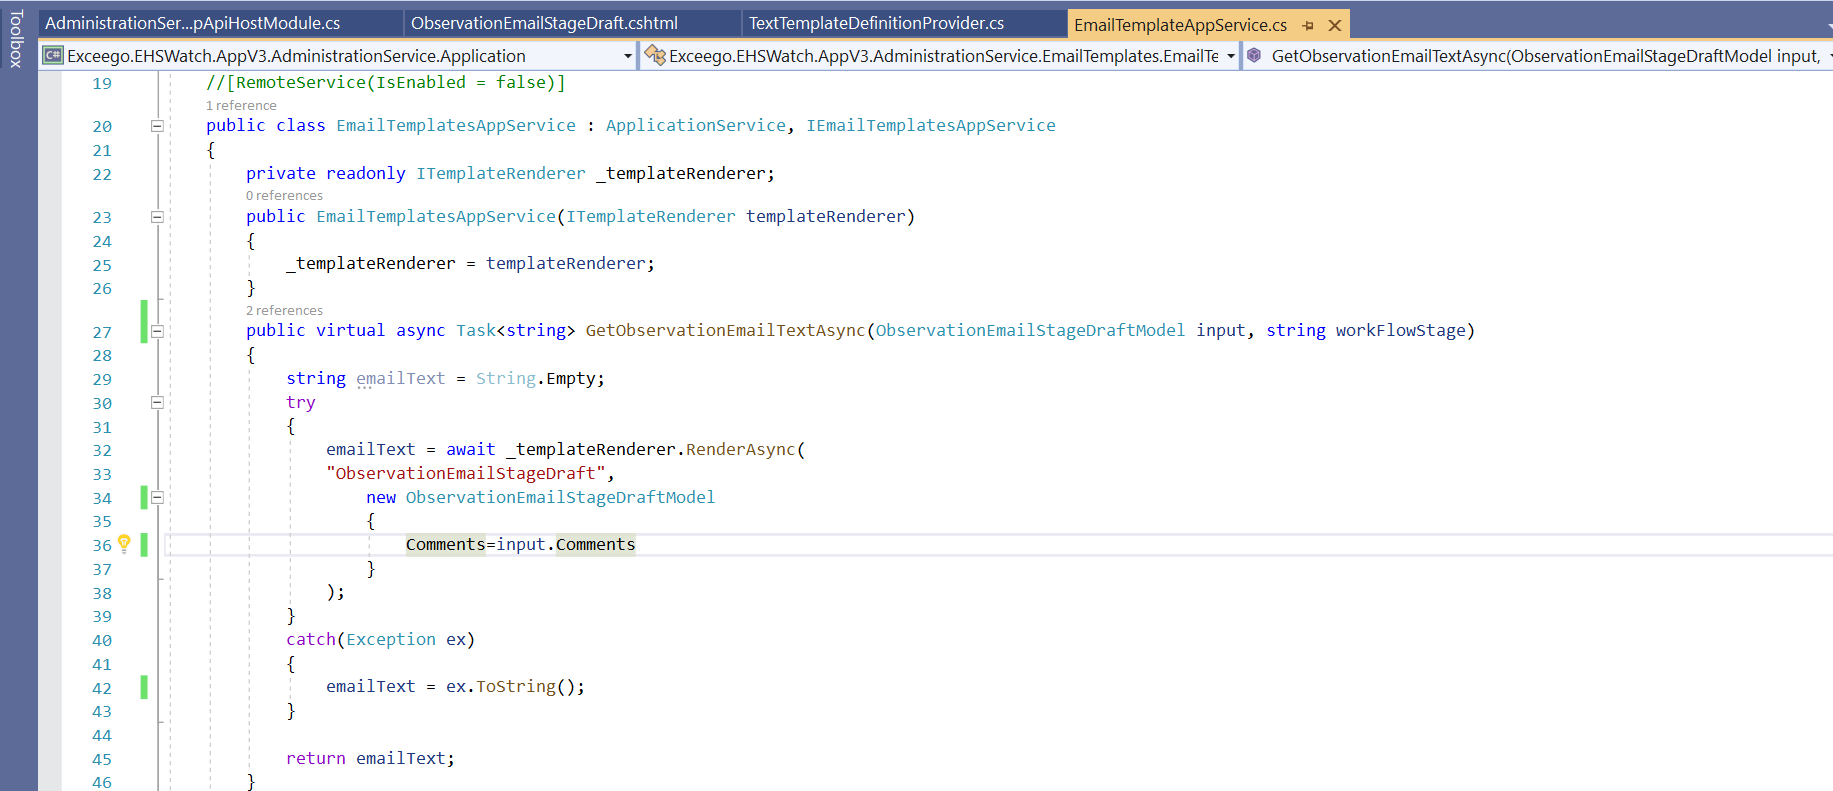
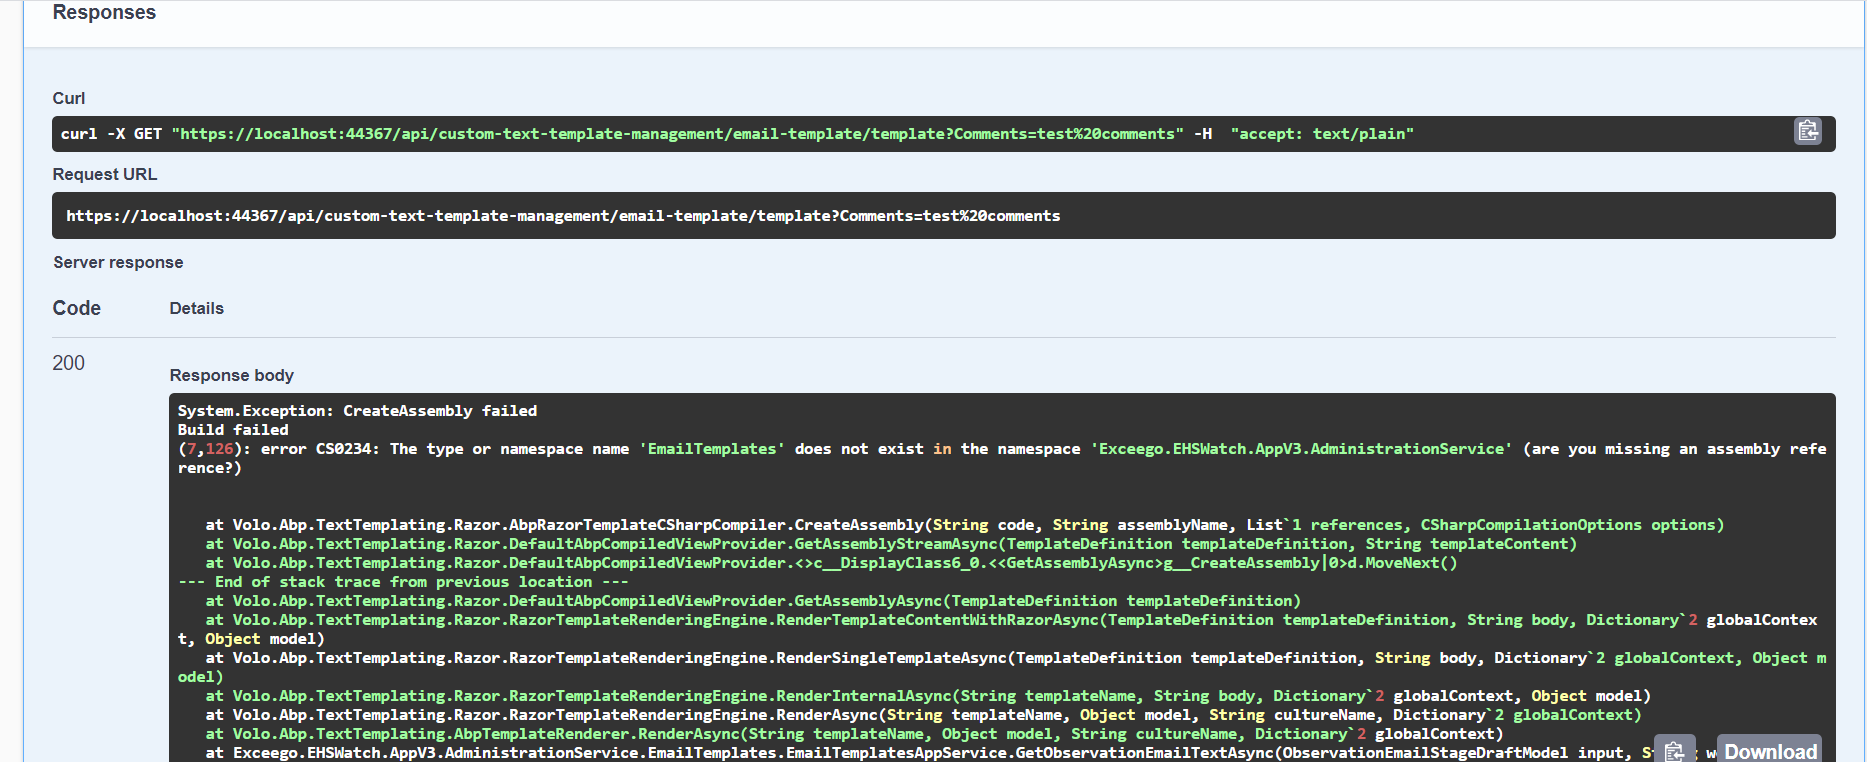
System.Exception: CreateAssembly failed
Build failed
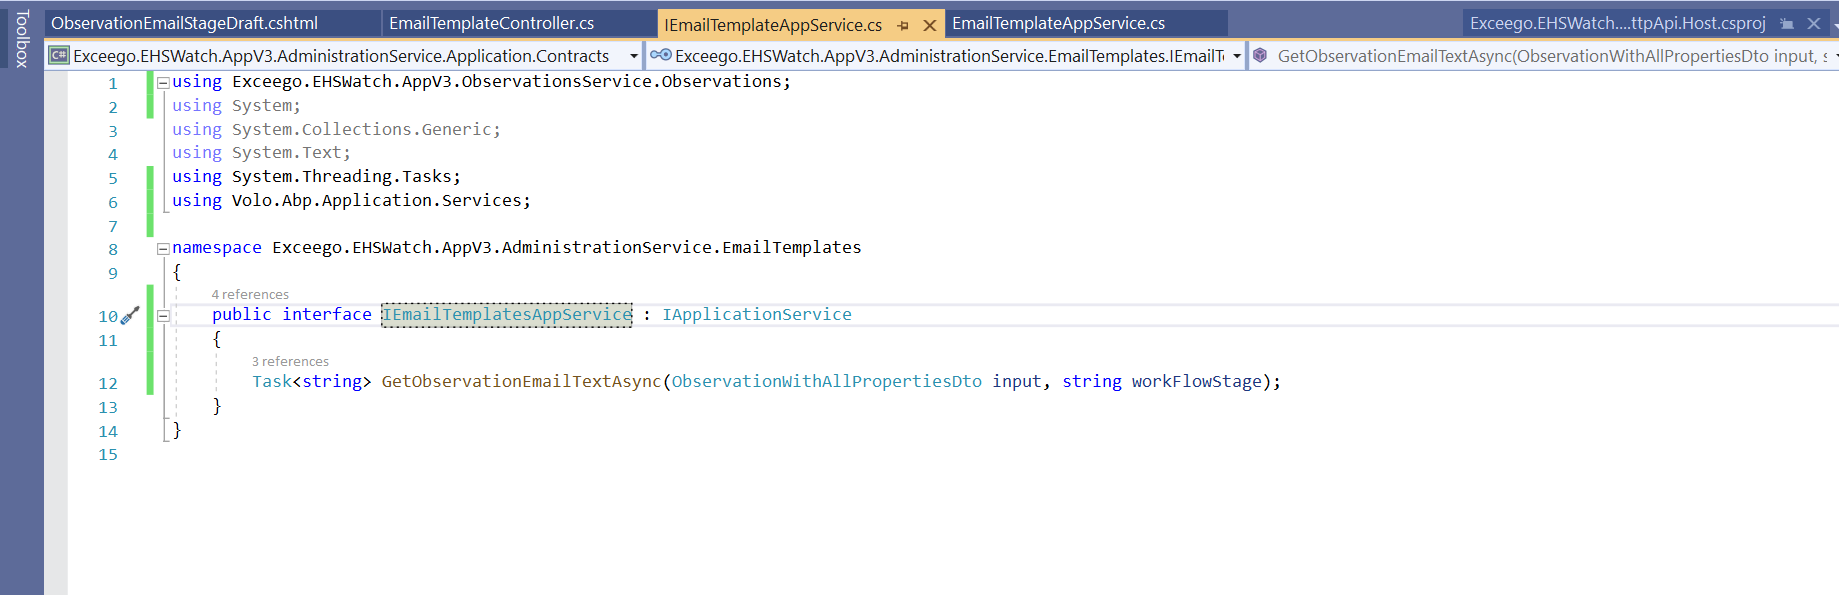
(7,126): error CS0234: The type or namespace name 'EmailTemplates' does not exist in the namespace 'Exceego.EHSWatch.AppV3.AdministrationService' (are you missing an assembly reference?)
at Volo.Abp.TextTemplating.Razor.AbpRazorTemplateCSharpCompiler.CreateAssembly(String code, String assemblyName, List`1 references, CSharpCompilationOptions options)
at Volo.Abp.TextTemplating.Razor.DefaultAbpCompiledViewProvider.GetAssemblyStreamAsync(TemplateDefinition templateDefinition, String templateContent)
at Volo.Abp.TextTemplating.Razor.DefaultAbpCompiledViewProvider.<>c__DisplayClass6_0.<<GetAssemblyAsync>g__CreateAssembly|0>d.MoveNext()
--- End of stack trace from previous location ---
at Volo.Abp.TextTemplating.Razor.DefaultAbpCompiledViewProvider.GetAssemblyAsync(TemplateDefinition templateDefinition)
at Volo.Abp.TextTemplating.Razor.RazorTemplateRenderingEngine.RenderTemplateContentWithRazorAsync(TemplateDefinition templateDefinition, String body, Dictionary`2 globalContext, Object model)
at Volo.Abp.TextTemplating.Razor.RazorTemplateRenderingEngine.RenderSingleTemplateAsync(TemplateDefinition templateDefinition, String body, Dictionary`2 globalContext, Object model)
at Volo.Abp.TextTemplating.Razor.RazorTemplateRenderingEngine.RenderInternalAsync(String templateName, String body, Dictionary`2 globalContext, Object model)
at Volo.Abp.TextTemplating.Razor.RazorTemplateRenderingEngine.RenderAsync(String templateName, Object model, String cultureName, Dictionary`2 globalContext)
at Volo.Abp.TextTemplating.AbpTemplateRenderer.RenderAsync(String templateName, Object model, String cultureName, Dictionary`2 globalContext)
hi
I sent an email.
no access to download, I replaied please accescpt the access request
hi viswajwalith
It works for me.
Yes, after removing RemoteService also same issue.
Maybe you can re-confirm this.
Can you please share the updated files back to us for verification
Files shared over Email as discussed.
hi
Can you share the content of
/Abp/ServiceProxyScriptendpoint with me? liming.ma@volosoft.com
Responded over Email ....
Yes, after removing RemoteService also same issue.
Hi,
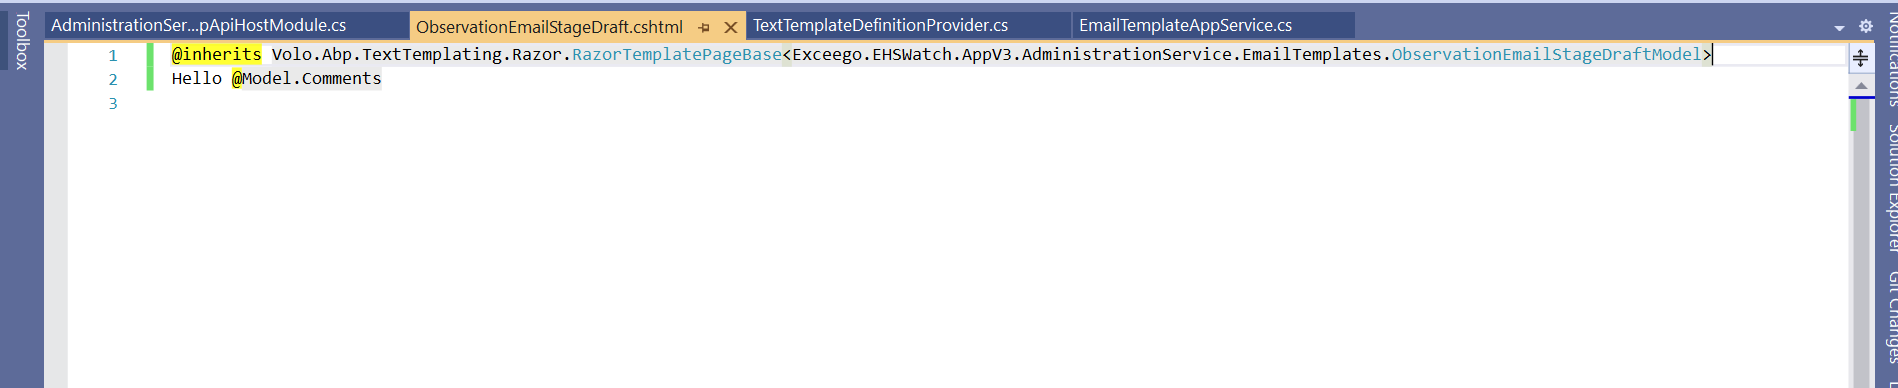
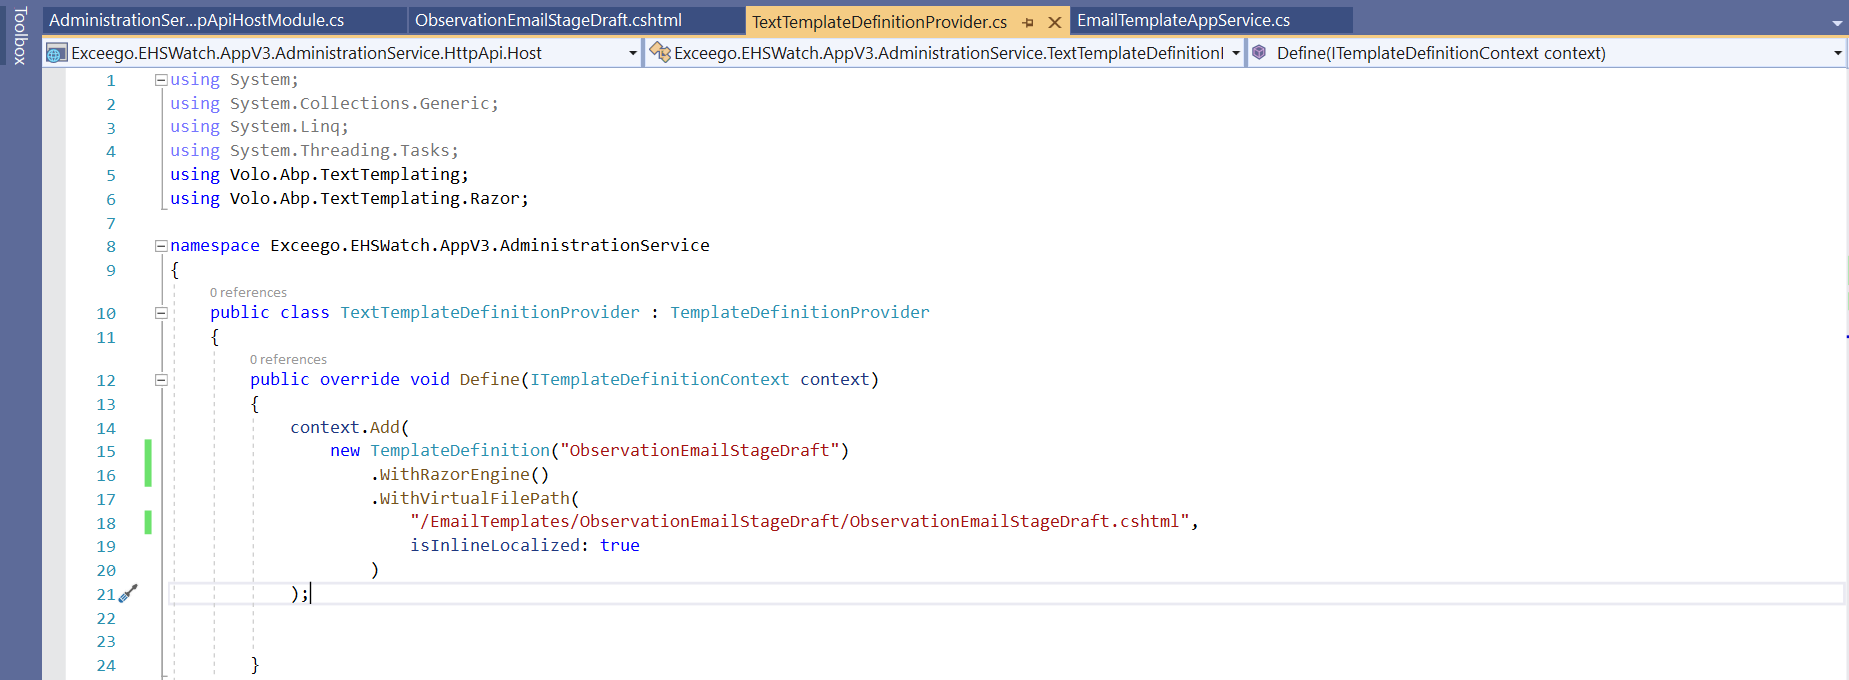
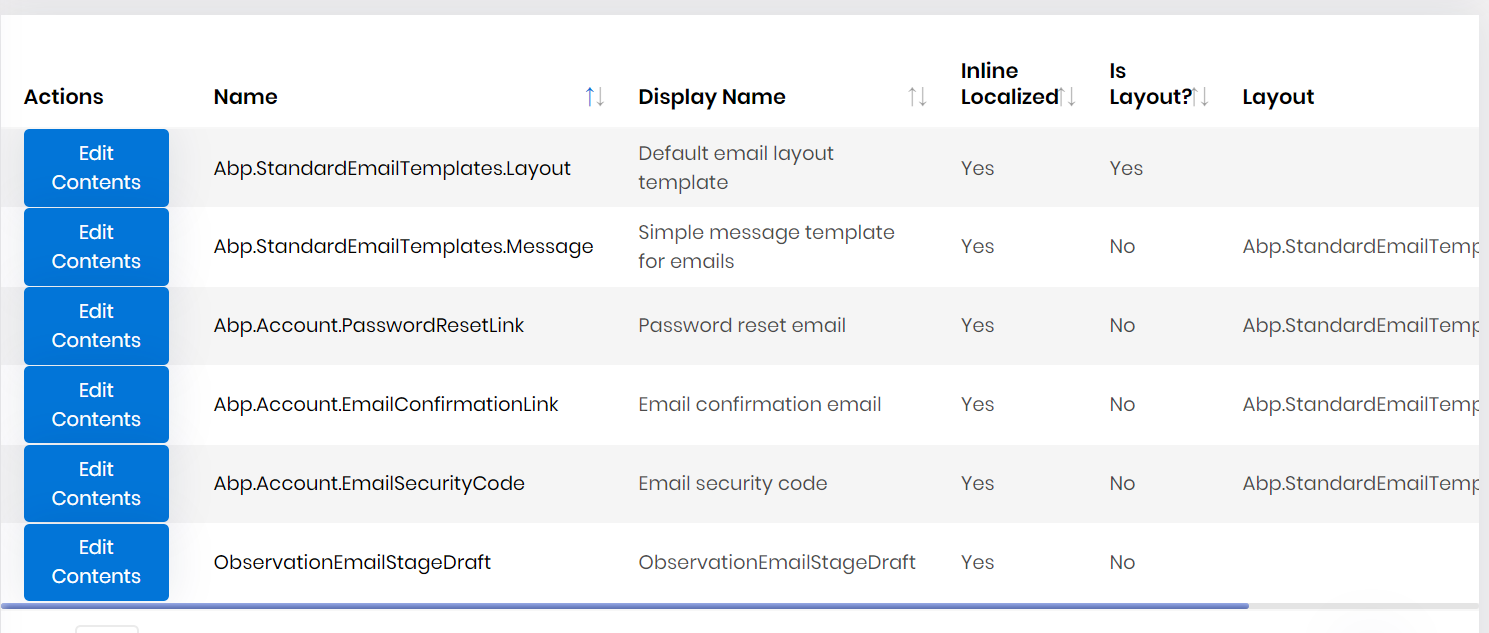
We created a new text template in AdministrationService and we are able to see the template in text template list.
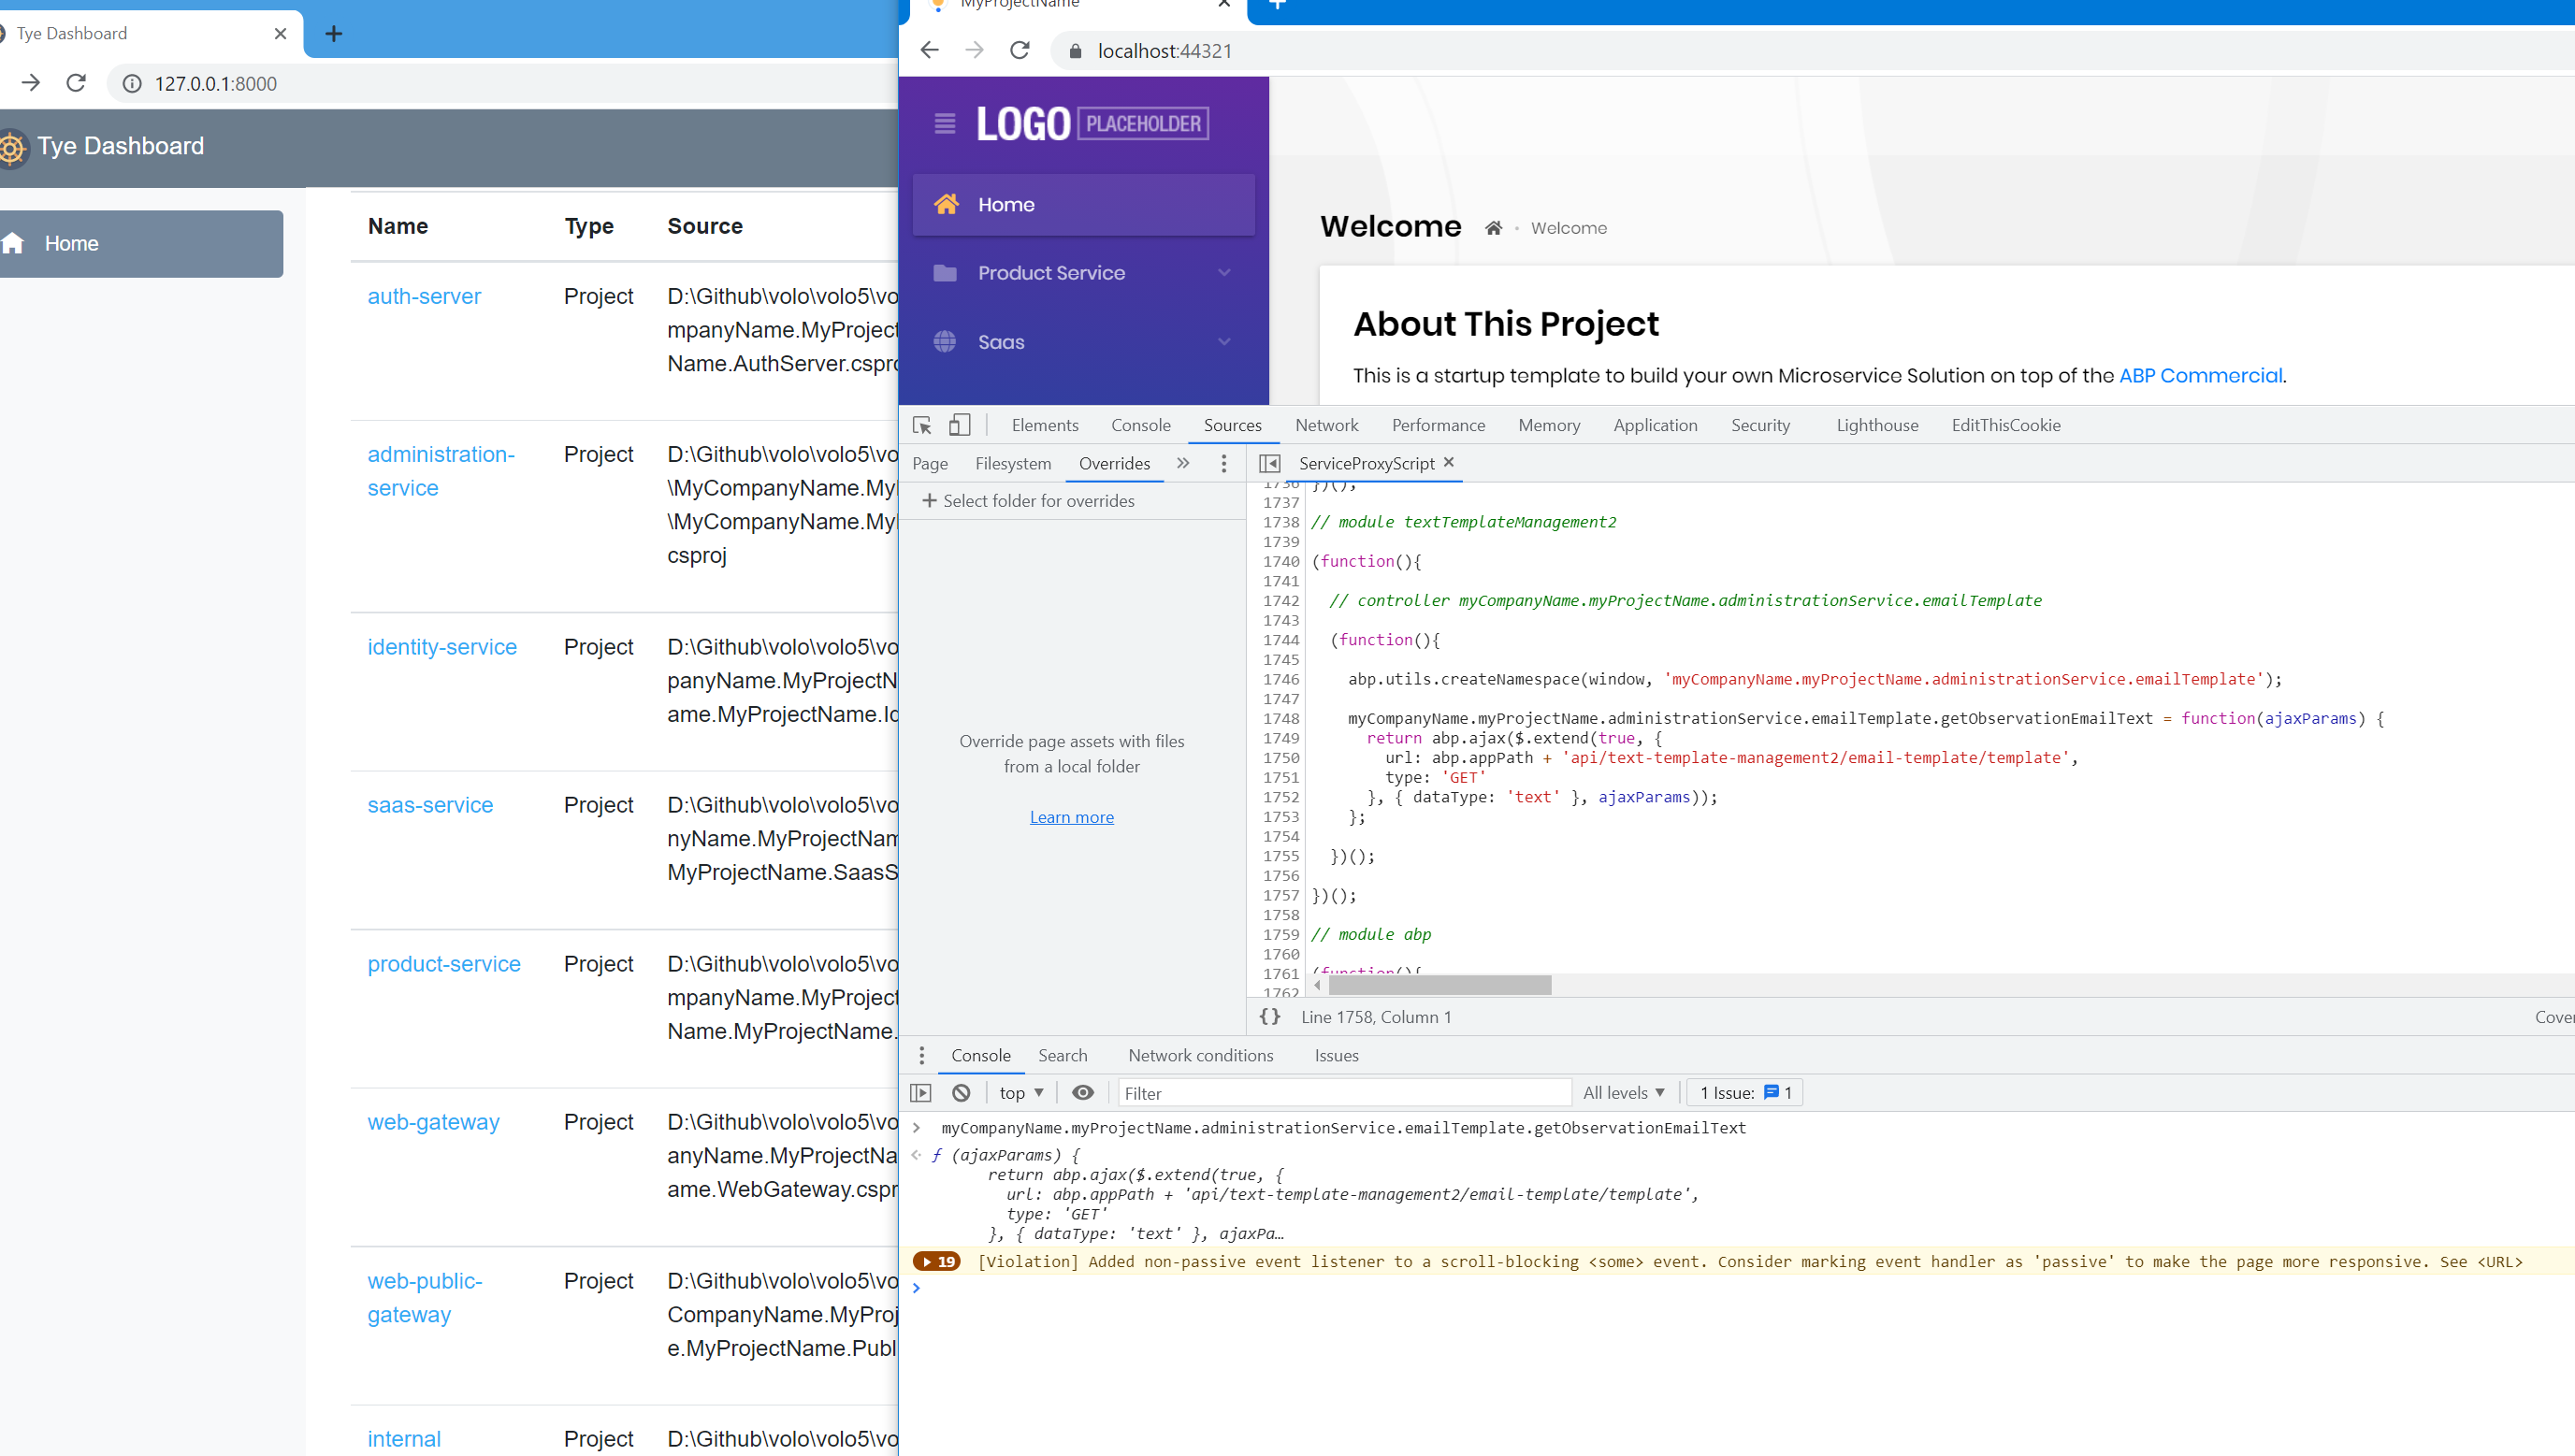
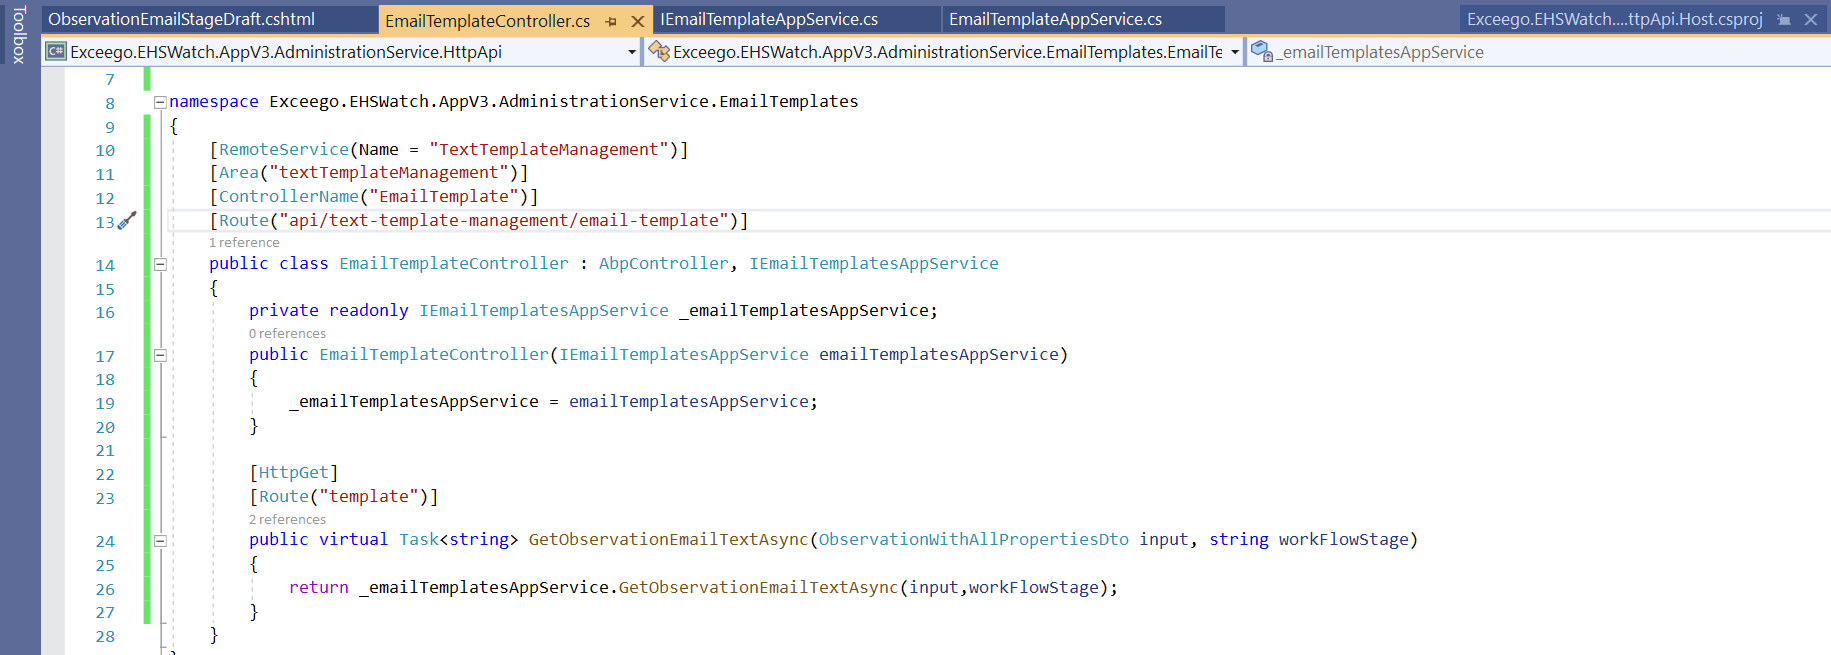
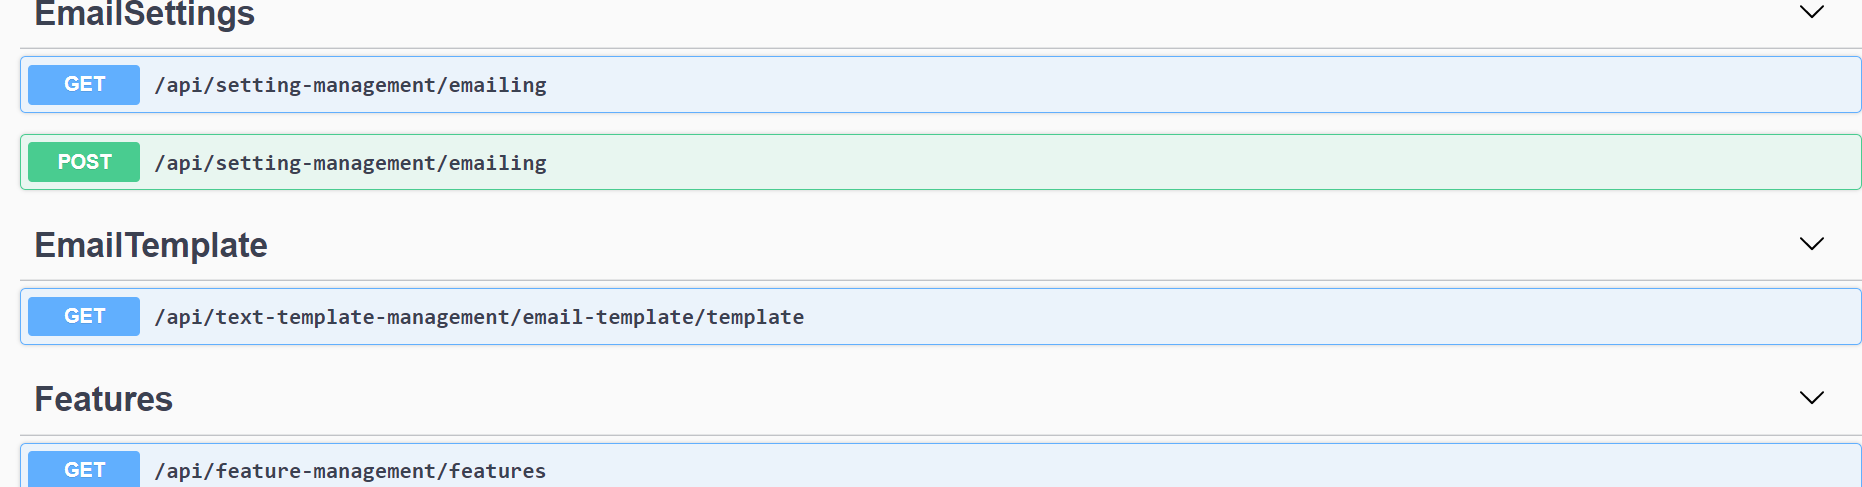
To access the template we created app service and controller in Administration service and we are able see the API in Swagger but not able to use it from web and not found in ServiceProxyScript
Hi,
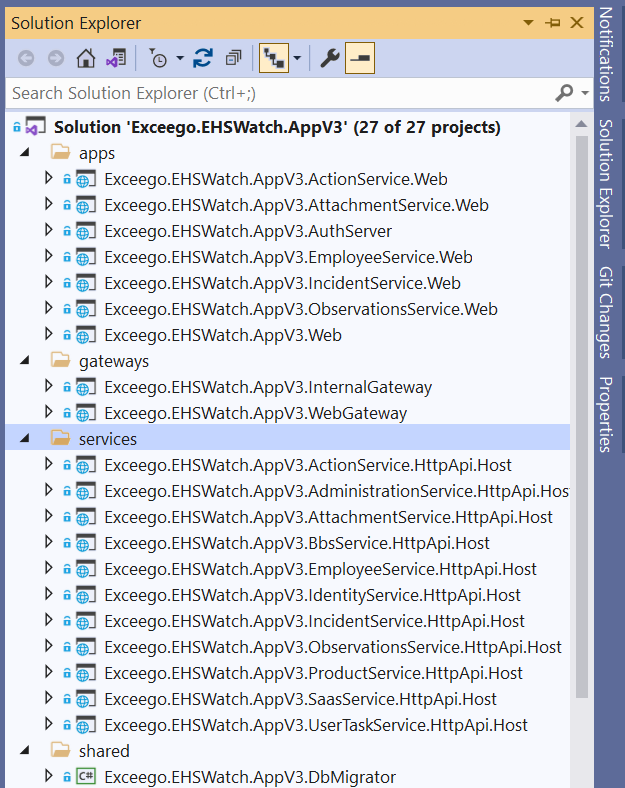
We are using micro service template for our application and we have multiple micro services.
We want to develope custom text templates for all the microservices.
For normal application we can implement text templates in TextTemplateDemo.HttpApi.Host project, but in micro service where do we implement text templates at one place for all micro services.
Our micro service application structure:
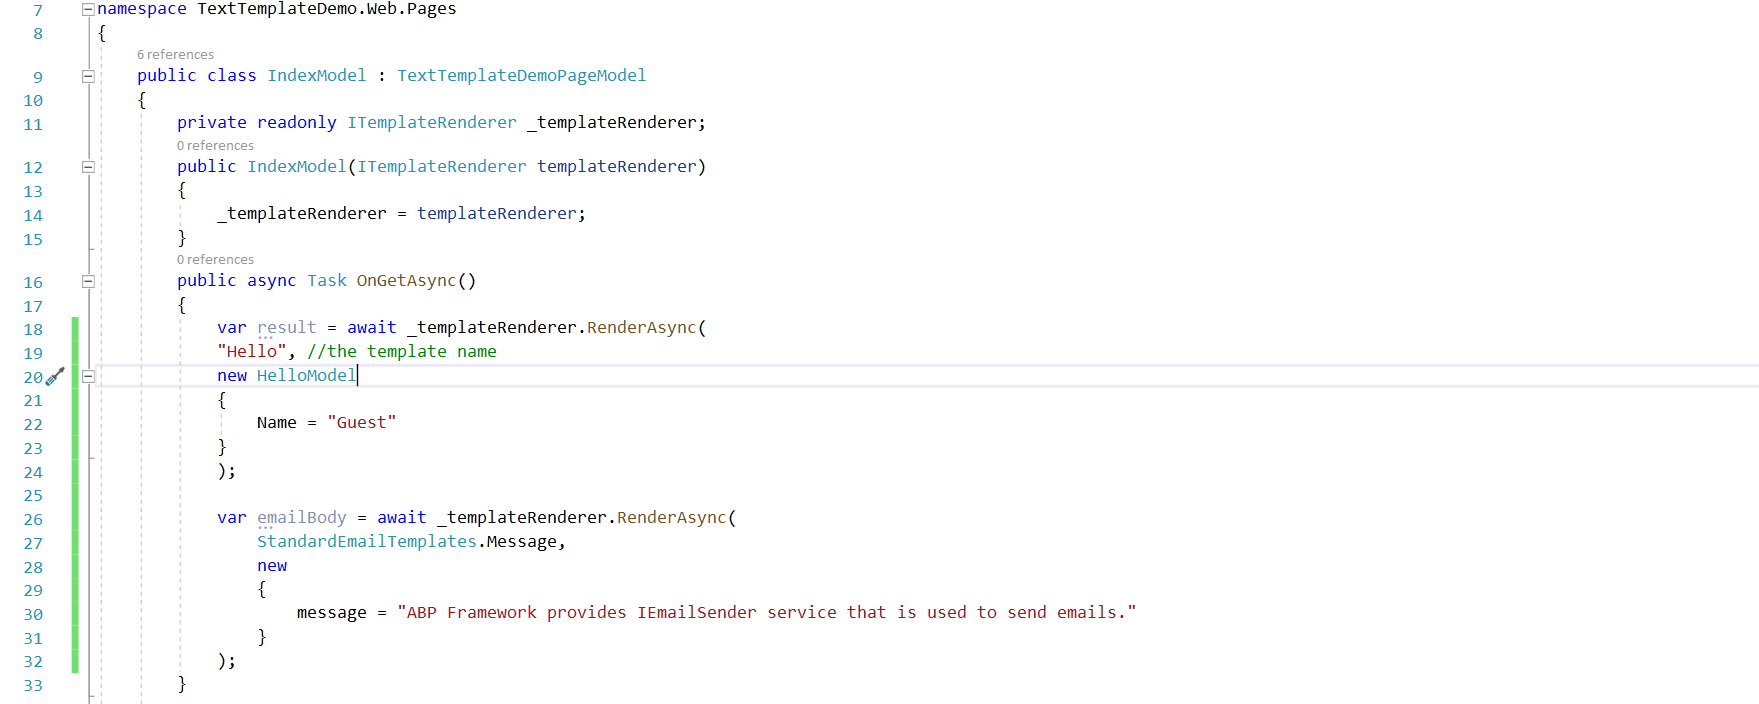
We can render StandardEmailTemplates.Message template in TextTemplateDemo.Web
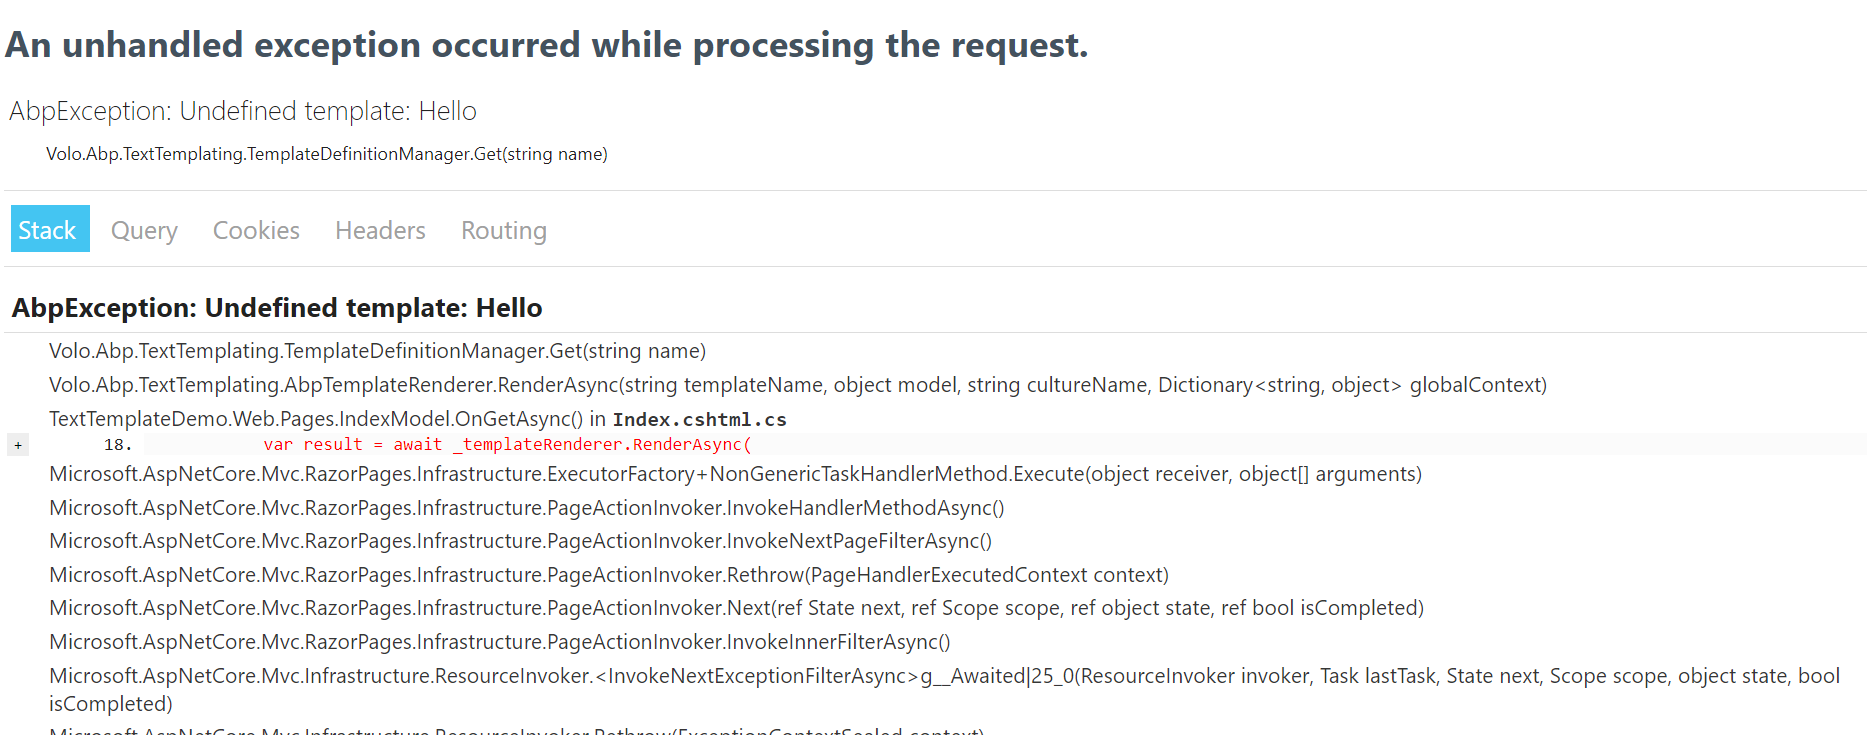
how to render hello templates in TextTemplateDemo.Web like StandardEmailTemplates.Message template.
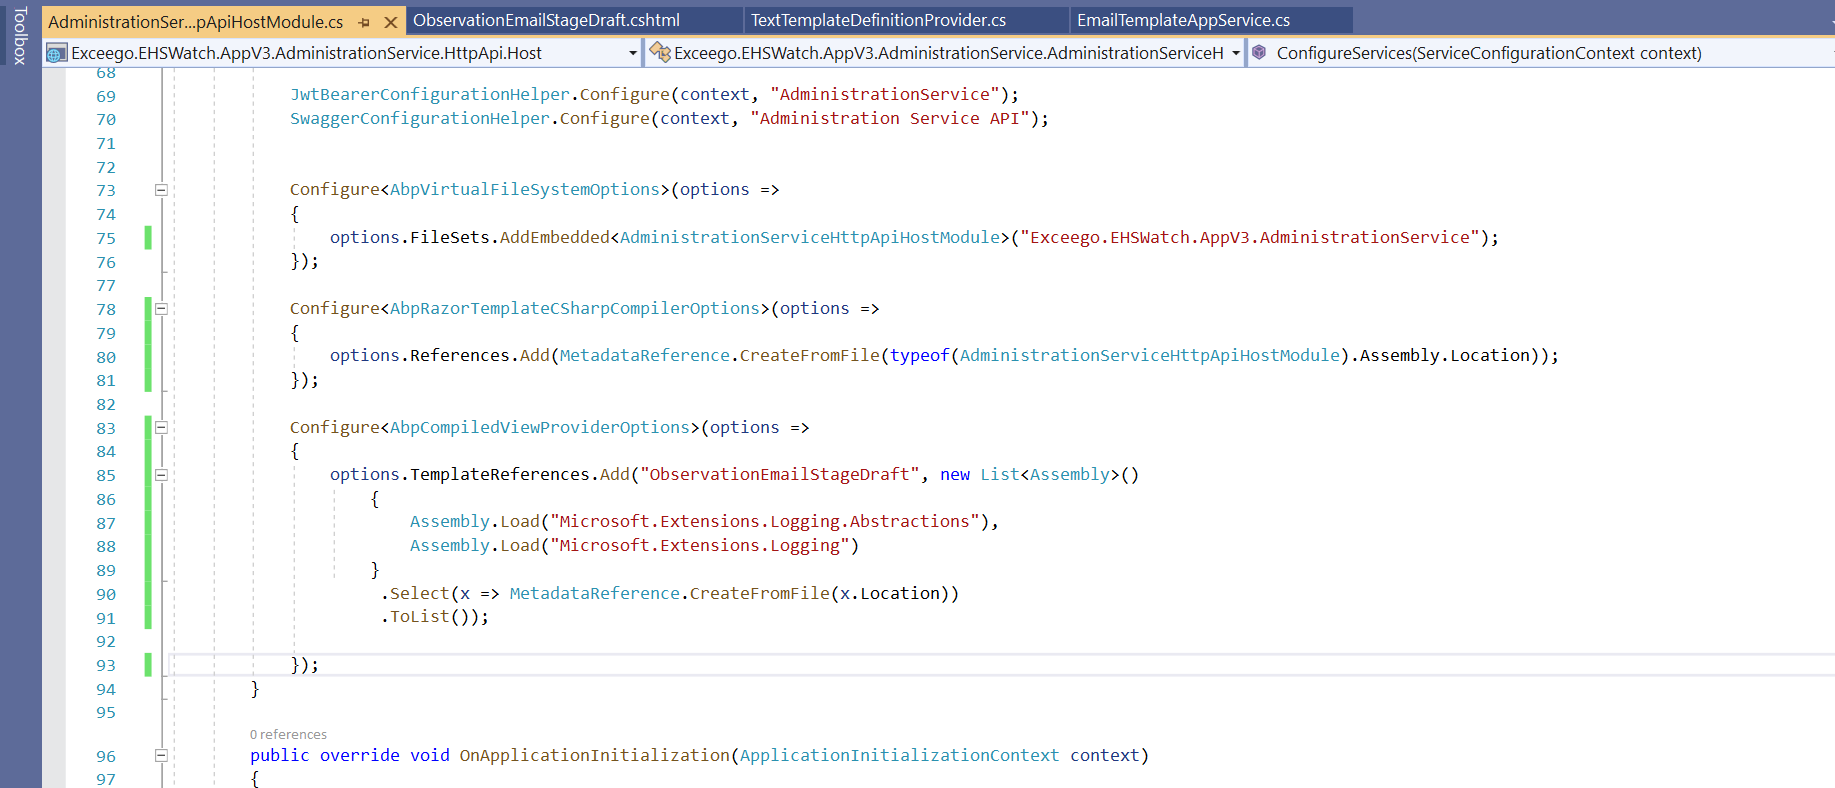
Code added to TextTemplateDemo.HttpApi.Host
Now templates showing in text templates module list, but not able to render Hello template. we are able to render StandardEmailTemplates.Message template.
When we were added code to TextTemplateDemo.Web, we were able to render template but not displaying in the texttemplate list.