


Dear Abp Team
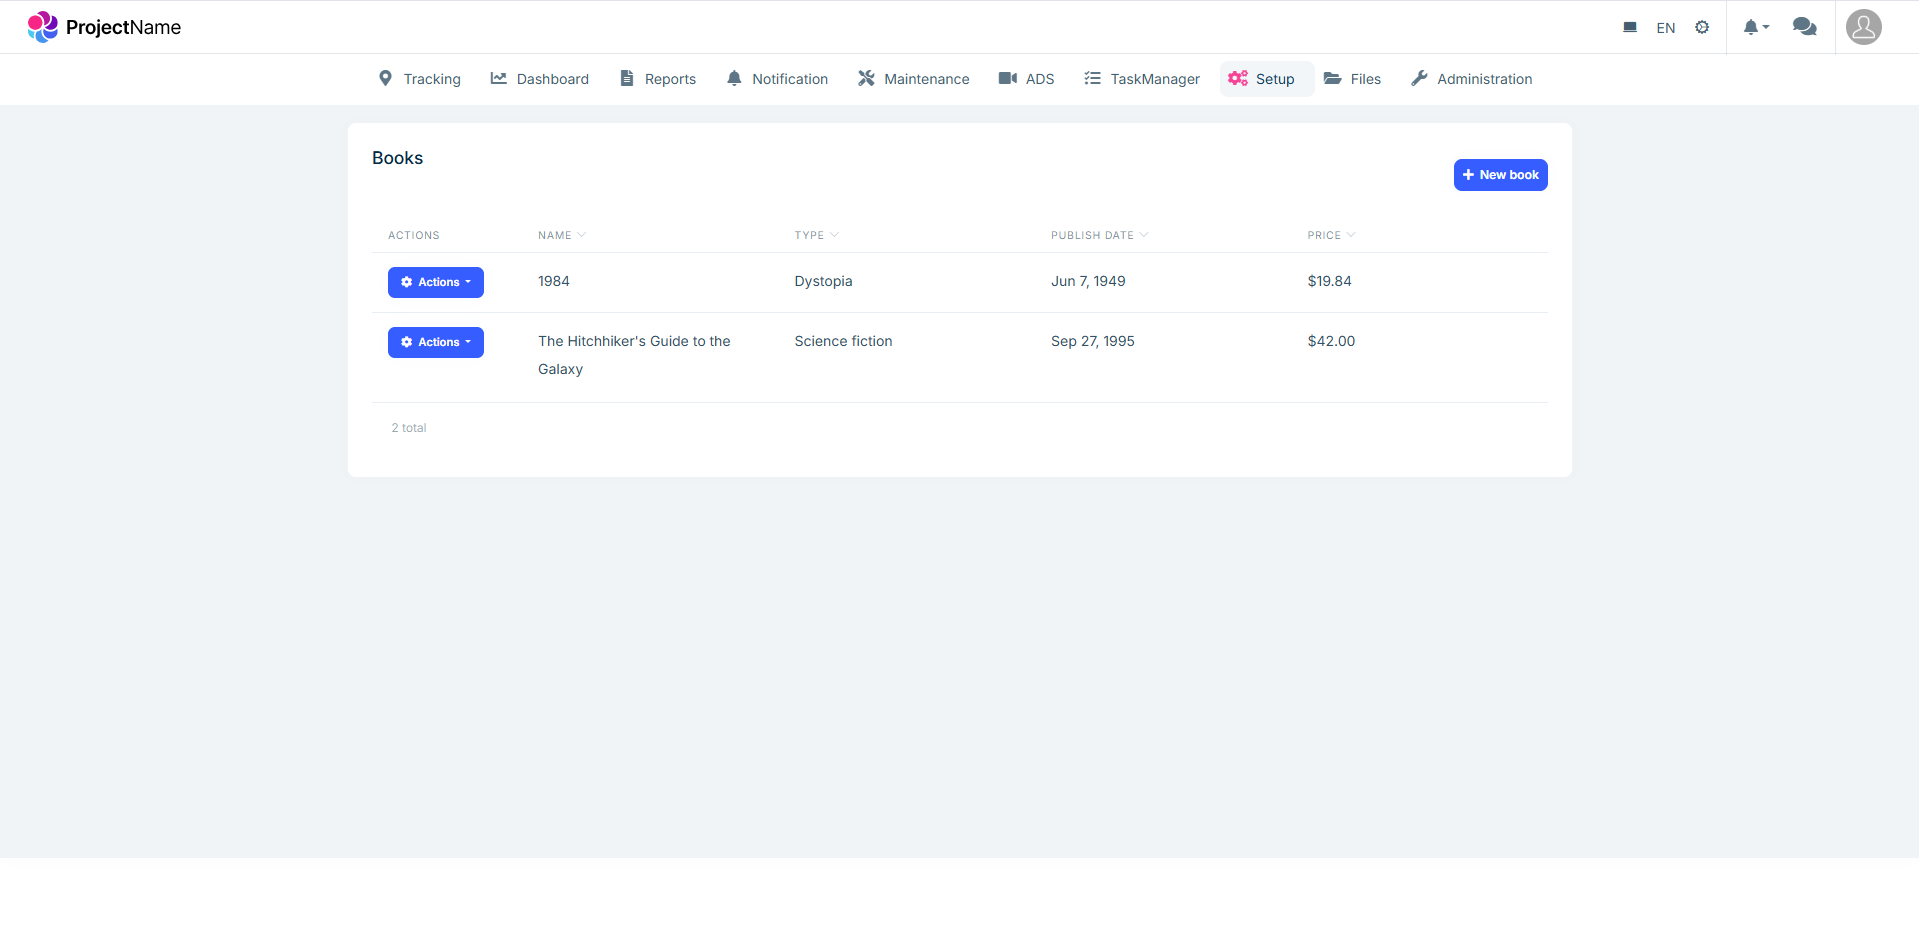
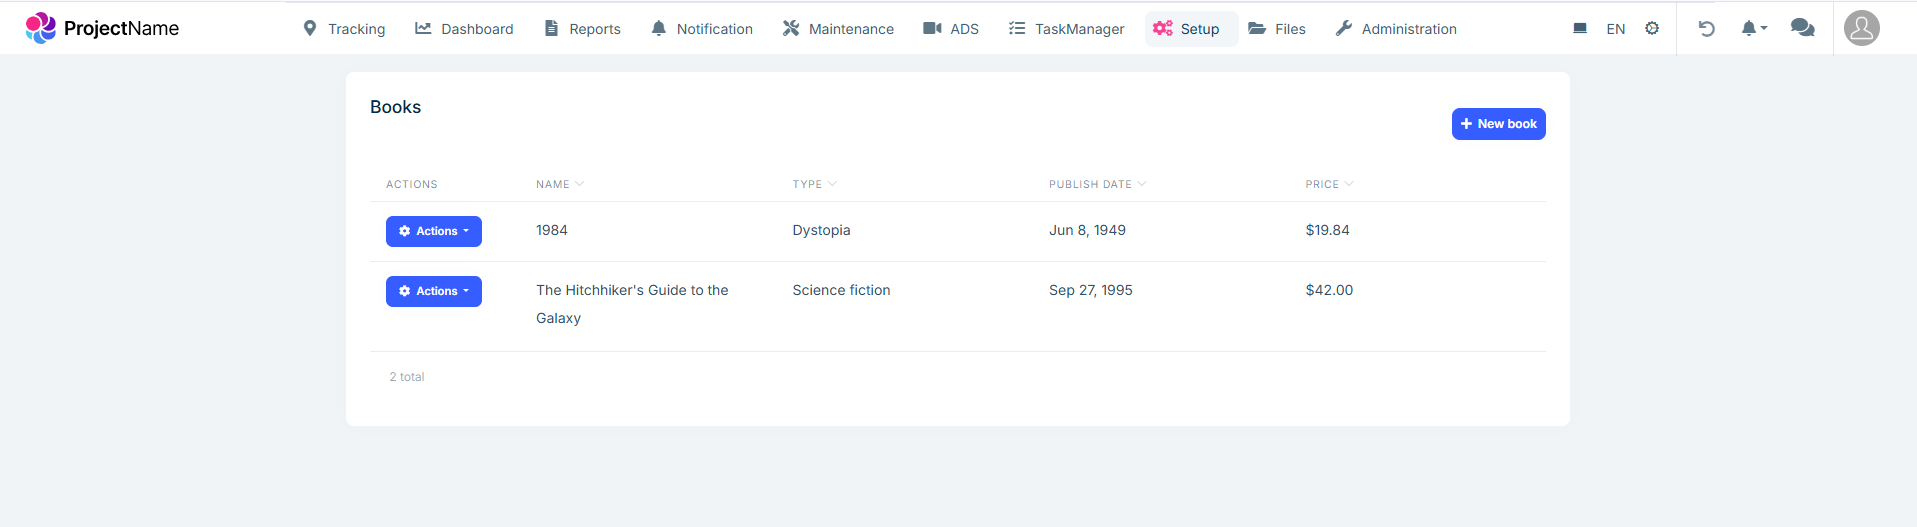
We would like to replace our lpx-top-menu-navbar to be placed between company log (lpx-header-top) and user menu (lpx-right-menu), our header has two navbar please find attached a screenshot from our project and our app.module.ts file. note our second screenshot is what we expect to have
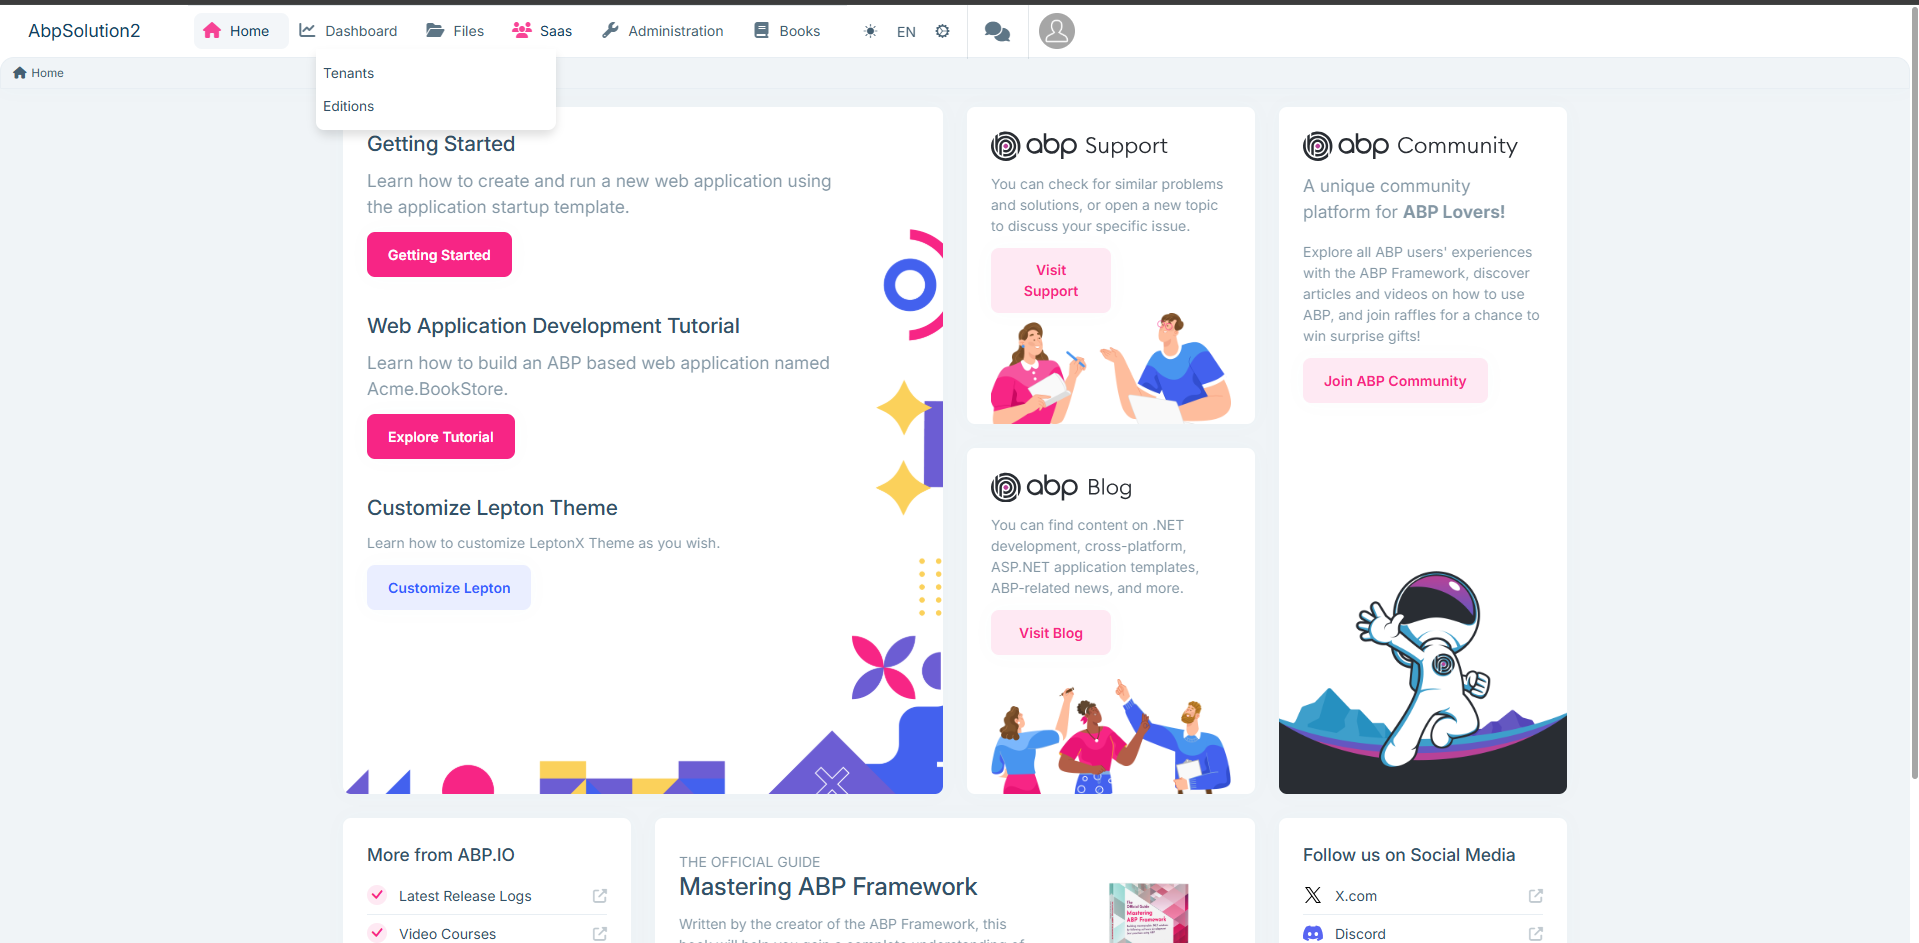
Current
Expected
13 Answer(s)
-
0
- Solution
- In LeptonX Angular, the header is composed of replaceable building blocks. To place your route menu (top navigation) between the company logo (lpx-header-top) and the right user toolbar (lpx-right-menu), create a custom layout that reorders these blocks, then use it instead of the built-in layout.
Steps:
- Create a custom layout component and register it
- Generate a layout component (e.g., AppCustomTopLayoutComponent) and mark it as a layout replacement.
- Import LeptonX layout/component modules you will use.
// app.module.ts import { NgModule } from '@angular/core'; import { BrowserModule } from '@angular/platform-browser'; // LeptonX modules you will need in the template import { LpxTopMenuLayoutModule, LpxSideMenuLayoutModule } from '@volosoft/ngx-lepton-x/layouts'; import { LpxNavbarModule, LpxBrandLogoModule, LpxTopbarModule, LpxTopbarContentModule, LpxToolbarContainerModule, LpxAvatarModule, LpxSettingsModule, LpxBreadcrumbModule, LpxFooterModule } from '@volosoft/ngx-lepton-x/components'; import { LpxResponsiveModule } from '@volo/ngx-lepton-x.core'; import { AppCustomTopLayoutComponent } from './layouts/app-custom-top-layout.component'; @NgModule({ declarations: [AppCustomTopLayoutComponent], imports: [ BrowserModule, // Import the LeptonX modules (pick what you actually use) LpxTopMenuLayoutModule, LpxSideMenuLayoutModule, LpxNavbarModule, LpxBrandLogoModule, LpxTopbarModule, LpxTopbarContentModule, LpxToolbarContainerModule, LpxAvatarModule, LpxSettingsModule, LpxBreadcrumbModule, LpxFooterModule, LpxResponsiveModule ], bootstrap: [/* ... */] }) export class AppModule {}- Build the custom header composition with “menu between logo and user toolbar”
- In your custom layout template, place lpx-navbar (your routes/top menu) between lpx-brand-logo and the right-side toolbar container.
<!-- app-custom-top-layout.component.html --> <div id="lpx-wrapper"> <div class="lpx-content-container"> <div class="lpx-topbar-container"> <div class="lpx-topbar"> <!-- Left: Logo --> <div class="lpx-header-top"> <lpx-brand-logo></lpx-brand-logo> </div> <!-- Center: Routes (Top Menu Navbar) --> <div class="lpx-top-menu-navbar"> <lpx-navbar></lpx-navbar> </div> <!-- Right: User/Settings toolbar --> <div class="lpx-right-menu"> <lpx-toolbar-container></lpx-toolbar-container> <lpx-avatar></lpx-avatar> <lpx-settings></lpx-settings> </div> </div> </div> <!-- Optional: Breadcrumb under header --> <div class="lpx-breadcrumb-container"> <lpx-breadcrumb></lpx-breadcrumb> </div> <!-- Page content --> <div class="lpx-content-wrapper"> <div class="lpx-content"> <router-outlet></router-outlet> </div> </div> <div class="lpx-footbar-container"> <lpx-footer></lpx-footer> </div> </div> <!-- Mobile navbar if needed --> <lpx-mobile-navbar *lpxResponsive="'all md-none'"></lpx-mobile-navbar> </div>- Make this layout active
- Use Angular Component Replacement to replace the default layout with your custom one, or route specific pages to use it.
Example (replace main layout globally):
// app-routing.module.ts (example) const routes: Routes = [ { path: '', component: AppCustomTopLayoutComponent, children: [ // your app routes here ], }, ];- If you were using the packaged Top Menu layout already
- Ensure you use the top-menu style assets and module:
- In angular.json, set style to top-menu (instead of side-menu).
- In app.module.ts, use TopMenuLayoutModule if you need its styles.
- Then still compose your own header order as shown above to get “logo | routes | right toolbar”.
Notes:
- The key is composing LeptonX components manually in a custom layout and ordering them: brand logo (left), navbar (center), toolbar/avatar/settings (right).
- This approach follows ABP’s “Component Replacement” and LeptonX customization guidance.
- Sources
- Validated:
- https://github.com/abpframework/abp
- https://abp.io/support/questions/5558
- https://abp.io/support/questions/4358
This response was generated by AI. If it didn’t solve your problem, feel free to post a new answer — our support team will jump in to help you soon.
-
0
Hello,
You can achieve this by replacing the top navbar and the navbar components by utilizing this feature: https://abp.io/docs/latest/framework/ui/angular/component-replacement
Here are the keys and the components that you need to implement:
import { TopMenuNavbarComponent } from '@volosoft/ngx-lepton-x/layouts';

@Component({
  selector: 'app-my-top-navbar',
  imports: [TopMenuNavbarComponent],
  template: `<lpx-top-menu-navbar />`,
})
export class MyTopNavbar {}
@Component({ selector: 'app-my-navbar', imports: [], template: ``, }) export class MyNavbar {}You may need this style override
//angular/src/styles.scss
:root .lpx-header-top {
  justify-content: space-between;
}
Lastly, you need to replace the related components
import { eThemeLeptonXComponents } from '@volosoft/abp.ng.theme.lepton-x'; import { MyNavbar } from './my-navbar/my-navbar'; import { MyTopNavbar } from './my-top-navbar/my-top-navbar'; //... export class AppComponent { private replaceComponent = inject(ReplaceableComponentsService); constructor() { this.replaceComponent.add({ component: MyTopNavbar, key: eThemeLeptonXComponents.TopNavbar, }); this.replaceComponent.add({ component: MyNavbar, key: eThemeLeptonXComponents.Navbar, }); } } -
0
Hello Sumeyye Kurtulus,
Thank you for your reply, it's worked, but I found below style issue below, noting that I worked on a new, fresh ABP project. Furthermore i put my code changes int for your review
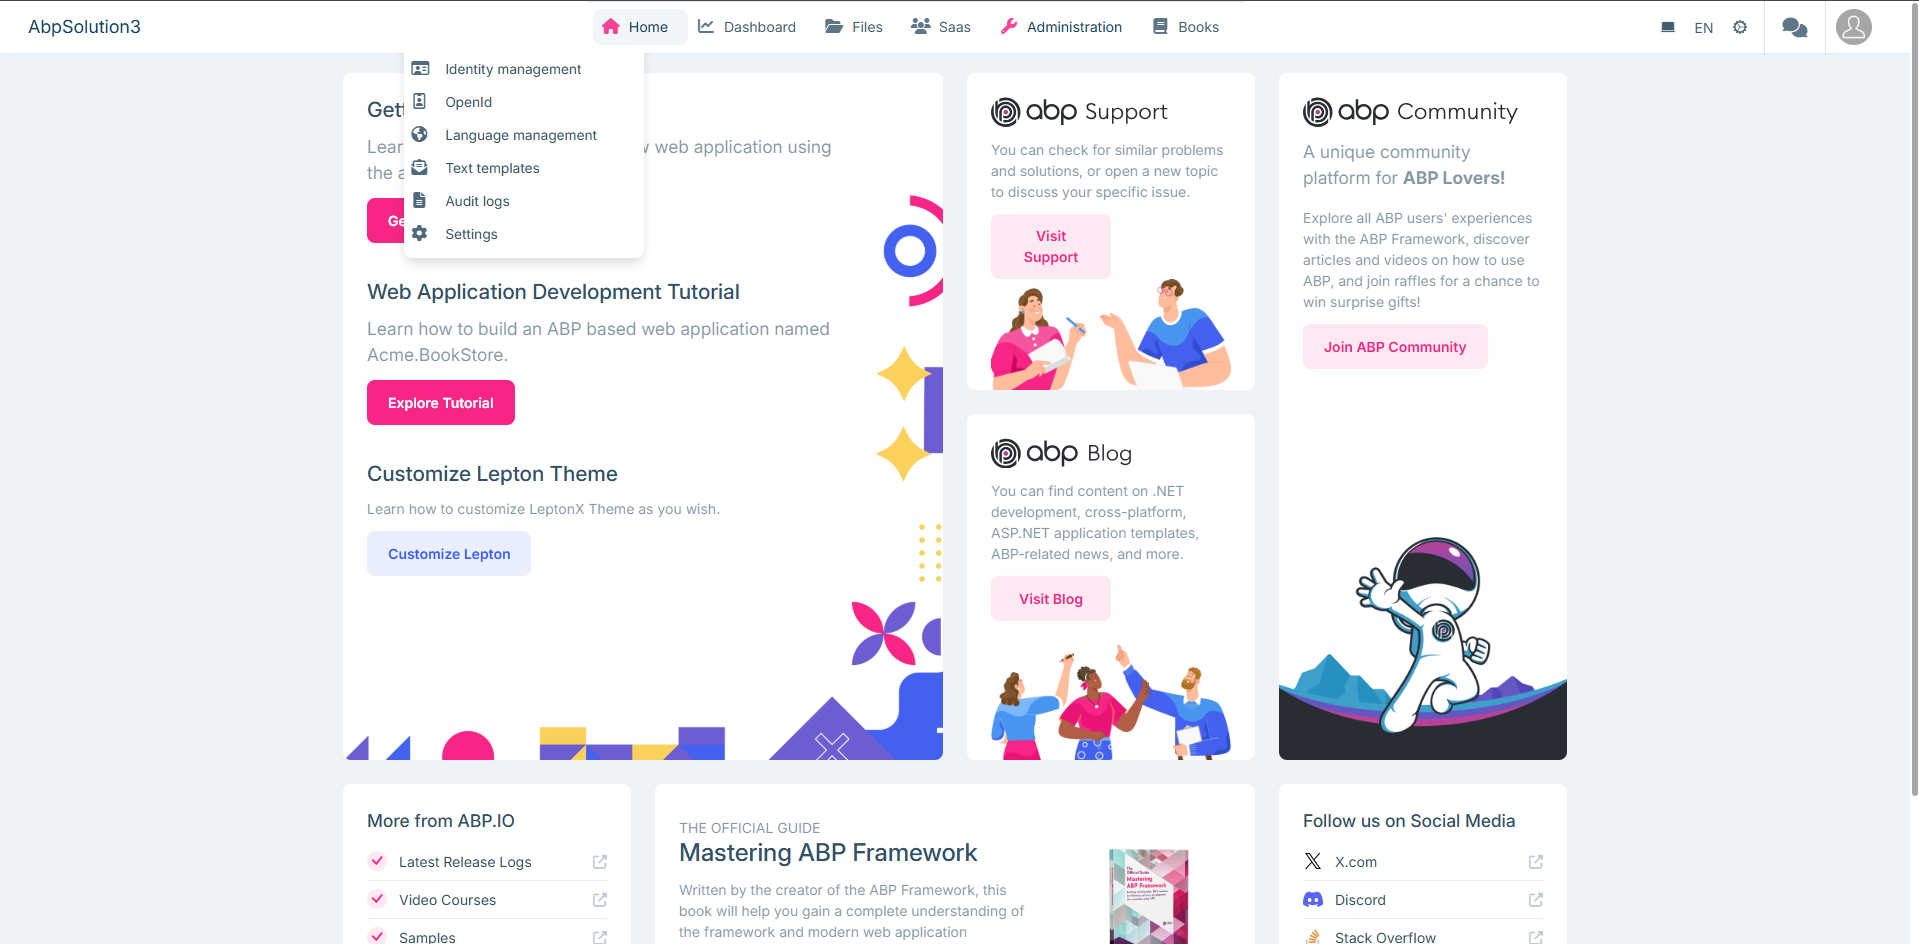
Please advise
import { Component, inject } from '@angular/core'; import { GdprCookieConsentComponent } from '@volo/abp.ng.gdpr/config'; import { DynamicLayoutComponent, ReplaceableComponentsService } from '@abp/ng.core'; import { LoaderBarComponent } from '@abp/ng.theme.shared'; import { eThemeLeptonXComponents } from '@volosoft/abp.ng.theme.lepton-x'; import { TopMenuNavbarComponent } from '@volosoft/ngx-lepton-x/layouts'; import { CustomMenu } from './layouts/custom-menu/custom-menu'; @Component({ selector: 'app-root', template:
<abp-loader-bar /> <abp-dynamic-layout /> <abp-gdpr-cookie-consent />, imports: [LoaderBarComponent, DynamicLayoutComponent, GdprCookieConsentComponent], }) export class AppComponent { private replaceComponent = inject(ReplaceableComponentsService); constructor() { this.replaceComponent.add({ component: TopMenuNavbarComponent, key: eThemeLeptonXComponents.TopNavbar, });this.replaceComponent.add({ component: CustomMenu, key: eThemeLeptonXComponents.Navbar, }); this.replaceComponent.add({ component: CustomMenu, key: eThemeLeptonXComponents.Breadcrumb, });} }
import { Component } from '@angular/core';
@Component({ selector: 'app-custom-menu',
template: '',
}) export class CustomMenu {
}
/* You can add global styles to this file, and also import other style files */
:root .lpx-theme-dark { .abp-support { background-image: url('/assets/images/getting-started/abp-support-white.svg'); } .abp-community { background-image: url('/assets/images/getting-started/abp-community-white.svg'); } .abp-blog { background-image: url('/assets/images/getting-started/abp-blog-white.svg'); } .logo-x { background-image: url('/assets/images/getting-started/x-white.svg'); } }
:root { --lpx-theme-light-bg: url('/assets/images/login/login-bg-img-light.svg'); --lpx-theme-dim-bg: url('/assets/images/login/login-bg-img-dim.svg'); --lpx-theme-dark-bg: url('/assets/images/login/login-bg-img-dark.svg');
--lpx-logo-url: var(--lpx-logo-icon, url('/assets/images/logo/icon.svg')); --lpx-logo: var(--lpx-logo-icon);
.abp-logo { background-repeat: no-repeat; }
.abp-support { width: 178px; height: 30px; background-image: url('/assets/images/getting-started/abp-support.svg'); }
.abp-community { width: 215px; height: 30px; background-image: url('/assets/images/getting-started/abp-community.svg'); }
.abp-blog { width: 142px; height: 30px; background-image: url('/assets/images/getting-started/abp-blog.svg'); }
.logo-x { width: 20px; height: 20px; background-image: url('/assets/images/getting-started/x.svg'); } } :root .lpx-header-top { justify-content: space-between; }
-
0
Thank you for the detailed reply. May I also know how I could produce the same problem and whether it is a temporary overlay problem?
It seems working on my side
Thank you for your cooperation.
-
0
It's occurred only first time do ctr+f5 its will raise one time then all good
-
0
Thank you for specifying the problem again. This seems like a simple override issue. Could you try putting the css rule at the top of the file?
-
0
Hello Summeyye,
Thank you for your reply,
which file you mean? i need to put the css on top?
-
0
Hello, You can put it in the
styles.scssfile. -
0
You only shared below CSS rule with me, is thier any CSS?
//angular/src/styles.scss :root .lpx-header-top { justify-content: space-between; }
-
0
Yes, I mean this file
/angular/src/styles.scss. Could you try putting the rule at the top of this file? Thank you for your cooperation. -
0
Thank for the update , I added below at top of my file /angular/src/styles.scss but first load the but still the design not correct
//angular/src/styles.scss :root .lpx-header-top { justify-content: space-between; }
-
0
This may be because of the dropdown positioning styles. Could you try these final adjustments?
// angular/src/styles.scss .lpx-header-top { justify-content: space-between; } .lpx-menu-dropdown { position: fixed; /* Changed from absolute */ /* Add initial position off-screen or matching expected position */ top: -9999px; left: -9999px; } -
0
Thank you, this worked


