Get Started with the Microservice Solution Template
This document explains how to start development with this solution template.
Pre-Requirements
The following tools are required in order to run the solution;
- Visual Studio 2022 (v17.3+) or another suitable IDE.
- .NET 8.0+ SDK (If you have Visual Studio 2022, this will be installed already)
- NPM v16+ (or Yarn 1.20+).
- Powershell 5.0+
- Docker Desktop v3.0+
Other dependencies (like Redis and RabbitMQ) comes with a docker-compose configuration, so no external installation required.
Downloading the Solution
Use the ABP Suite to create a new solution by selecting the Microservice as the project type. Check out creating a new microservice document to see in details.
Run the Solution on TYE
You can run and debug the microservice solution using dotnet/tye. Tye integration is already done in the microservice templates. In order to use it, you need to install dotnet/tye and run the run-tye.ps1 PowerShell script. It will automatically create the required certificates, start the docker infrastructure, run the db migrator and start the tye.
See the Microservice Template Tye Integration document for more details.
Run the Infrastructure
The etc/docker folder under the main solution contains a up.ps1 file. Execute it to run the necessary infrastructure services:
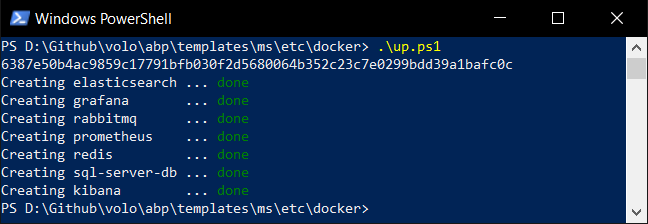
First running may contain additional steps and take a long time since it will download the missing Docker images.
Open the Solution
Now, you can open the solution in Visual Studio or your favorite IDE. You will see a solution structure similar to the figure below (solution and project names will be different based on your naming preference);
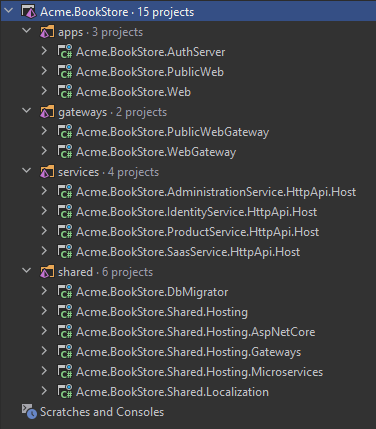
Figure: The solution structure (it will be a slightly different based on your UI preference).
Run the Solution on IDE
The architecture consists of multiple applications and these should be running together. There are some differences between when projects build in Visual Studio vs. when you invoke dotnet build directly. The graphBuild parameter of dotnet build CLI, enables the static graph build feature. You should use the command dotnet build /graphBuild in the root solution directory in order to build the complete solution with all dependent projects. Further information about graphBuild check out Visual Studio Builds vs Msbuild and Static Graph.
Running the Authentication Server
First, run the AuthServer application.
Right click to the project, Set as Startup Project and hit Ctrl+F5 while running the applications if you don't need to DEBUG it.
It will open a Login page:
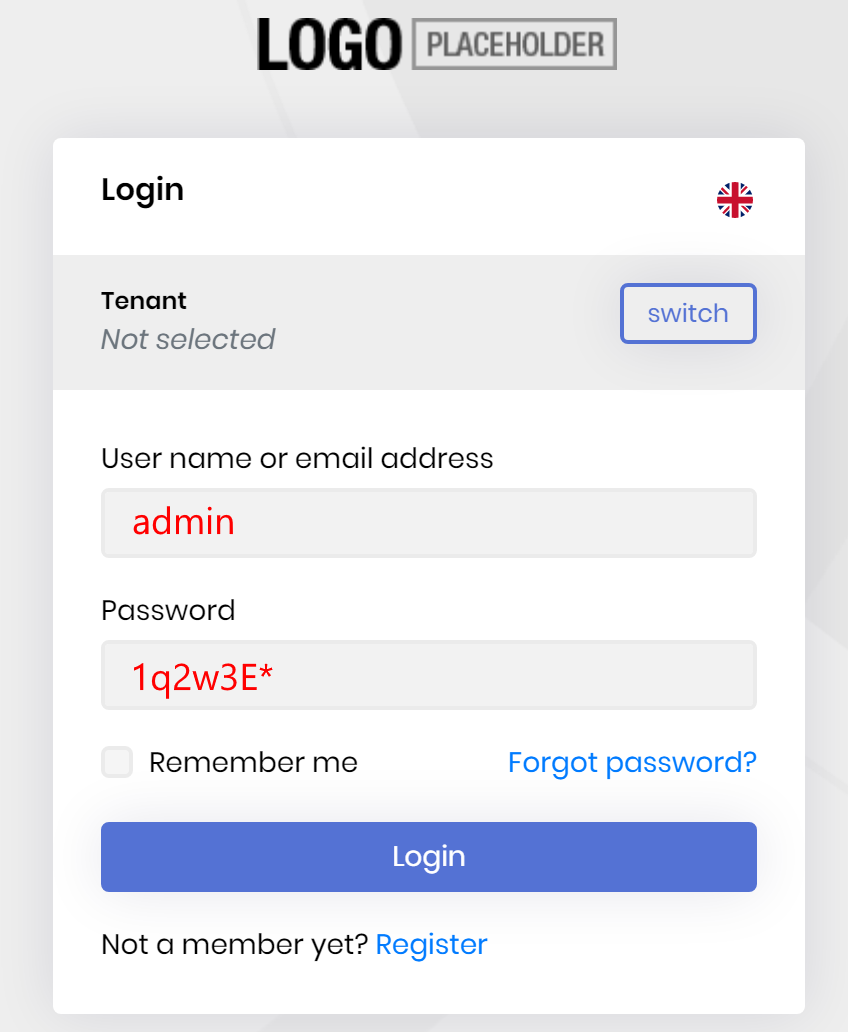
If you want to test it, enter admin as the username and 1q2w3E* as the password and hit ENTER. If you login successfully, you are redirected a developer test page that lists the current user claims:
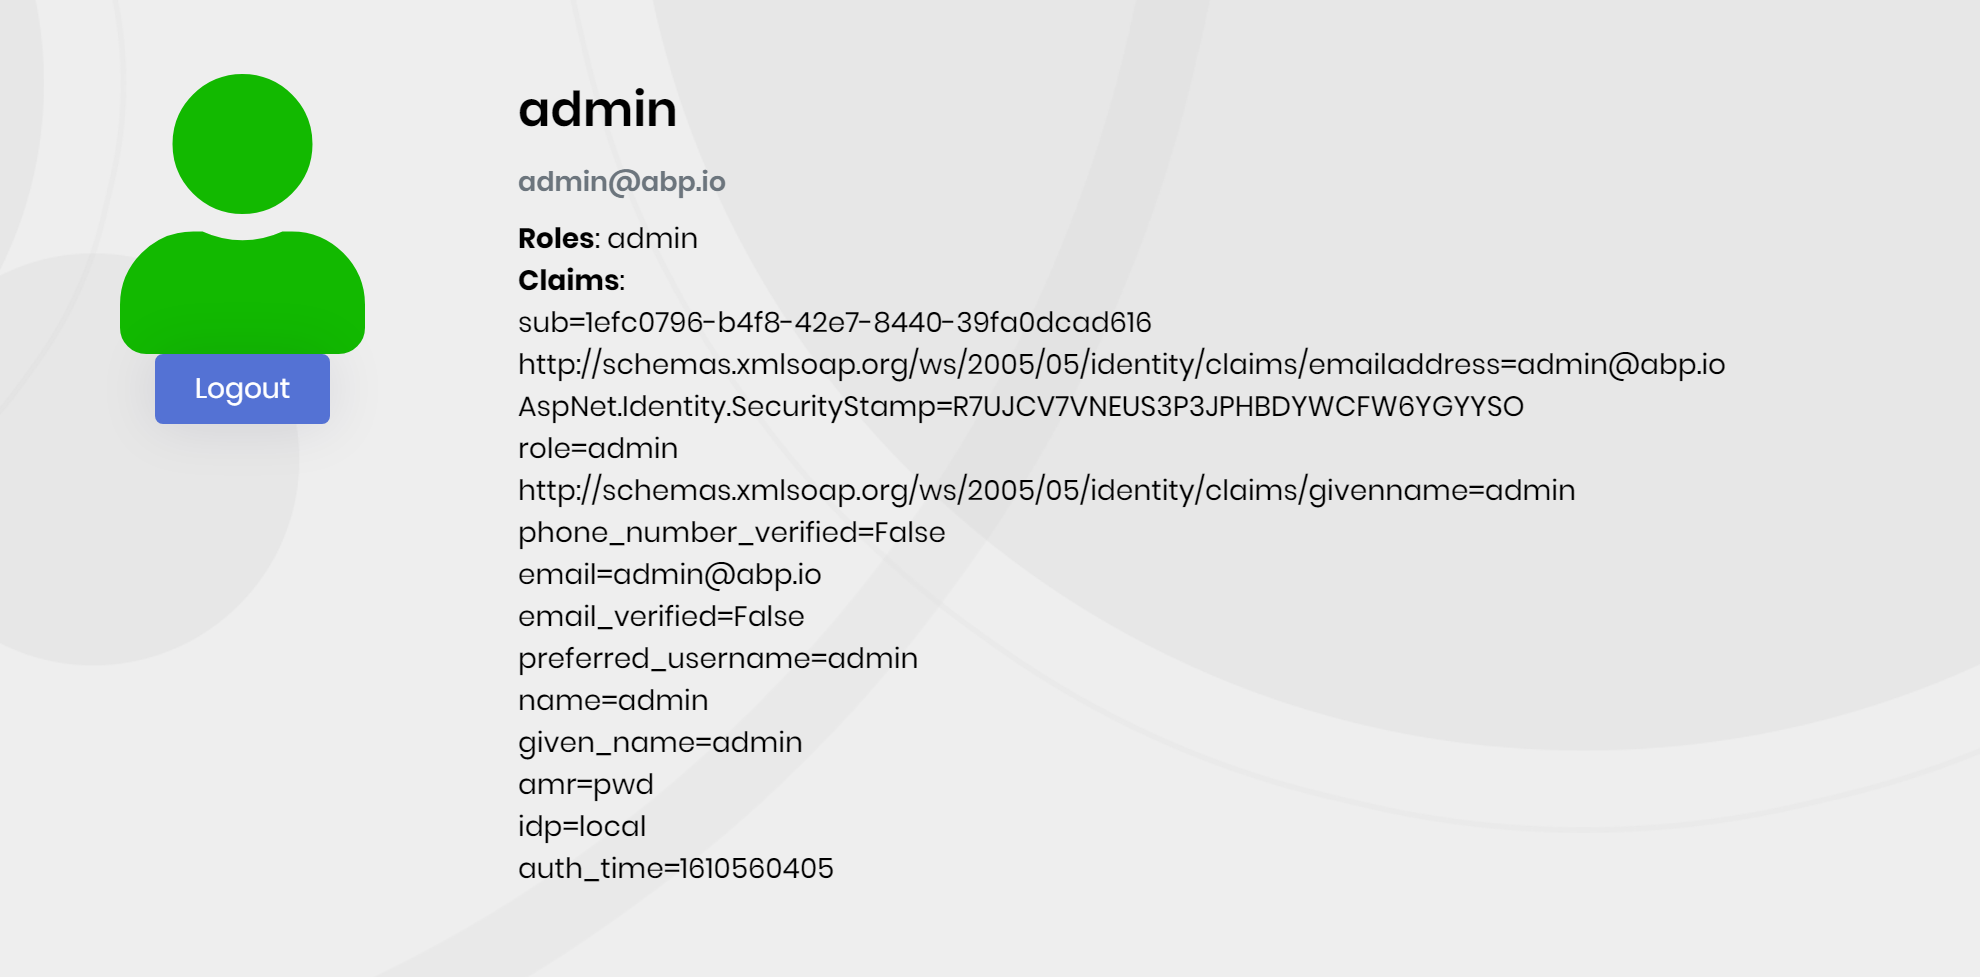
You can change this page however you like. Users are typically redirected to the Authentication Server from the other applications to login the system and they are automatically redirected to the client application after the login process. If you want, this test page can be converted to a landing page that contains links to your actual applications.
Running the Services
Run the following applications in the given order (right click to each project, Set as Startup Project and hit Ctrl+F5) to make the services running;
- AdministrationService
- IdentityService
- SaasService
- ProductService
Notice: Visual Studio may stop a previously started service (we think it is kind of a bug of the VS). In this case, re-start the stopped application. Alternatively, you can run the project or projects in a command line terminal, using the
dotnet runcommand.
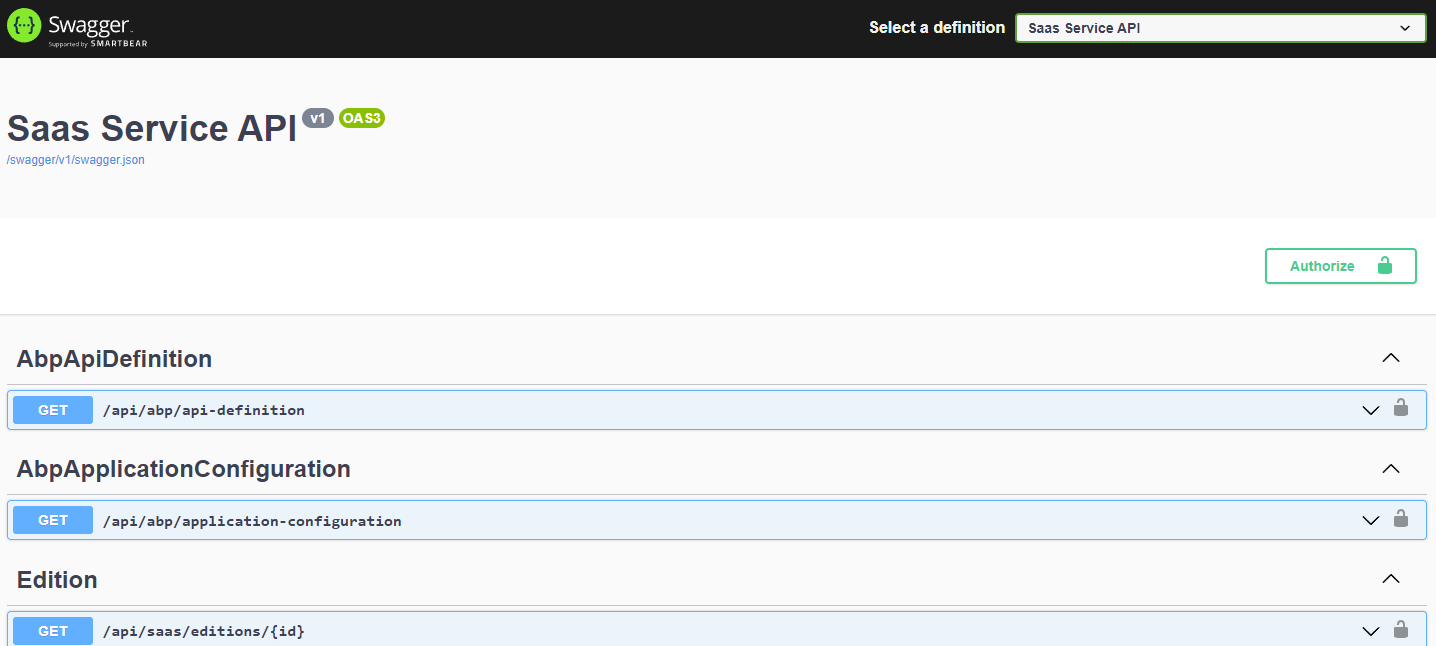
All these applications open a Swagger UI to explore the HTTP APIs. For example, the screenshot below was taken from the SaasService:
Running the Main Web Application
The main Web Application can be an MVC (Razor Pages), Angular or Blazor application based on your preference. Regardless of your frontend application, you first need to run the WebGateway application.
Run the Web Gateway
When you run the WebGateway application, it opens a Swagger UI to explore the HTTP APIs re-routed by this API Gateway:
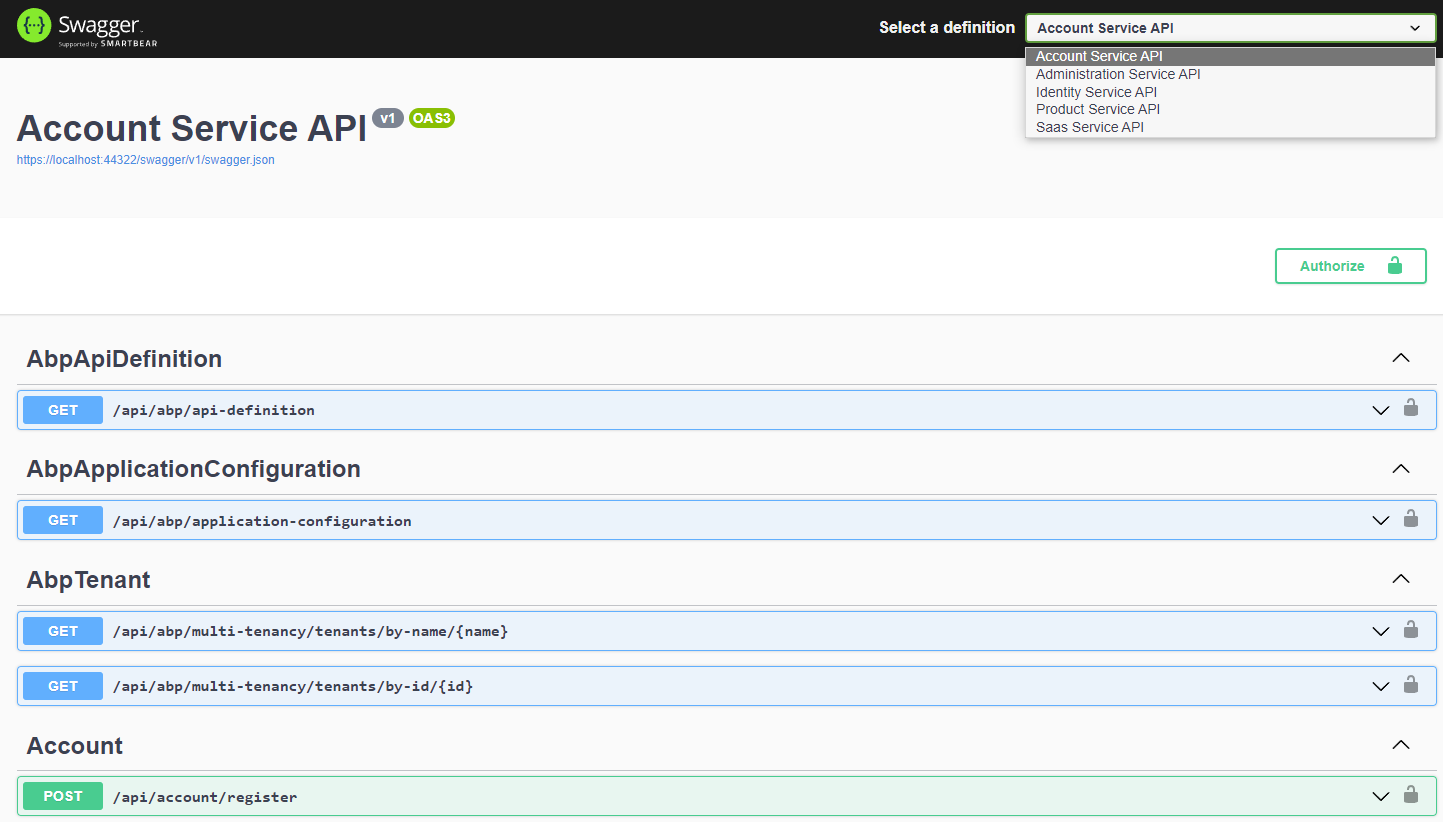
API Gateways in this solution shows re-routed microservices in select definition section which is located at the upper right side of the swagger ui.
Run the MVC (Razor Pages) Web Application
You can skip this section if you haven't selected the MVC (Razor Pages) as the main web application UI framework.
Run the Web application in the solution.
Run the Blazor Web Application
You can skip this section if you haven't selected the Blazor as the main web application UI framework.
Run the Blazor application in the solution.
Run the Angular Web Application
You can skip this section if you haven't selected the Angular as the main web application UI framework.
- Open a command line terminal in the
angularfolder in the root folder of the solution. - Execute
npm install(oryarnif you prefer Yarn as the package manager). - Execute
yarn start.
Login to the Web Application
This will begin the Main Web Application:
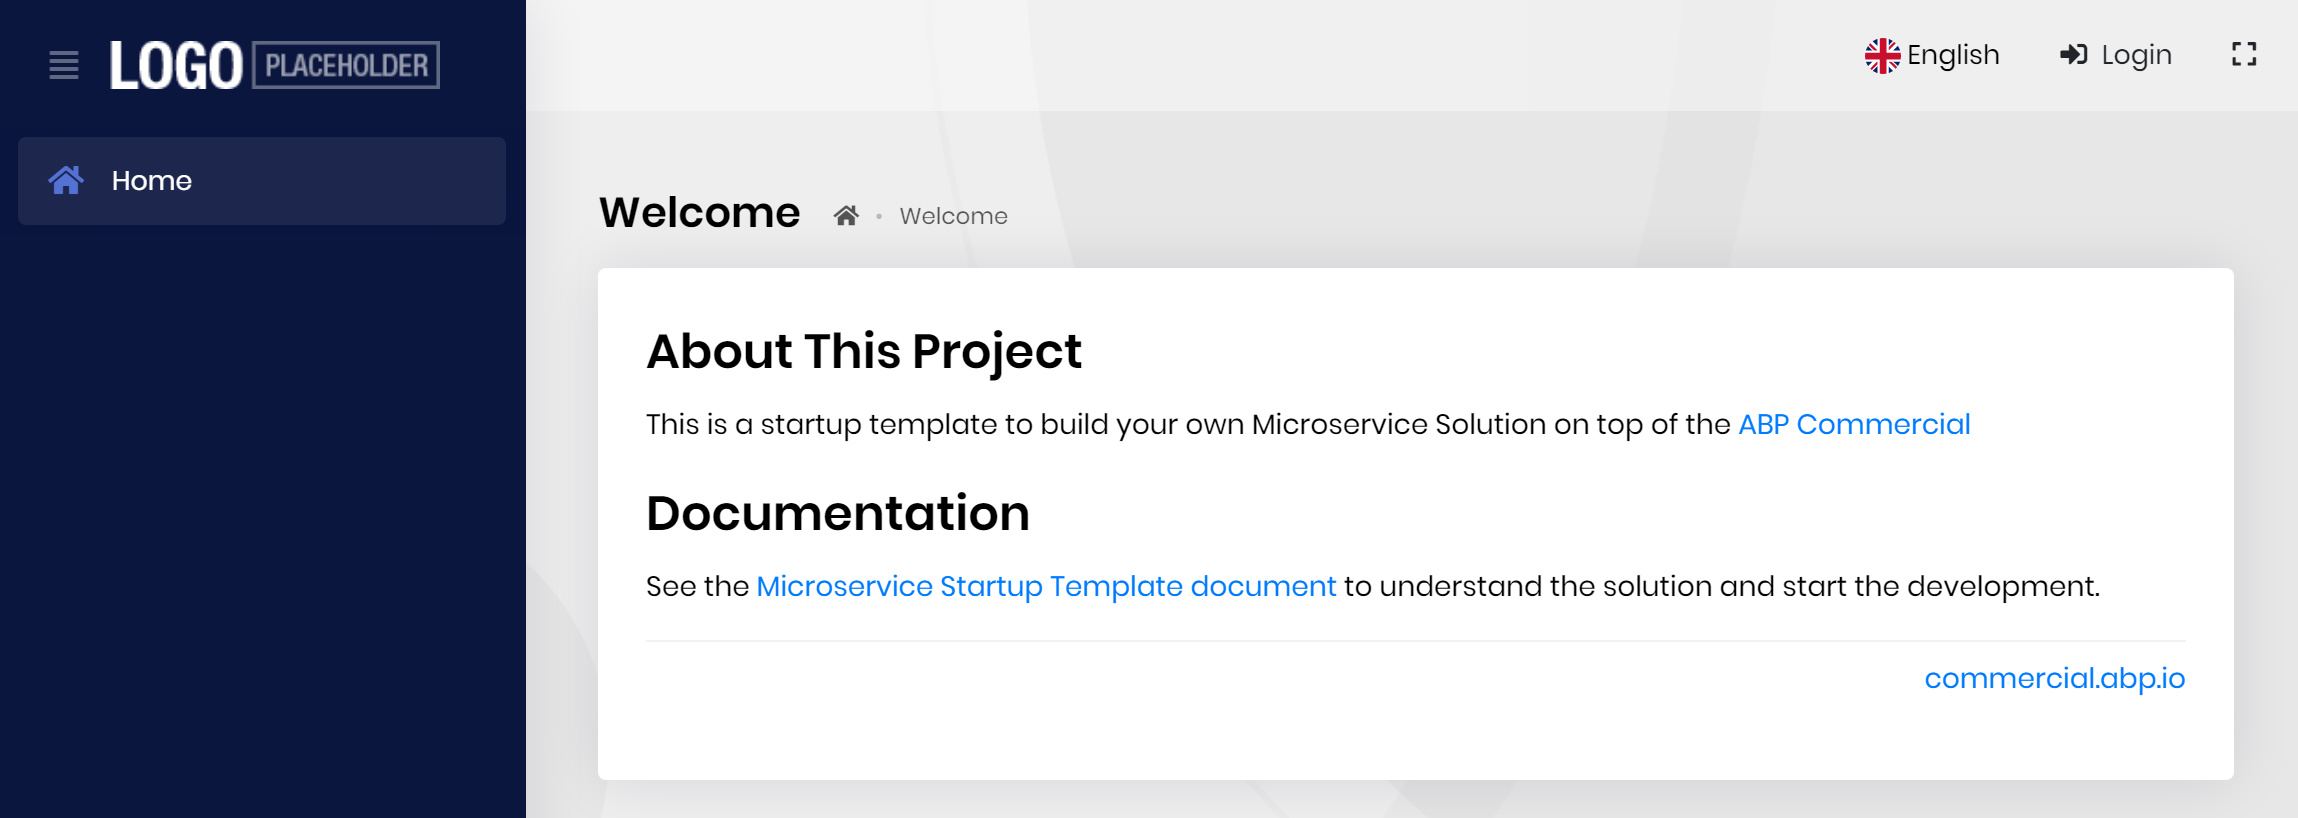
Click to the Login link. It will redirect to the Authentication Server. Enter admin as the username and 1q2w3E* as the password to login to the system. You will be redirected back to the web application.
If you have previously logged into the Authentication Server then you are automatically login to this application when you click to the Login link thanks to the single sign on system.
Running the Public Website
The Public Web Site application uses the Public Web Gateway, so we need to run it first.
Run the Public Web Gateway
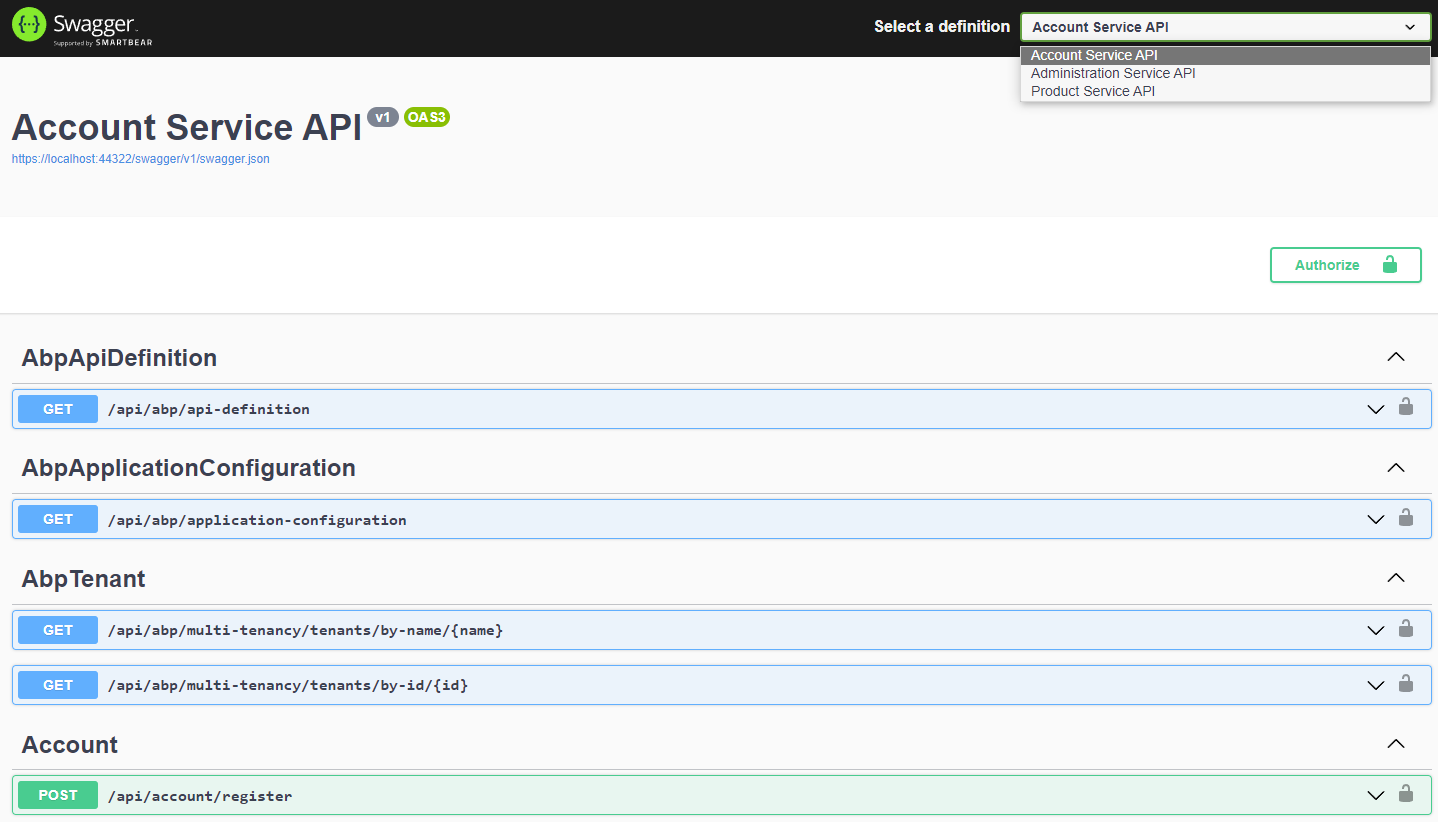
When you run the PublicWebGateway application, it opens a Swagger UI to explore the HTTP APIs re-routed by this API Gateway:
Run the Public Website
Now, you can run the PublicWeb application:

This is an example application if you need to a public/landing page for your system. It supports login (with single sign-on support) via the Authentication Server.


