Microservice Tutorial Part 03: Building the Catalog service
In the previous part, we've created a new microservice named Catalog. In this part, we will build functionality to create and manage products in our system.
In this part, we will use ABP Suite to automatically create all the necessary code for us. So, you will see how to use ABP Suite in a microservice solution. We will do everything manually while we will create the Ordering microservice in next parts, so you will learn the details better. We suggest to use ABP Suite wherever it is possible, because it saves a lot of time. You can then investigate the changes done by ABP Suite to understand what it produced.
Opening the ABP Suite
First of all, stop all the applications in ABP Studio's Solution Runner panel, because ABP Suite will make changes in the solution and it will also needs to build the solution in some steps. Running the solution prevents to build it.
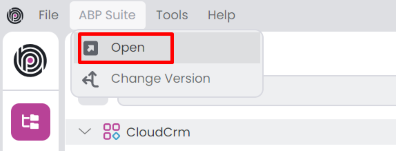
Now, select the ABP Suite -> Open command on the main menu to open ABP Suite:
It will ask to you which module you want to use:
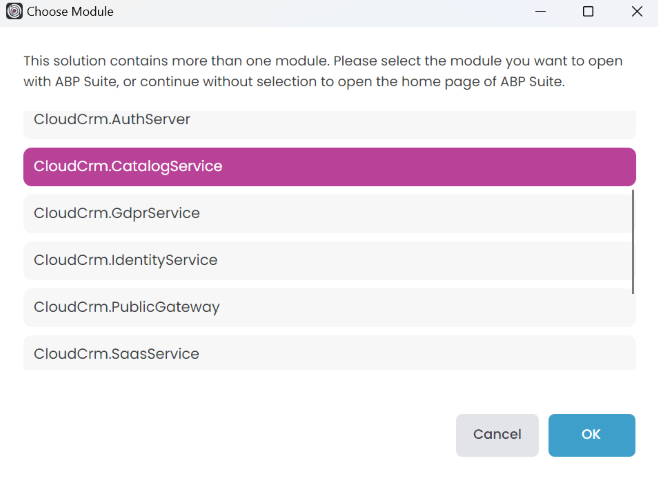
The CloudCrm microservice solution contains more than one .NET solution. Typically, each ABP Studio module represents a separate .NET solution (see the concepts document). ABP Suite works on a single .NET solution to generate code, so we should select a module here.
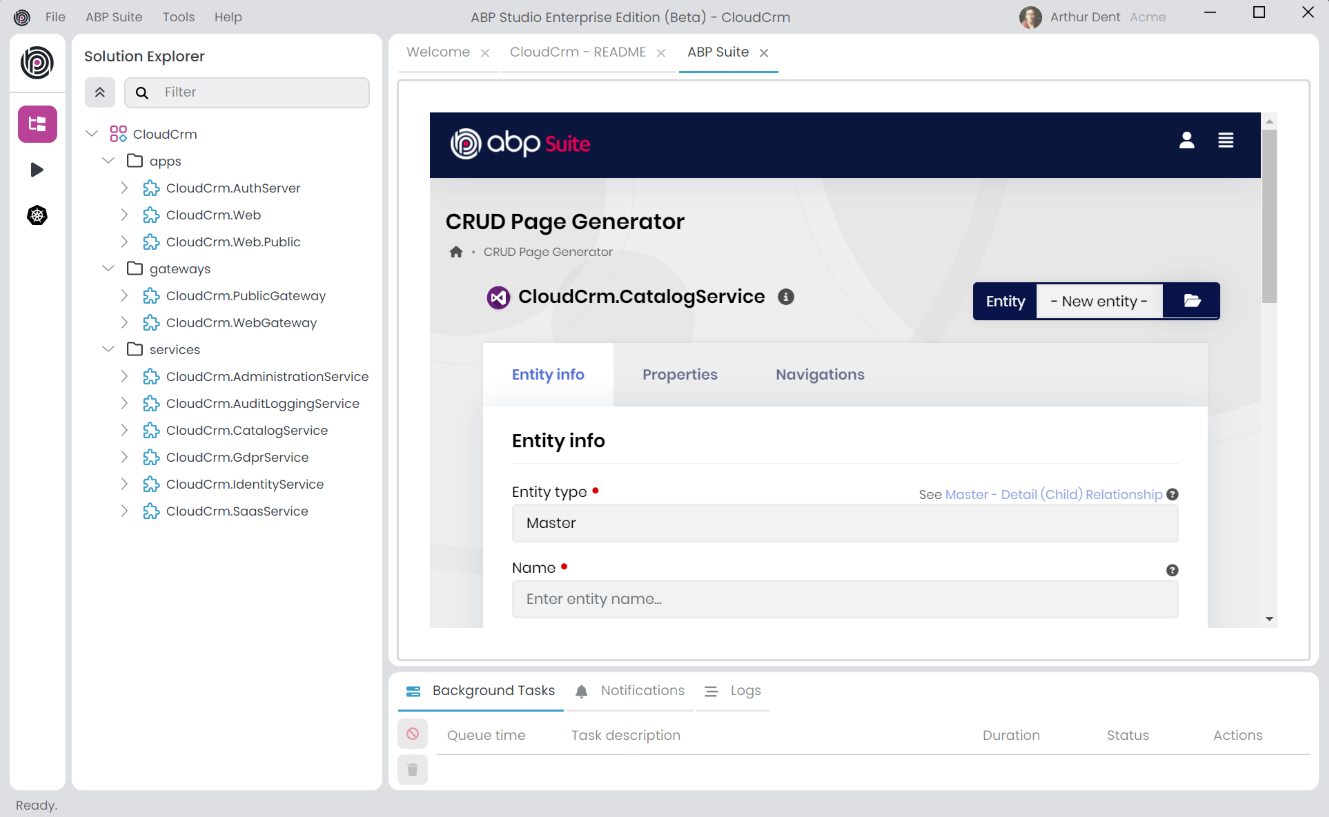
Select the CloudCrm.CatalogService module and click the OK button. It will open ABP Suite as shown below:
Generating a Products Page
In the next section, we will use ABP Suite to create a fully functional CRUD page with ABP Suite. The UI part will be in the main web application (CloudCrm.Web) and the application service and other parts will be generated in the Catalog microservice.
Configuring the Product Entity Information
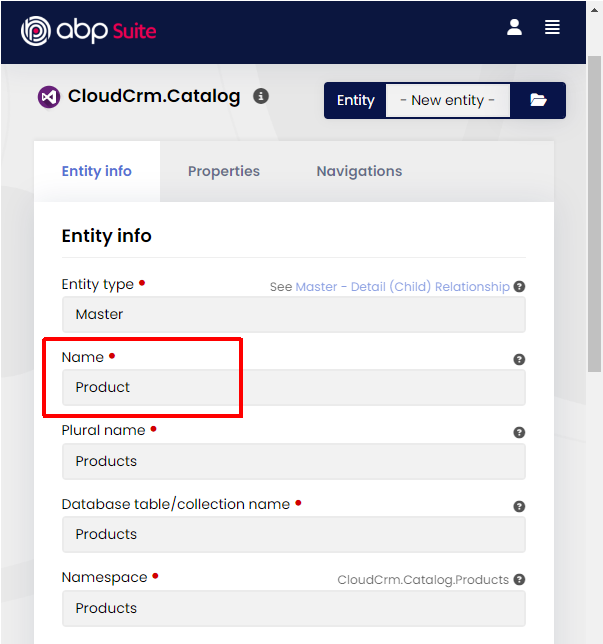
Type Product for the Name field and leave the other options as is. ABP Suite will automatically calculate proper values for you:
Configuring Properties of the Product Entity
Open the Properties tab and create the properties shown in the following figure:
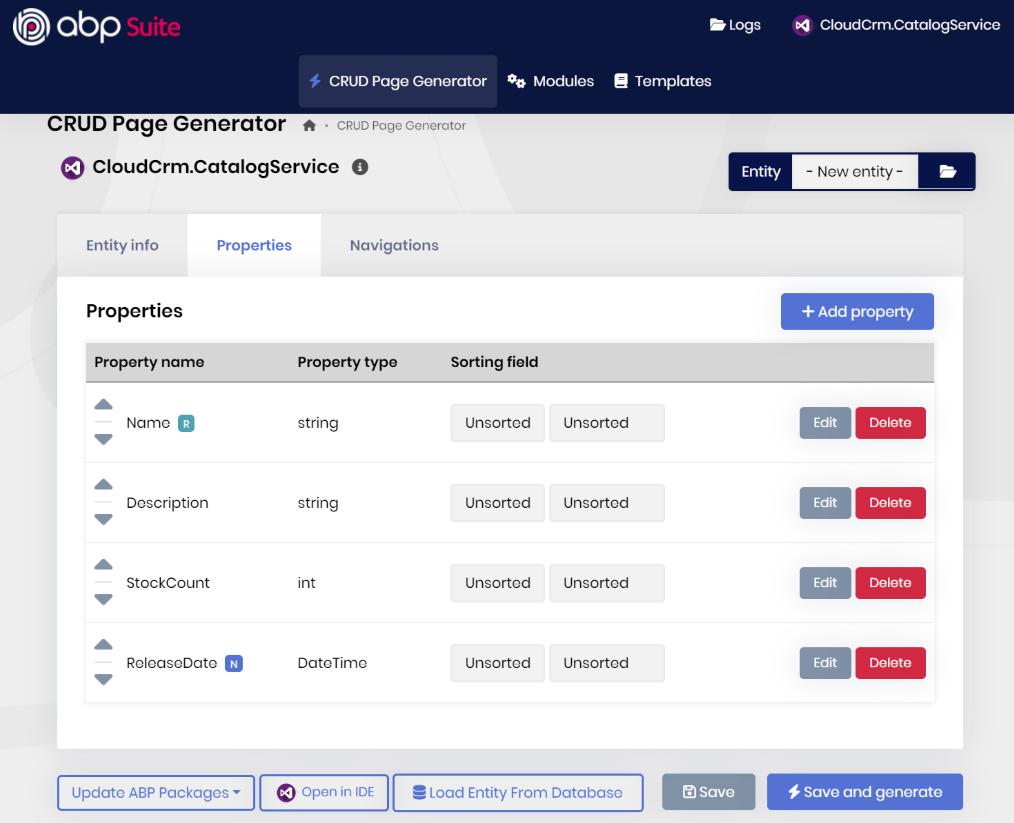
Here the details:
Nameis required, minimum length is2and maximum length is120.Descriptionis not required, it is a Text area, not Filterable, not Shown on the list page.StockCounthas a Default value0, minimum value0and maximum value999999.ReleaseDateis Nullable.
You can leave the other configurations as default.
Generating the Code
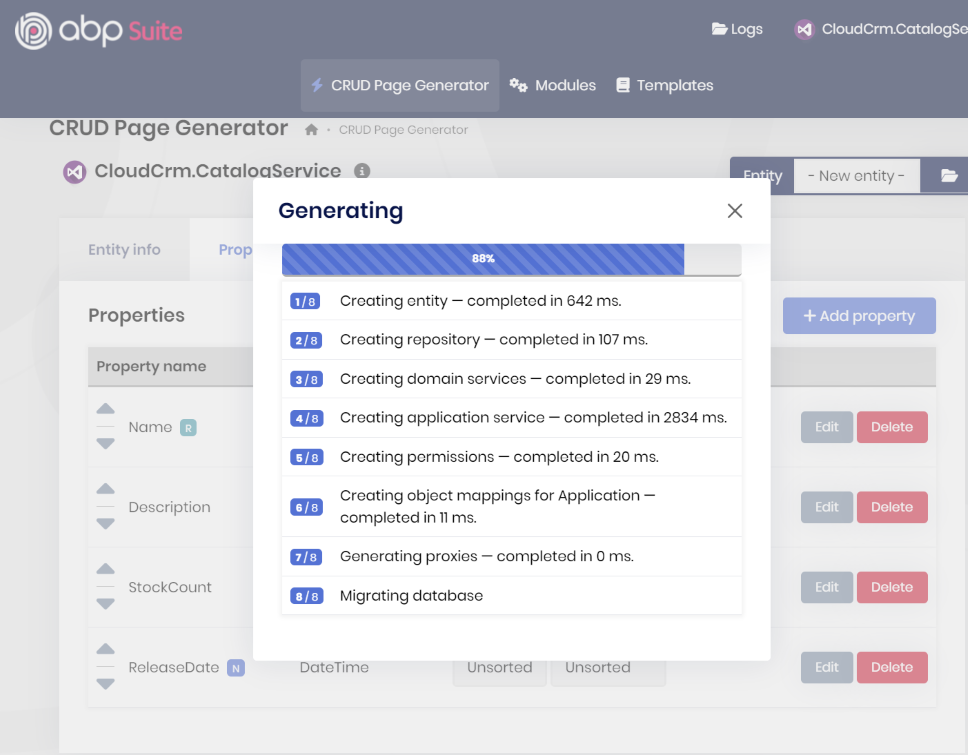
That's all. You can click the Save and generate button to start the code generation process.
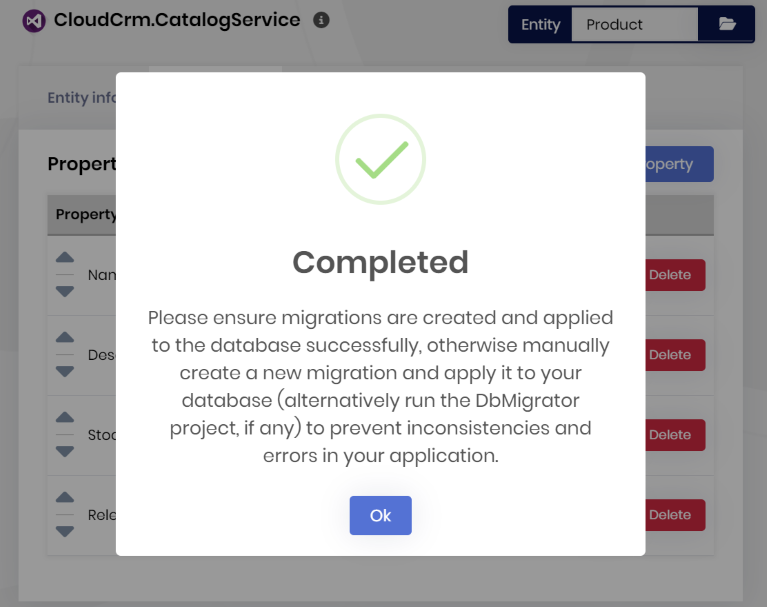
ABP Suite will generate the necessary code for you. It will take some time to complete the process. After the process is completed, you will see a success message, click the OK button.
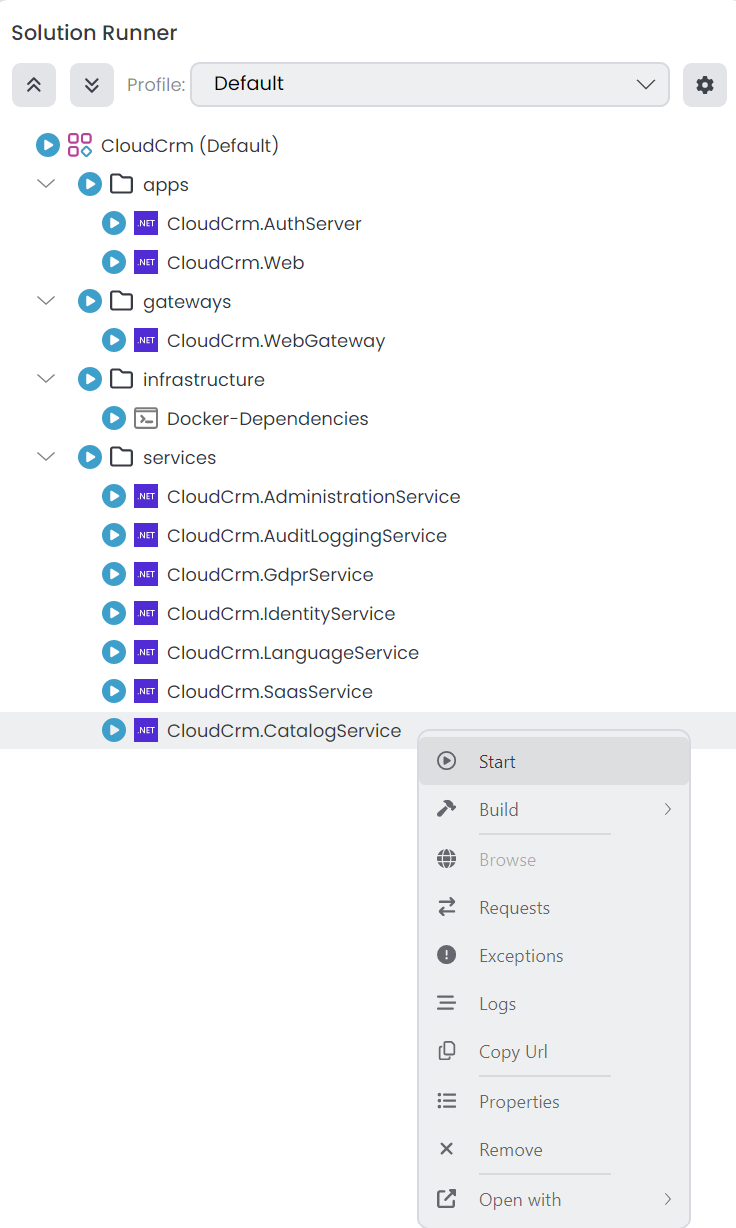
We can now start the CloudCrm.CatalogService application by clicking the Start button (or alternatively, directly clicking the run icon) in the Solution Runner panel.
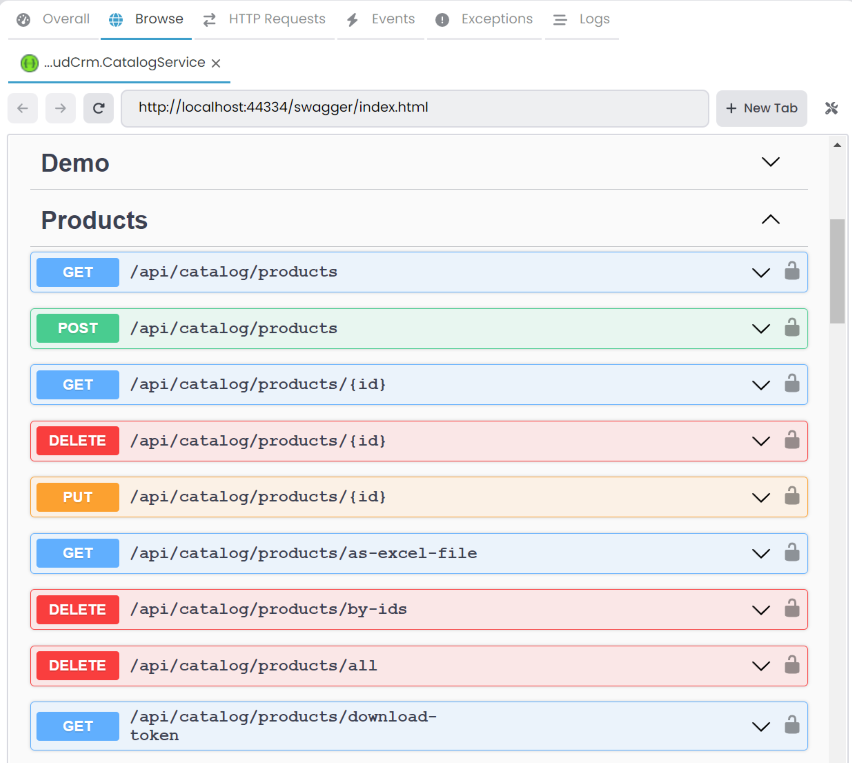
After the application is started, you can right-click and Browse on the CloudCrm.CatalogService application to open it in the ABP Studio's pre-integrated browser. You can see the Products controller in the Swagger UI.
Generating the UI Proxy
Now, we need to generate the Static API Proxy for the Web project. Right-click the CloudCrm.Web package and select the ABP CLI -> Generate Proxy -> C# command:
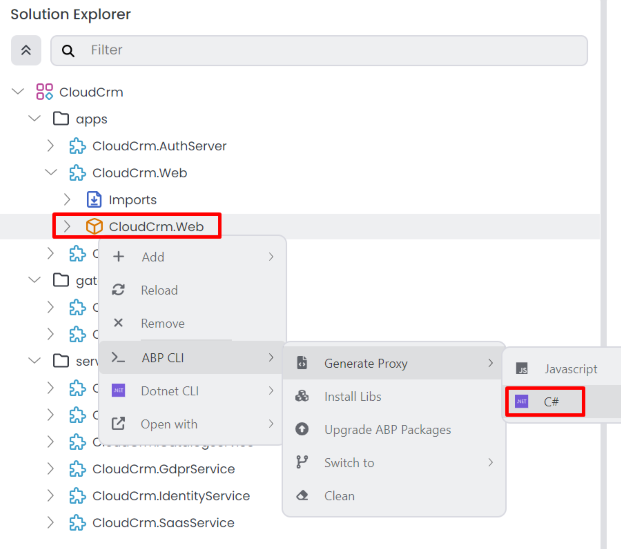
It will open the Generate C# Proxies window. Select the CloudCrm.CatalogService application, and it will automatically populate the URL field. Select the catalog module, set the service type to application, and check the Without contracts checkbox, as the CloudCrm.Web project already depends on the CloudCrm.CatalogService.Contracts package:
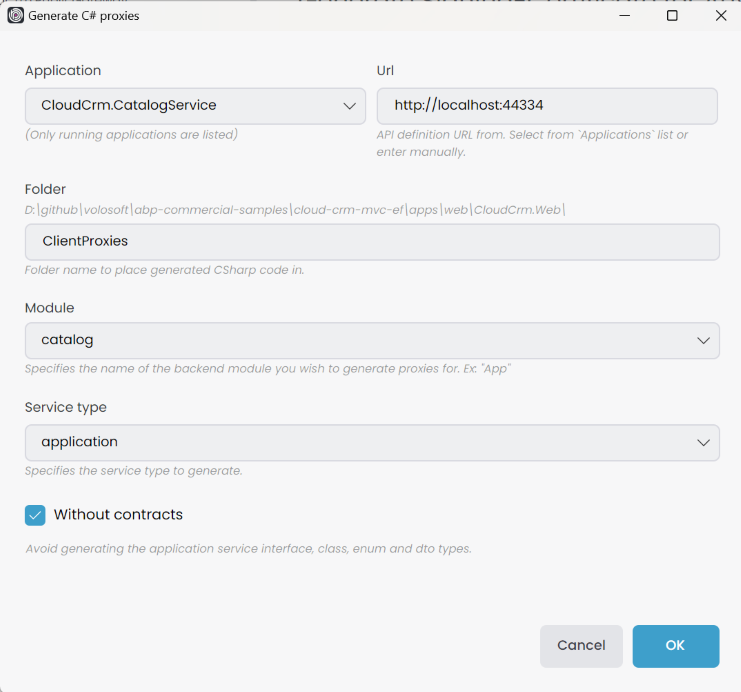
To be able to select the Application, you must Start the related application beforehand. You can start the application using Solution Runner as explained in the previous parts.
Lastly, we need to configure the use of a static HTTP client for the CatalogService in the CloudCrm.Web project. Open the CloudCrmWebModule.cs file in the Web project and add the following line to the ConfigureServices method:
//...
using CloudCrm.CatalogService;

public override void ConfigureServices(ServiceConfigurationContext context)
{
    // Code omitted for brevity
    context.Services.AddStaticHttpClientProxies(
      typeof(CloudCrmCatalogServiceContractsModule).Assembly);
}
Running the Application
Now, stop any application running in the Solution Runner panel, and then run the applications by clicking the Start All button on the root item in the Solution Runner panel:
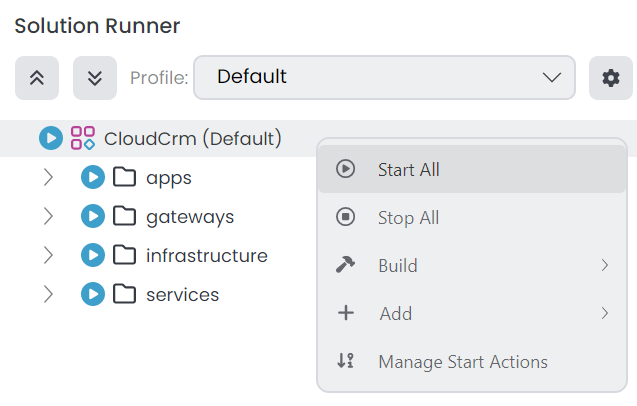
After the application is started, you can right-click and Browse on the CloudCrm.Web application to open it in the ABP Studio's pre-integrated browser:

If you can't see the Products menu item, you need to grant the
CatalogServiceProduct permission to the admin role. You can do this by navigating to Identity Management -> Roles and editing the admin role. Alternatively, you can restart the CloudCrm.AdministrationService application to automatically seed all permissions for the admin role.
When we create
Catalogmicroservice, theCatalogServiceAPI scope is also created automatically if the "Enable integration" option is selected. You can verify the new scope in theCloudCrm.IdentityServicemodule (.NET solution), in theCloudCrm.IdentityServiceproject within theOpenIddictDataSeederclass'sCreateApiScopesAsyncmethod. If you are already logged in to the application, you may need to log out and log back in to reauthorize with the newly created API scope.
You can open the Sql Server Management Studio to see the created tables and data:

Summary
In this part, we've created a new entity named Product and generated the necessary code for it. We've also generated the UI proxy for the CatalogService application and configured the static HTTP client for it in the Web project. We've run the application and tested the Products page.


