





Running on a Device
You can use this guide when you want to run the app on an Android emulator, iOS simulator, or physical device instead of in the browser.
For browser testing, see Running on Web.
Prerequisites
- Install dependencies in the React Native project folder:
react-native/
Complete the database migration and ensure the backend host is running.
Set up an emulator or simulator if needed:
- Android: Android Studio Emulator guide or Setting Up Android Emulator Without Android Studio
- iOS (macOS): iOS Simulator guide
Install cloudflared before using the MobileEmulator profile or
yarn tunnel:api. Follow Cloudflare's Download and install cloudflared guide. The template uses free Quick Tunnels (*.trycloudflare.com) and does not require a Cloudflare account or the remaining locally-managed tunnel steps in that document.
Using ABP Studio
MobileEmulator profile (Recommended)
Pro, non-tiered Monolith solutions include a MobileEmulator run profile in the Solution Runner. When you start it, ABP Studio specifically runs:
- The backend host
- ReactNativeTunnel — runs
node scripts/tunnel.jsto expose your local backend through a Cloudflare tunnel - ReactNative — runs
npx expo start --android(change the--androidflag to--iosinMobileEmulator.abprun.jsonor via the profile edit option in Solution Runner)
Before the first run:
- Install cloudflared if you have not already (see Prerequisites).
- Switch to the MobileEmulator profile in the Solution Runner.
- Open
react-native/Environment.tsand follow the inline comments: uncomment the tunnel configuration block and comment out the localhost constants.
Start an Android emulator (or connect a device), then start the MobileEmulator profile.
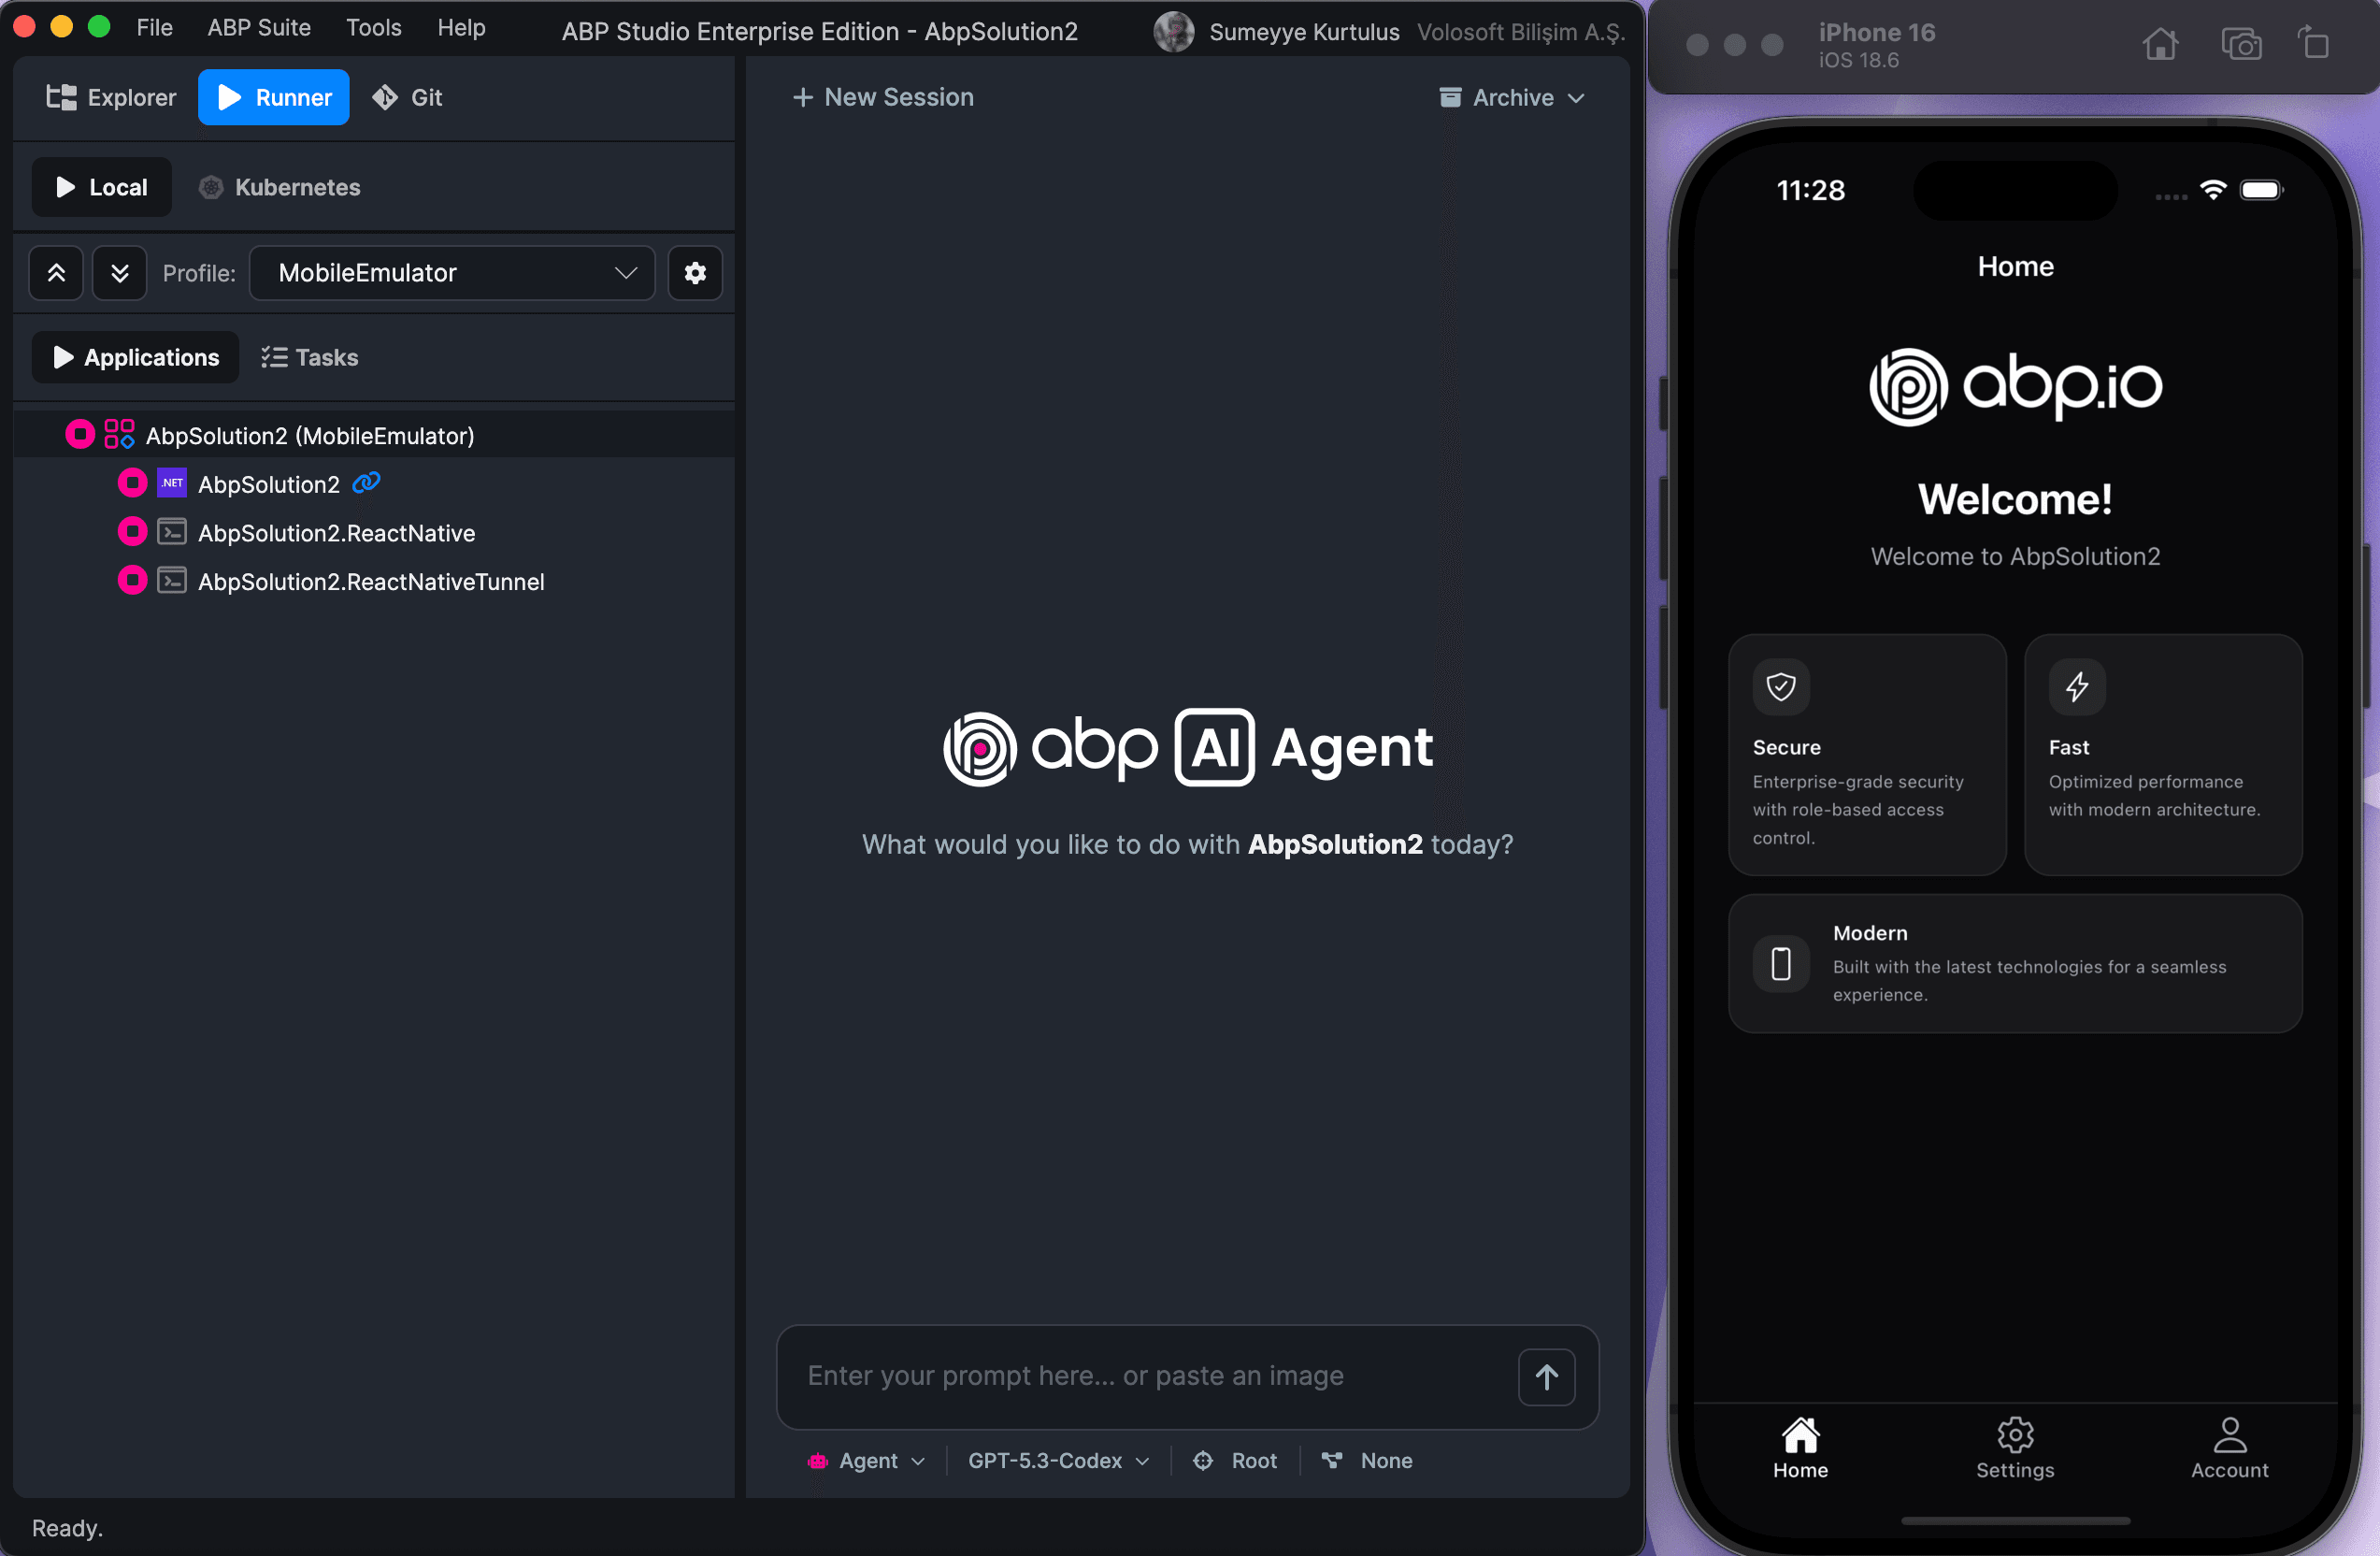
See Cloudflare tunnel (manual CLI) below for what the tunnel script does, and Automate Localhost Access for Expo for architecture details and troubleshooting.
Cloudflare tunnel (manual CLI)
Non-tiered React Native templates ship with a Cloudflare tunnel automation script. The tunnel gives your mobile app a temporary HTTPS URL (for example https://example.trycloudflare.com) that forwards to your local backend — without reconfiguring Kestrel or OpenIddict over HTTP.
Prerequisite: Install cloudflared on your machine using Cloudflare's Download and install cloudflared guide before running
yarn tunnel:apior the MobileEmulator profile.
The template includes:
| Item | Location |
|---|---|
| Tunnel script | react-native/scripts/tunnel.js |
| npm script | yarn tunnel:api (runs node scripts/tunnel.js) |
| Generated config | react-native/tunnel-config.json (created at runtime) |
| Environment switch | Inline comments in react-native/Environment.ts |
When tunnel.js runs, it:
- Starts
cloudflared tunnel --url https://localhost:{api-port}(port matches your backend host). - Captures the generated
*.trycloudflare.comdomain from thecloudflaredoutput. - Writes
tunnel-config.jsonand updates the fallback value inEnvironment.ts.
Steps
- Switch
Environment.tsto tunnel mode. Openreact-native/Environment.tsand follow the inline comments:- Uncomment the tunnel configuration block (the block that reads
tunnel-config.json). - Comment out the localhost
apiUrl/appUrlconstants.
- Uncomment the tunnel configuration block (the block that reads
- Start the backend host if it is not already running.
- Start the tunnel from the
react-nativefolder:
yarn tunnel:api
Or:
npm run tunnel:api
Wait until the script prints ✓ Tunnel domain saved.
- Start Expo in a separate terminal:
yarn start
- Start your Android emulator, iOS simulator, or connect a physical device.
With ABP Studio: The MobileEmulator run profile performs steps 2–4 for you after you update
Environment.ts.
See Automate Localhost Access for Expo for OAuth redirect considerations, troubleshooting, and development-build guidance.
If Cloudflare tunnels are unavailable, use Manual Backend Configuration as a fallback.
Manual CLI (without MobileEmulator profile)
If you are not using the MobileEmulator profile, prefer the Cloudflare tunnel workflow above. Only use Manual Backend Configuration when tunnels are unavailable.
The React Native application was generated with Expo. Expo is a set of tools built around React Native to help you quickly start an app, and it includes many features.
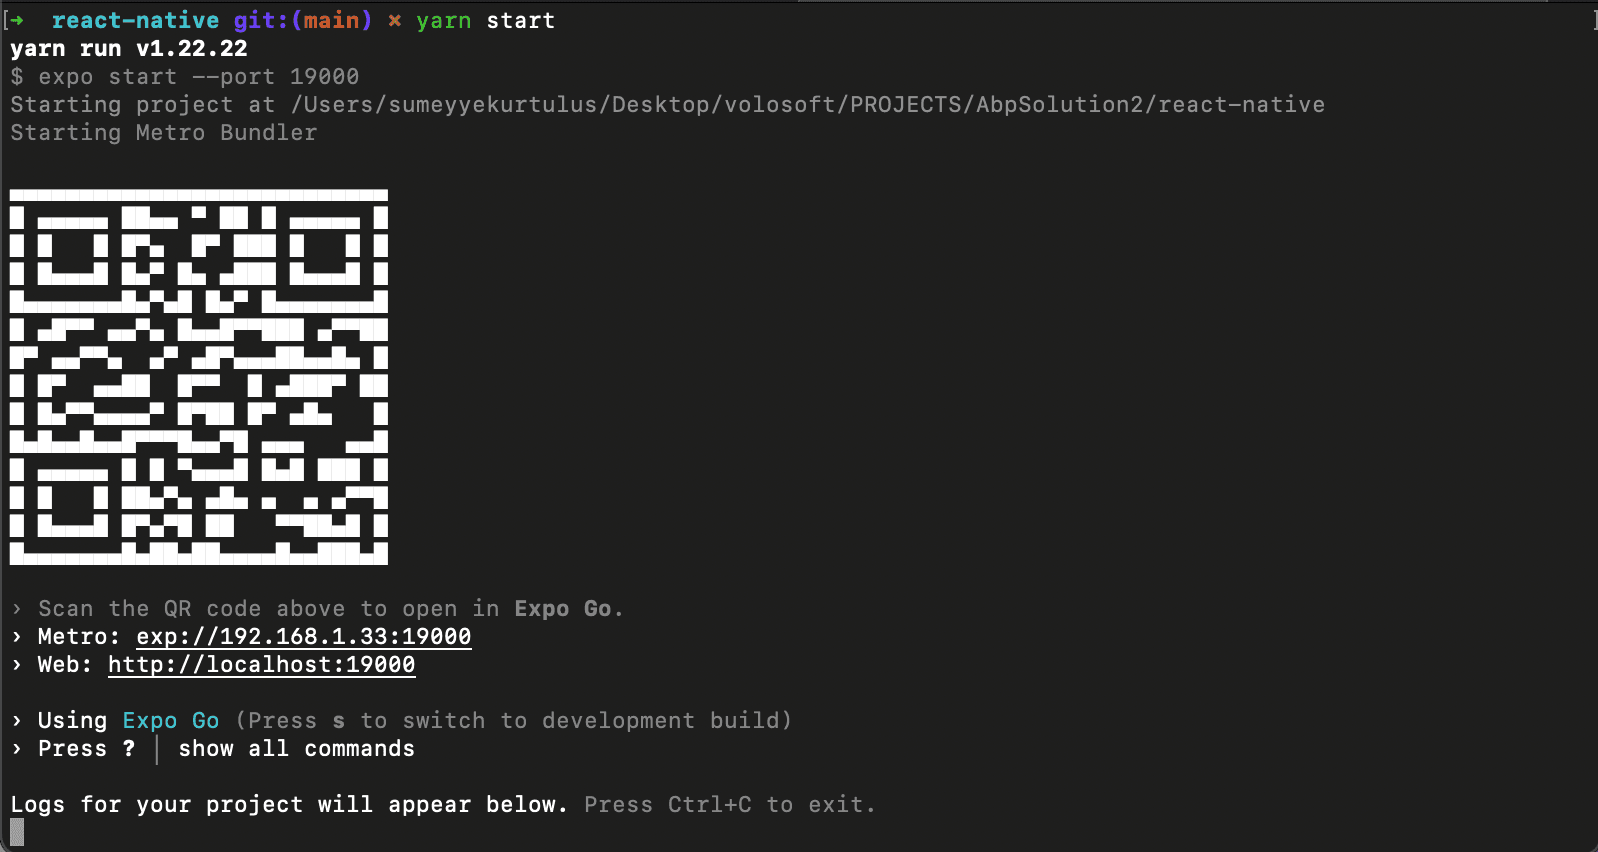
You can start the application on an Android emulator, an iOS simulator, or a physical phone by scanning the QR code or by choosing the corresponding option in the Expo CLI.
Enter admin as the username and 1q2w3E* as the password to log in to the application.
Android Studio
- Start the emulator in Android Studio before running
yarn start,yarn android, ornpm start. - Press a in the Expo CLI to open on Android.
iOS Simulator
- Press i in the Expo CLI to open the iOS simulator (macOS only).